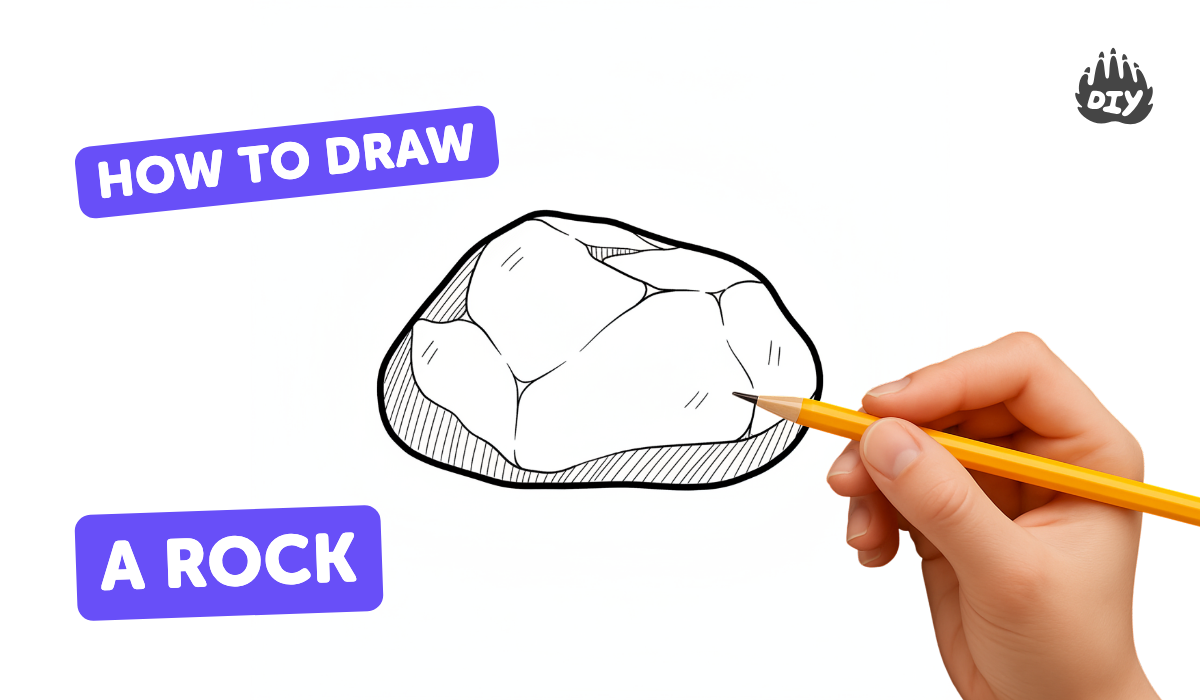
How to draw a rock - a free rock drawing guide
Draw a realistic rock using pencil and shading techniques to capture shape and texture. Practice observing light, shadow, and contours for realism.

Drawing Apps
Get inspired with these


Instructions
How To Draw Easy and Simple Rocks In A Landscape With Pencil
Step 1
Find a comfortable spot with good light and lay out your paper and pencils.
Step 2
Choose a real rock or a clear photo of a rock to use as your reference.
Step 3
Look at the rock and decide where the light is coming from and where the darkest shadows fall.
Step 4
Lightly sketch the outer shape of the rock with an HB pencil.
Step 5
Draw simple curved contour lines on the rock to show its large faces and planes.
Step 6
Shade the darkest shadow areas lightly using the 4B pencil to mark deep tones.
Step 7
Add midtones around the dark areas with the 2B pencil to build smooth transitions.
Step 8
Make small varied pencil strokes to add rough texture where the rock looks bumpy.
Step 9
Gently blend the shaded areas with a blending stump or cotton bud to smooth tones.
Step 10
Use the eraser to lift tiny highlights where the light hits the rock.
Step 11
Darken the deepest shadows a little more to strengthen the contrast.
Step 12
Sharpen the rock’s outer edges and add tiny details with a sharp pencil.
Step 13
Share your finished creation on DIY.org.
Help!?
What can I use if I don't have a 4B or 2B pencil or a blending stump?
If you don't have a 4B or 2B use a softer 6B for the deepest tones and an HB for midtones, and replace a blending stump with a cotton bud, tissue, or your fingertip when you 'gently blend the shaded areas'.
My drawing looks flat or over-smudged—what should I do?
If the rock looks flat after blending, preserve some of the 'small varied pencil strokes' for texture, lift tiny highlights with the eraser per step 9, and then darken 'the deepest shadows a little more' with the 4B to restore contrast.
How can I adapt this activity for different ages?
For younger kids simplify by tracing a large rock photo and using crayons or an HB pencil while skipping detailed blending, and for older kids follow all steps with 2B/4B pencils, a blending stump, and 'sharpen the rock’s outer edges and add tiny details' for realism.
How can we extend or personalize the rock drawing activity?
To enhance the project, try drawing several 'real rock' specimens under different light directions from step 3, add colored pencils or watercolor over your shaded work, label the textures you made in step 7, and 'share your finished creation on DIY.org' as a gallery.
Related videos
How to draw Big Rock in Scenery Art || Step by step pencil art
4 Videos
How to draw Big Rock in Scenery Art || Step by step pencil art
How to draw Small Rocks with Pencil
Easy Drawing Rocks and Flowers for Beginners
Easy Drawing And Shading A Boy Sat On A Rock For Beginners
Fun Facts
🪨 Some rocks are older than 4 billion years—older than most life on Earth!
✏️ Pencil “lead” is actually graphite (not lead) and became widely used in the 1500s after a big deposit was found in England.
🎨 Chiaroscuro is an Italian art term meaning “light–dark” and helps artists make flat drawings look three-dimensional.
👀 Many artists squint to simplify what they see—squinching down your vision turns shapes into easier light and dark areas.
🔍 You can suggest rough rock texture with just a few varied pencil strokes—your brain fills in the rest of the detail.
How do you draw a realistic rock with pencil and shading?
What materials do I need to draw a realistic rock?
What ages is drawing a realistic rock suitable for?
What are the benefits of drawing rocks and ideas for variations?
