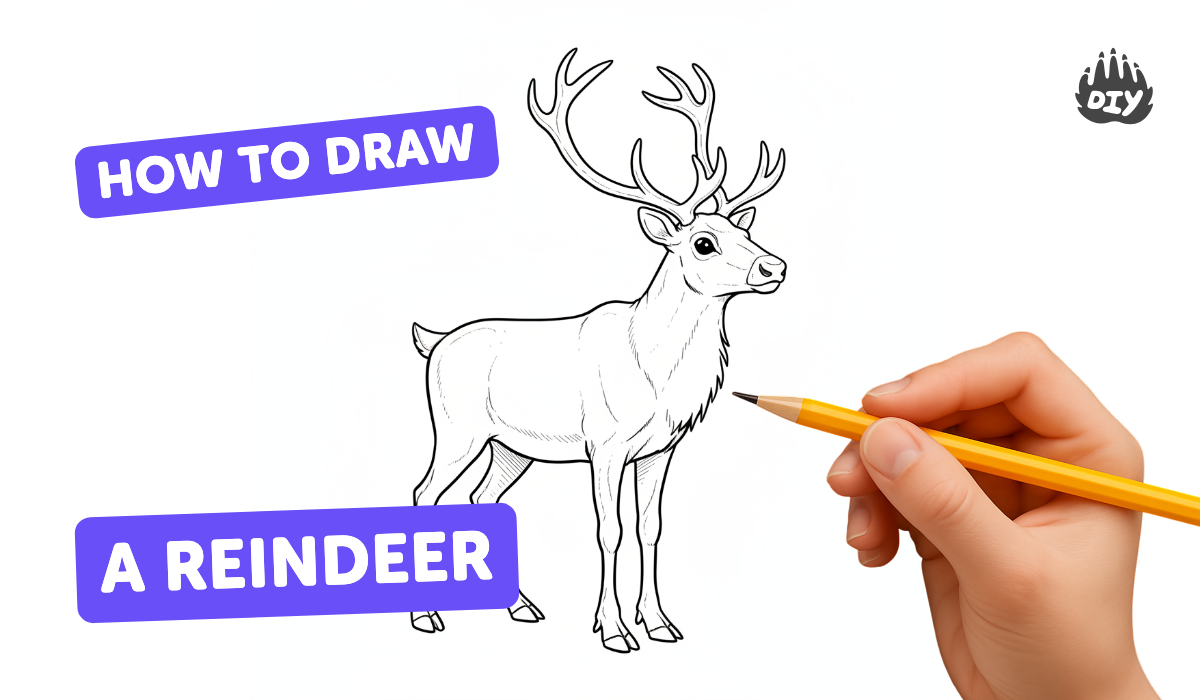
How to draw a reindeer - a free reindeer drawing guide
Draw a reindeer step by step using simple shapes; add antlers, eyes, nose, and shading. Practice observation, proportion, shading, and coloring skills.

Drawing Apps
Get inspired with these


Instructions
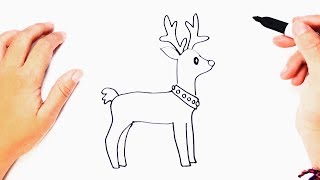
How to Draw a Christmas Reindeer for Kids | Easy Step-by-Step Reindeer Drawing and Coloring Tutorial
Step 1
Look at a picture of a reindeer or a toy and notice how big the head is compared to the body.
Step 2
Lightly draw a medium circle near the top third of the page for the reindeer's head.
Step 3
Lightly draw a larger oval slightly below and overlapping the bottom of the head circle for the body.
Step 4
Draw a short curved line between the head and body to make the neck.
Step 5
Draw four straight guide lines under the body for the legs.
Step 6
Add small horizontal ovals at the end of each leg line to make hooves.
Step 7
Draw two branching antlers on top of the head using Y shapes with one or two small branches on each side.
Step 8
Draw two small circles for the eyes on the head.
Step 9
Draw a small curved line under the eyes for a smiling mouth.
Step 10
Draw a round nose at the front of the head.
Step 11
Erase extra guide lines and smooth your reindeer's outlines to make clean shapes.
Step 12
Shade lightly with your pencil along the belly under the neck and under the antlers to show shadows.
Step 13
Gently blend the shaded areas with a tissue to make soft, smooth shadows.
Step 14
Color your reindeer using your colouring materials and follow your shaded areas with slightly darker color for depth.
Step 15
Share your finished reindeer drawing on DIY.org.
Help!?
What can we use instead of a tissue for blending the shaded areas if we don't have one?
If you don't have a tissue, use a clean cotton ball, a soft piece of paper towel, or your fingertip to gently blend the shaded areas under the neck and under the antlers.
My antlers look messy; how can I fix them?
Lightly sketch Y-shaped antler guides first, erase stray guide lines, and then redraw smoother branching antlers with one or two small branches so they sit correctly on top of the head circle.
How can I modify this activity for younger or older children?
For younger kids simplify shapes to large circles and ovals and use markers or stickers for the eyes and hooves, while older kids can add extra pencil shading, blend with a tissue, and refine fur texture and antler detail.
How can we personalize or extend the finished reindeer drawing before sharing it?
Make it Rudolph by coloring the round nose bright red, add a snowy background or patterned blanket with your colouring materials, and optionally cut out and mount the drawing before uploading to DIY.org.
Related videos
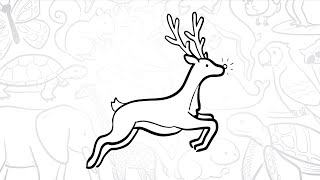
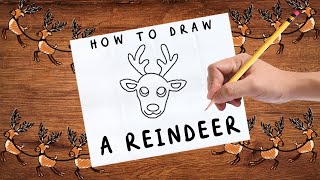
How to draw a Reindeer | Reindeer Easy Draw Tutorial
4 Videos
How to draw a Reindeer | Reindeer Easy Draw Tutorial
How to Draw a Simple Reindeer | Step-by-Step Lesson
✏️🦌 How to Draw a Reindeer | Simple Art Tutorial for Kids | Directed Drawing | Twinkl USA

HOW TO DRAW A CUTE CHRISTMAS REINDEER EASY 🦌🎄
Fun Facts
🦌 Reindeer are one of the few deer species where both males and females usually grow antlers.
🥶 A reindeer's nose warms and humidifies icy air before it reaches the lungs, helping it survive in the cold.
✏️ Many artists start drawings by sketching simple shapes (circles, ovals, rectangles) to get proportions right.
🎨 Chiaroscuro is an art technique meaning “light–dark” used to create dramatic shading and depth.
✒️ Cross-hatching layers sets of angled lines to build darker tones and smooth shading in drawings.
How do I teach my child to draw a reindeer step by step?
What materials do I need to draw a reindeer with my child?
What ages is this reindeer drawing activity suitable for?
What are the benefits of drawing a reindeer step by step?
