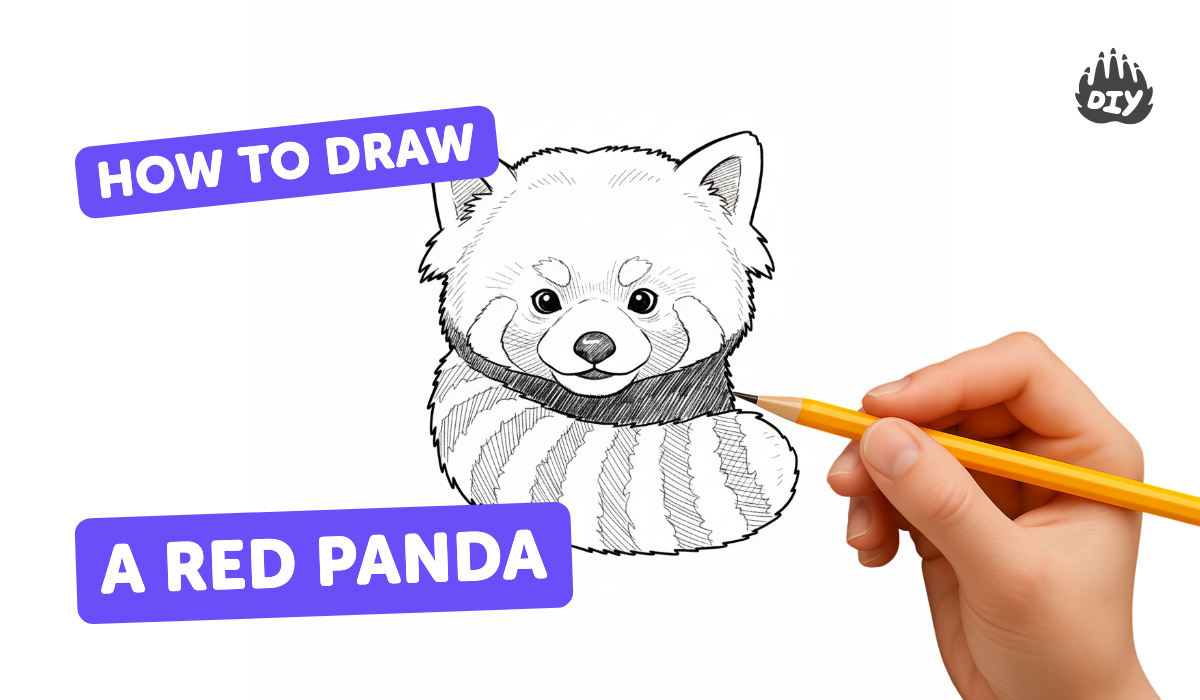
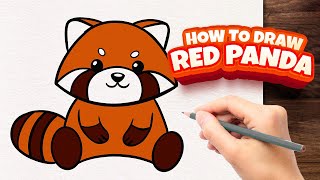
How to draw a red panda - a free red panda drawing guide
Draw a red panda step by step using simple shapes, shading, and color. Practice observation, proportion, and texture techniques to improve drawing skills.

Drawing Apps
Get inspired with these


Instructions
How to Draw a Red Panda Step by Step Drawing Tutorial With Creative Kids
Step 1
Set up your workspace with your paper pencil eraser and coloring materials within reach.
Step 2
Lightly draw a big oval in the middle of the paper for the red panda’s body.
Step 3
Draw a medium circle that overlaps the top of the oval for the head.
Step 4
Add a light vertical line and a horizontal line across the head circle to help place the face features.
Step 5
Draw two rounded triangle ears on top of the head circle.
Step 6
Sketch two rounded teardrop shapes on the face for the dark eye patches.
Step 7
Inside the patches draw two small circles for eyes and add a tiny rounded triangle nose with a short curved line for a smiling mouth.
Step 8
Draw two short rounded front legs at the bottom front of the body.
Step 9
Draw a curved line for the hind leg and connect it to the bottom of the body.
Step 10
Draw a big bushy tail curling around the back of the body.
Step 11
Add several curved bands across the tail to make the tail stripes.
Step 12
Put short curved strokes around the cheeks and along the body to show fluffy fur texture.
Step 13
Erase the head guidelines and any extra overlapping sketch lines so the drawing looks clean.
Step 14
Trace the best lines with your black pen or fine liner then add light pencil shading under the belly and on one side of the body to create depth.
Step 15
Color your red panda using your coloring materials then share your finished creation on DIY.org
Help!?
What can I use if I don't have a black pen/fine liner or special coloring materials?
Use a black ballpoint pen or thin permanent marker to trace instead of a fine liner, and substitute crayons, markers, or watercolor paints for coloring materials while keeping your pencil lines light for easy erasing.
I'm having trouble getting the head to overlap the body and erasing guidelines cleanly—any tips?
Draw the big oval for the body and the medium head circle very lightly so the head overlaps the top of the oval, use the vertical and horizontal head guidelines faintly to place the face, and erase extra sketch lines gently after you trace with your black pen to keep the drawing clean.
How can I adapt this red panda drawing for younger or older children?
For younger kids, pre-draw the big oval and head circle or simplify features to just ears, eye patches, and a tail for them to color with thick markers, while older kids can add the light pencil shading under the belly, more short curved fur strokes, and detailed tail stripes for realism.
What are some ways to personalize or extend the finished red panda drawing?
Add a bamboo or forest background, invent patterns on the tail bands, write a name or short story beside the panda, or scan and decorate the inked and colored drawing before sharing it on DIY.org as the instructions suggest.
Related videos
How To Draw A Red Panda
4 Videos
How To Draw A Red Panda
How To Draw A Red Panda | Step By Step
How To Draw A Cute baby Panda | Draw So Cute Very Easy Step by Step for Kids✨
Cute Red Panda Drawing Tutorial | Easy Step-by-Step Guide
Fun Facts
🐾 Red pandas use their long, bushy, ringed tails for balance and warmth — drawing the tail with stripes gives your sketch instant character.
✏️ Many artists start with simple construction shapes (circles, ovals, cylinders) to get proportions right before adding details.
🎨 A red panda's coat mainly shows three tones — reddish-brown, white, and black — blocking in these colors early helps with believable shading.
🔍 Red pandas are about the size of a house cat (roughly 50–64 cm body length), a handy comparison for proportioning head to body.
🖌️ Short, layered pencil strokes mimic fluffy fur better than long lines — try varying pressure to create light and shadow.
How do you draw a red panda step by step?
What materials do I need to draw a red panda?
What ages is drawing a red panda suitable for?
What are the benefits of drawing a red panda?
