How to draw a rainbow - a free rainbow drawing guide
Draw a rainbow by sketching concentric arcs, choosing colors, and blending with crayons or paint. Practice color order, spacing, and smooth strokes.


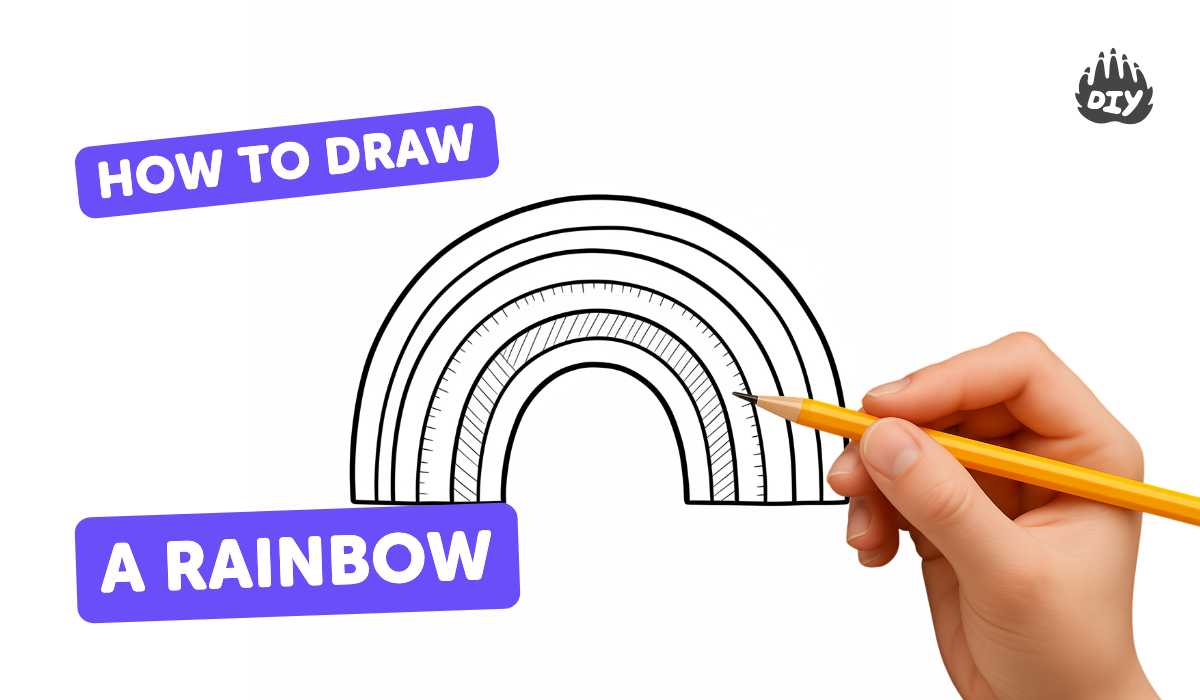

Instructions
HOW TO DRAW A RAINBOW EASY STEP BY STEP FOR KIDS AND BEGINNERS
Step 1
Place your paper flat on a table so it won’t move.
Step 2
Use your ruler and pencil to draw a light horizontal line near the bottom of the paper for the rainbow base.
Step 3
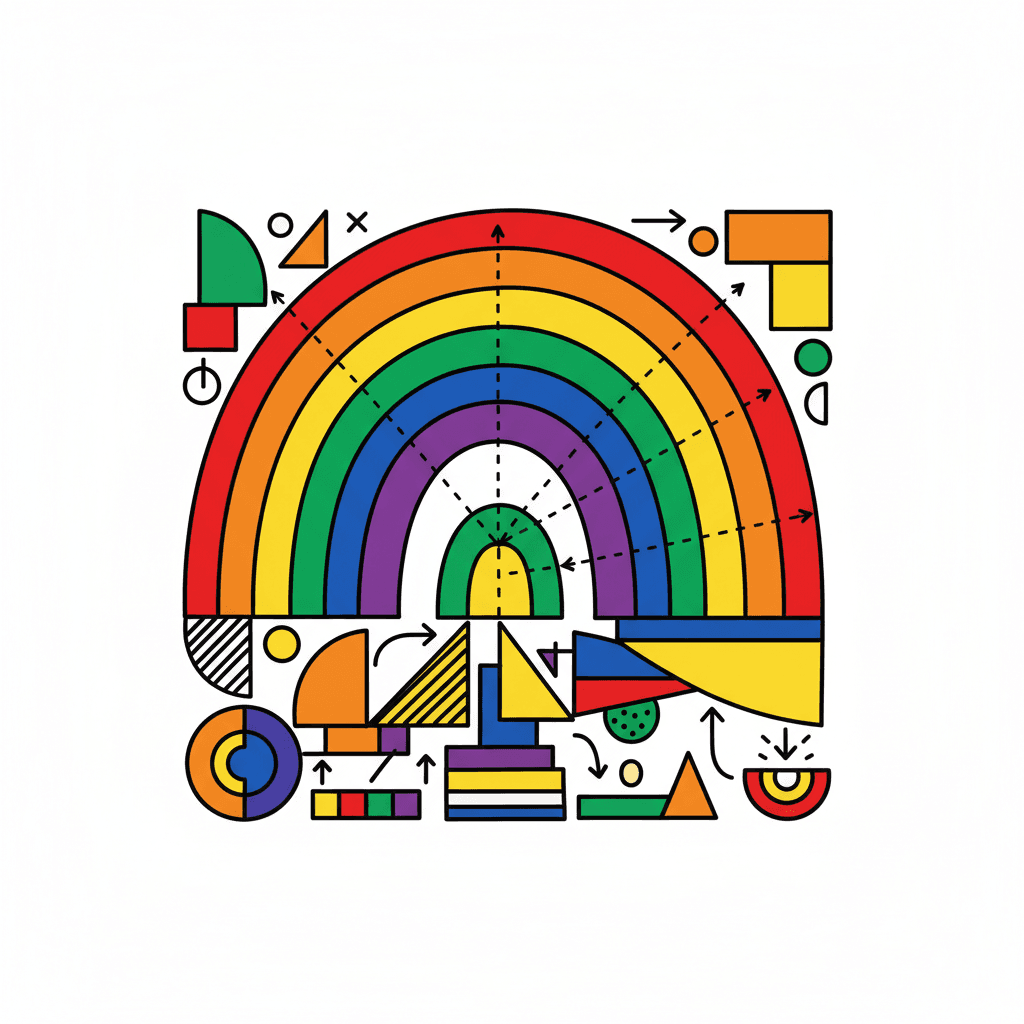
Lightly sketch a large semicircular arc from the left base point to the right base point to make the outer rainbow band.
Step 4
Lightly draw six more concentric arcs inside the first arc, spacing each arc about 1 cm apart.
Step 5
Lightly erase any stray pencil marks outside the arcs so the bands look clean.
Step 6
Lightly draw a rectangle around the rainbow to make a picture frame with some space between the arcs and the frame.
Step 7
Set out your paints on the palette and fill a cup of water and a paper towel for rinsing.
Step 8
Paint the outermost band red, staying neatly inside the pencil lines.
Step 9
Paint the next band orange and slightly overlap the orange with the still-wet red to blend the edge.
Step 10
Paint the next band yellow and slightly overlap it with the orange to blend the colors.
Step 11
Paint the next band green and slightly overlap it with the yellow to blend the edge.
Step 12
Paint the next band blue and slightly overlap it with the green to blend smoothly.
Step 13
Paint the next band indigo and slightly overlap it with the blue to blend the border.
Step 14
Paint the innermost band violet and slightly overlap it with the indigo then let your painting dry completely.
Step 15
Share your finished framed rainbow picture on DIY.org.
Help!?
What can we use if we don't have a ruler, paints, or a palette?
If you don't have paints use colored pencils or markers and a clean plate as a palette, and if you don't have a ruler use the straight edge of a book to draw the light horizontal baseline.
My painted bands are bleeding together or the arcs look uneven—how can I fix that?
Keep your pencil arcs light and spaced about 1 cm as instructed, blot excess water with the paper towel, and let each painted band dry completely before painting the adjacent band to avoid bleeding.
How can I adapt this rainbow activity for younger or older children?
For younger kids simplify to three wide arcs or pre-draw the semicircle for them to color, while older children can draw all six concentric arcs at the 1 cm spacing and practice overlapping wet-on-wet blending between bands.
How can we enhance or personalize the framed rainbow picture after finishing the painting?
Decorate the pencil-drawn rectangle frame with paint patterns or stickers, add a painted sky or cotton-ball clouds around the rainbow, sprinkle fine glitter on the still-wet violet band for sparkle, and then sign and share the finished framed rainbow on DIY.org.
Related videos
How To Draw A Rainbow 🌈 Drawings and Coloring for Kids
4 Videos
How To Draw A Rainbow 🌈 Drawings and Coloring for Kids
Draw and Color a Rainbow 🌈 Drawings for Kids
Rainbow Drawing | How to Draw a Beautiful Rainbow | Tutorial Step By Step ( rainbow )
Draw and Color a Rainbow 🌈 Drawings for Kids
Get inspired with these


Fun Facts
🌈 Rainbows are actually full circles — we usually see only an arc because the ground blocks the rest.
🎨 The mnemonic ROYGBIV (Red Orange Yellow Green Blue Indigo Violet) comes from Isaac Newton’s decision to split the spectrum into seven colors.
🌦️ A double rainbow features a second, fainter arc with the colors reversed — the outer band is opposite the inner one.
🖌️ Paint mixing follows subtractive color mixing: combining pigments absorbs more light, so mixed paints often get darker rather than lighter.
📏 You can make even, perfectly spaced rainbow bands by tracing different-sized lids or using a ruler and measuring equal gaps between arcs.
How do I teach my child to draw a rainbow step-by-step with pencil, ruler, and paints?
What materials do I need to draw a rainbow with a ruler and paints?
What ages is this rainbow drawing activity suitable for?
What are the benefits, safety tips, and easy variations for the rainbow painting activity?
