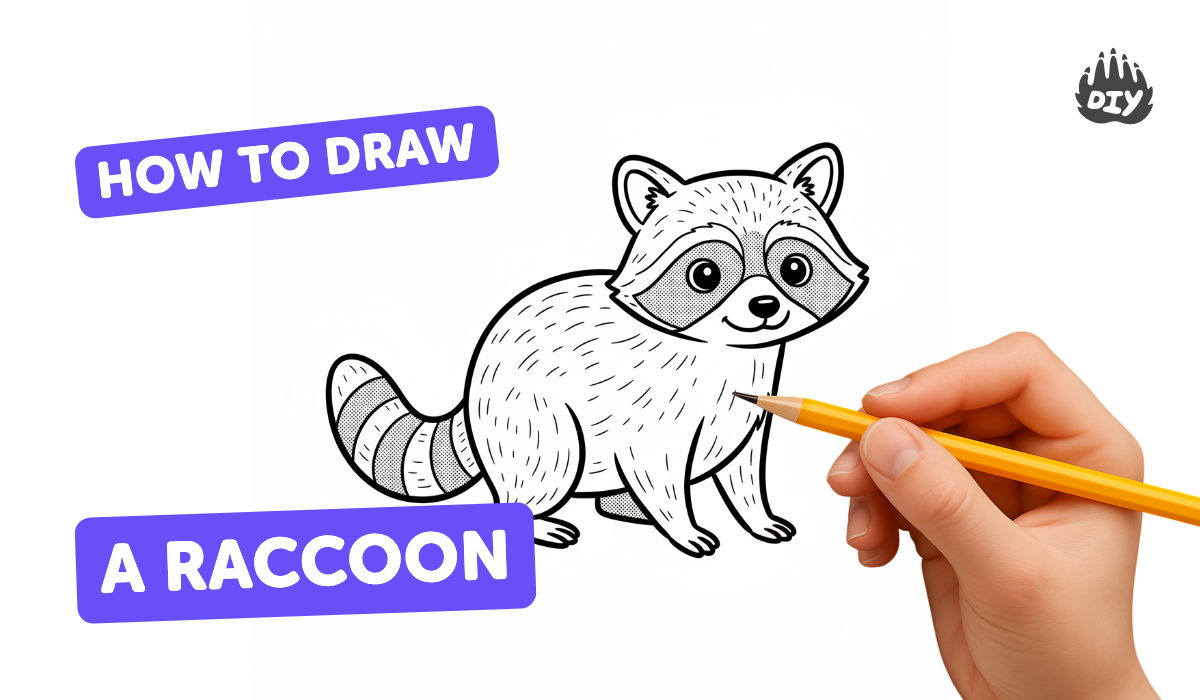
How to draw a racoon - a free racoon drawing guide
Draw a raccoon step-by-step using basic shapes, eyes, mask, tail, shading, and fur patterns. Practice observation and fine motor skills.

Drawing Apps
Photos of raccoon drawing examples


Step-by-step guide to draw a raccoon
Drawing Lessons for Kids: How to Draw a Raccoon Step by Step Easy Drawing for Kids
Step 1
Place a sheet of paper on a flat surface where you can draw comfortably.
Step 2
Lightly draw a medium circle near the top of the page for the head and a larger oval below it for the body.
Step 3
Draw a vertical center line and a horizontal eye line across the head to help place the facial features.
Step 4
Add two rounded triangle ears on top of the head.
Step 5
Draw the face by sketching two round eyes with small inner circles for pupils a small rounded triangle nose and a short curved mouth.
Step 6
Sketch the raccoon mask by drawing a curved dark band around the eyes that meets near the nose.
Step 7
Draw two simple rounded front legs and two rounded back legs attached to the body.
Step 8
Draw a long fluffy tail behind the body and add two or three curved stripes for the rings.
Step 9
Add short quick pencil strokes around the head body and tail to suggest fur texture.
Step 10
Shade lightly under the belly and where the tail meets the body to create simple shadows.
Step 11
Trace your final favorite lines with a black pen or marker and wait for the ink to dry.
Step 12
Gently erase any remaining pencil guidelines.
Step 13
Color the mask tail rings and body using gray black white or other colors you like.
Step 14
Add tiny white highlights to the eyes by leaving small uncolored spots or lifting a tiny bit of color with the eraser.
Step 15
Share your finished raccoon drawing on DIY.org.
Help!?
What can we use if we don't have a black pen, markers, or colored pencils?
For tracing your final lines in step 11 you can use a dark sharpened pencil or thin-tip crayon and for coloring in step 14 use washable markers, crayons, or watercolor paints, while a clean rubber or kneaded eraser can replace the white eraser for step 12.
My raccoon mask or eyes look uneven or the ink smudged—how can I fix that?
Use the vertical center and horizontal eye lines from step 3 to reposition eyes and the mask, keep pencil strokes light while sketching, trace with pen only when happy, and wait for the ink to dry before erasing guidelines in step 12 to avoid smudging.
How can I adapt this drawing for different ages?
For preschoolers pre-draw the head circle and body oval from steps 1–2 and let them add big eyes and color in step 14, for ages 6–9 have them follow all steps including erasing guidelines in step 12, and for older kids encourage detailed fur strokes (step 9), subtle shading (step 10), and refined highlights (step 15).
What are some ways to extend or personalize the raccoon drawing?
Add a woodland background and moon after coloring (step 14), try colorful or patterned rings on the tail, build up realistic fur with varied short pencil strokes from step 9, add tiny white paint highlights instead of erasing for step 15, and share your finished piece on DIY.org as suggested in the last step.
Watch videos on how to draw a raccoon
How To Draw A Cute Raccoon
4 Videos
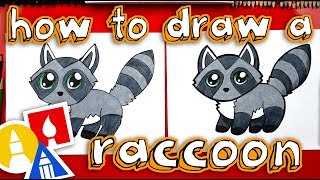
How To Draw A Cute Raccoon
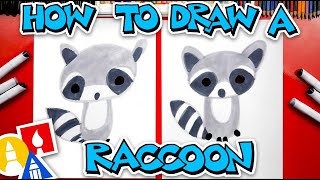
How To Draw A Cartoon Raccoon
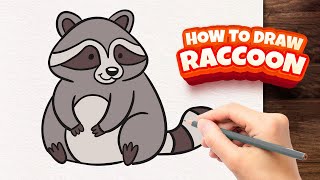
How to draw Raccoon Drawing Tutorial | Easy Step-by-Step Guide

How to Draw a Raccoon for Kids. Easy Drawing Lesson for Kids. Step by Step
Facts about animal drawing for kids
🦝 Raccoons are amazingly dexterous — their front paws can open jars and unlatch cages!
✏️ Most artists begin animal drawings by blocking in basic shapes (circles, ovals, rectangles) to build the pose.
👀 Adding a tiny white highlight (a catchlight) to an eye instantly makes a drawing look alive.
🖐️ Step-by-step drawing practice helps kids improve fine motor control and hand–eye coordination.
🌙 Raccoons are mostly nocturnal—you're most likely to spot them foraging at dusk or during the night.
How do you draw a raccoon step-by-step?
What materials do I need to draw a raccoon?
What ages is drawing a raccoon suitable for?
What are the benefits and variations of drawing a raccoon?
