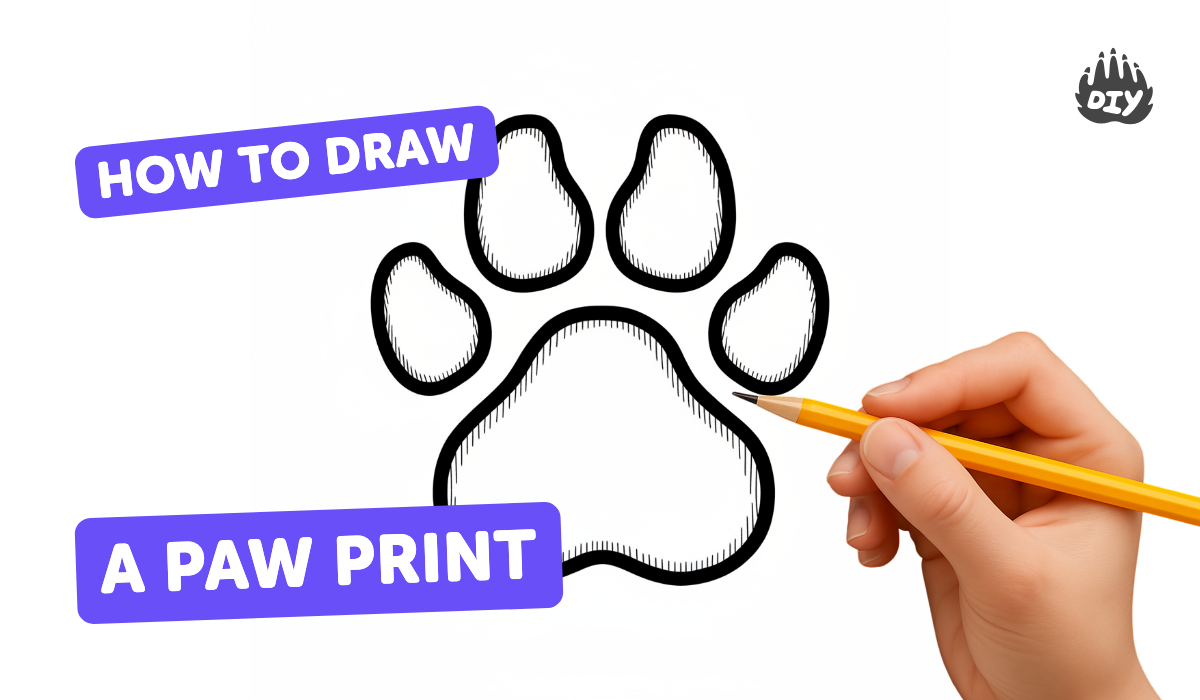
How to draw a paw print - a free paw print drawing guide
Draw a realistic paw print using simple shapes, tracing, and shading. Practice observation, symmetry, and texture to improve drawing skills.

Drawing Apps
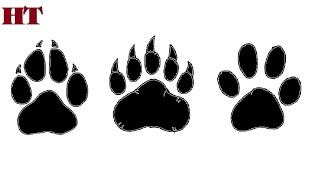
Photos of paw print drawing examples


Step-by-step guide to draw a paw print
How To Draw Paw Print | Easy Step-by-Step Drawing for Beginners @XYZArts007
Step 1
Place your reference picture of a paw print next to your paper so you can look at it while you draw.
Step 2
Lightly mark a small center dot on your paper where you want the paw print to sit.
Step 3
Draw a large rounded triangle or upside-down heart shape lightly for the main pad using soft pencil strokes.
Step 4
Draw four lightly sketched ovals above the main pad for the toes and space them evenly on either side of the center.
Step 5
Look at the reference and trace the basic shapes again with light pencil strokes to match sizes and positions more closely.
Step 6
Check symmetry by measuring the gaps from the center dot to each toe and erase and redraw any toe that looks uneven.
Step 7
Darken the final outlines of the main pad and toes with a firmer pencil line to make the shapes clear.
Step 8
Add little irregular bumps or soft notches along the pad edges to copy the texture you see in the reference.
Step 9
Decide where the light is coming from and shade each pad lightly with the side of your pencil, making the far edges darker.
Step 10
Blend the shaded areas softly with a tissue or cotton swab and add a faint shadow beneath the whole print to make it look raised.
Step 11
Erase stray guideline marks and then share your finished paw print drawing on DIY.org
Help!?
I don't have a tissue or cotton swab for blending—what can I use instead?
Use a blending stump, a clean fingertip, a folded paper towel or the rounded edge of a kneaded eraser to softly blend the side-of-pencil shading as the instructions say to 'Blend the shaded areas softly with a tissue or cotton swab'.
My toes look uneven after I sketch them—how can I fix that?
Follow the 'Check symmetry by measuring the gaps from the center dot to each toe' step, lightly erase the uneven ovals and redraw them using the center dot as a reference or a small ruler to equalize spacing before darkening lines.
How can I adapt this drawing activity for different ages?
For younger children, give a printed paw-print template to trace and let them use markers instead of 'light pencil strokes', while older kids can refine 'little irregular bumps' and practice advanced shading with a blending stump or cross-hatching techniques.
How can we enhance or personalize the finished paw print?
After you 'Darken the final outlines' and 'add a faint shadow beneath the whole print', personalize it by adding watercolor or colored-pencil backgrounds, labeling the animal species, or making a craft-foam stamp to reproduce the same paw print.
Watch videos on how to draw a paw print
How to draw a paw print step by step easy
4 Videos
How to draw a paw print step by step easy
How to Draw Cat Paw Prints in a Few Easy Steps: Drawing Tutorial for Beginner Artists
How to Draw a Paw Print
How to draw PAWS - Beginner & Advanced
Facts about drawing and sketching for kids
🐾 Most mammal paw prints show four toe pads plus one larger pad (the metacarpal/metatarsal pad) — that's why many prints look like a clover with a thumb!
🔍 Expert trackers can often identify species, approximate size, and whether the animal was walking or running from a single clear print.
🔁 Paw prints are usually roughly symmetrical left-to-right, so tracing one side and mirroring it helps make accurate drawings fast.
🎨 Adding subtle shading beneath each pad and inside pad creases makes a flat outline look rounded and 3D in realistic drawings.
📏 Puppies and kittens leave smaller, closer-together prints than adults — age and breed change print size and spacing.
How do you draw a realistic paw print?
What materials do I need to draw a paw print?
What ages is drawing a paw print suitable for?
What are the benefits of drawing paw prints?
