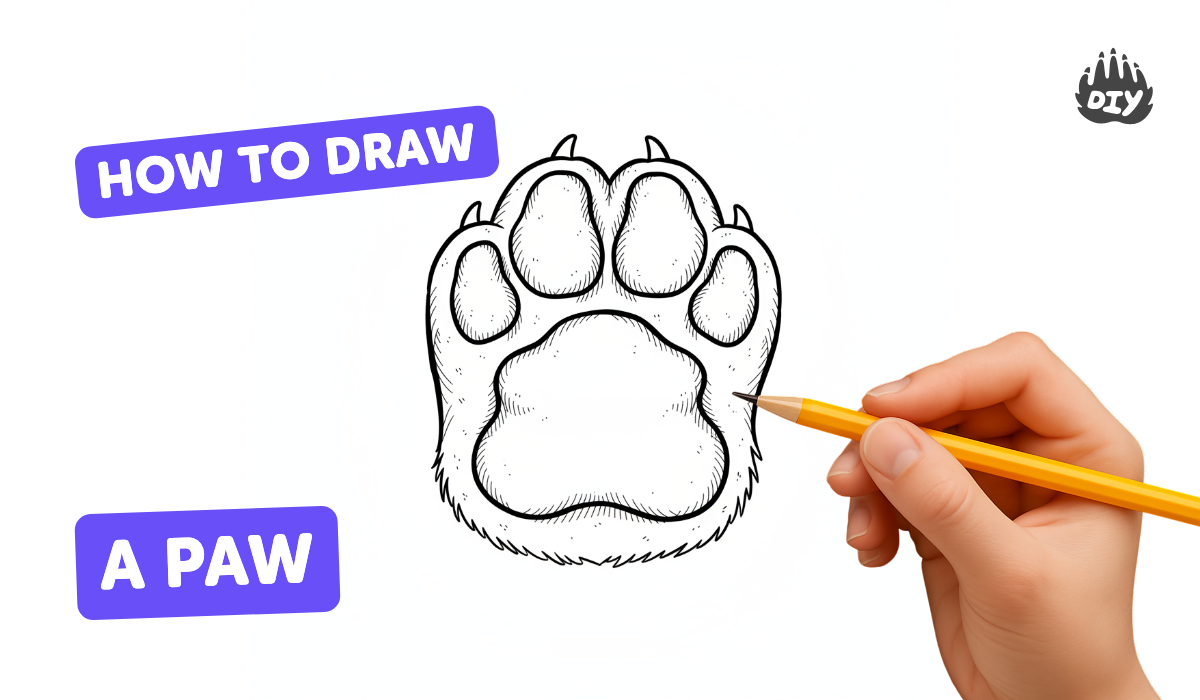
How to draw a paw - a free paw drawing guide
Draw a realistic animal paw step-by-step using simple shapes, tracing, and shading. Practice proportions and textures to make each toe pad distinct.

Drawing Apps
Photos of realistic animal paw drawings


Step-by-step guide to draw a realistic animal paw
How to draw PAWS - Beginner & Advanced
Step 1
Find a comfy workspace and place your paper and pencil in front of you.
Step 2
Put your reference photo next to your paper so you can look at the paw while you draw.
Step 3
Lightly draw a large rounded triangle or oval for the main paw pad.
Step 4
Lightly draw four small circles above the main pad to mark where each toe pad will go.
Step 5
Sketch short curved lines connecting each toe circle to the main pad to show where toes meet the pad.
Step 6
Look at your reference and gently erase or move any pads so the sizes and spacing look balanced.
Step 7
Trace over your best shapes with a slightly darker pencil line to make the final paw outline.
Step 8
Draw small curved claw shapes at the top of each toe pad.
Step 9
Add short fur strokes around the edges and tiny crease lines on each pad to show texture.
Step 10
Mark the direction of your light source with a small arrow so shading will match the light.
Step 11
Shade each pad by darkening the side opposite the light to make the pads look round.
Step 12
Use your tissue or cotton swab to gently blend the shading so it looks smooth.
Step 13
Use the eraser to lift tiny highlights on the pads and add small texture dots for realism.
Step 14
Carefully erase the construction lines and darken the final outlines and claws.
Step 15
Add color if you like using light layers with your coloring materials and then share your finished paw drawing on DIY.org
Help!?
What can I use if I don't have a tissue or cotton swab for blending the shading?
Use a clean fingertip, a folded piece of tissue, a soft paper towel, or a cotton ball to gently blend the shading as instructed in 'Use your tissue or cotton swab to gently blend the shading so it looks smooth'.
My toe pads don't line up and the paw looks lopsided—how do I fix it?
Lightly erase and reposition the four small circles and the large rounded triangle/oval while comparing to your reference photo, or mark equal distances with faint pencil ticks before tracing the final paw outline from the instructions that say 'gently erase or move any pads so the sizes and spacing look balanced'.
How can I adapt this paw-drawing activity for different ages?
For younger children, pre-draw the large rounded triangle/oval and toe circles for them to trace and add simple claws, while older kids can follow all steps including shading with a tissue or cotton swab and adding tiny texture dots and highlights for realism.
How can I make my paw drawing more unique or challenging once I finish the basic steps?
Try varying pad shapes for different animals using your reference photo, emphasize the light arrow and cast shadow when you 'Shade each pad by darkening the side opposite the light', add colored layers after erasing construction lines, or draw multiple paws and share your finished paw drawing on DIY.org.
Watch videos on how to draw a realistic animal paw
How to Draw a Paw Print 🐾 | Easy Step-by-Step Drawing Tutorial for Kids & Beginners
4 Videos
How to Draw a Paw Print 🐾 | Easy Step-by-Step Drawing Tutorial for Kids & Beginners
🐾 How to Draw a Paw Print - Easy Step by Step Guide for Beginners! 🎨 #howtodraw #learntodraw
How to Draw a Cute Dog Paw! 🐾 Easy Step-by-Step Sketch
How to Draw a Dog Paw
Facts about animal drawing for kids
🐾 Paw pads are thick, tough skin that protect animals from rough ground and act like built-in shock absorbers.
🐱 Cats and dogs are digitigrade — they walk on their toes, which changes paw proportions and how artists draw them.
✍️ Pro artists start paw drawings with simple shapes (ovals and circles) to block in proportions before adding details.
🖌️ Hatching, cross-hatching, and soft shading tricks can make a flat sketch look furry and three-dimensional.
📐 A handy measuring trick: use one toe-pad width as a unit to keep all toes and pads in proportion.
How do I teach my child to draw a realistic animal paw step-by-step?
What materials do I need to draw a realistic animal paw with my child?
What ages is drawing a realistic animal paw suitable for?
What are the benefits of practicing realistic paw drawing with kids?
