How to draw a mushroom - a free mushroom drawing guide
Learn to draw a simple mushroom step by step using pencil, eraser, and color. Practice shapes, shading, and adding spots to decorate it.

Drawing Apps
Photos of mushroom drawing examples


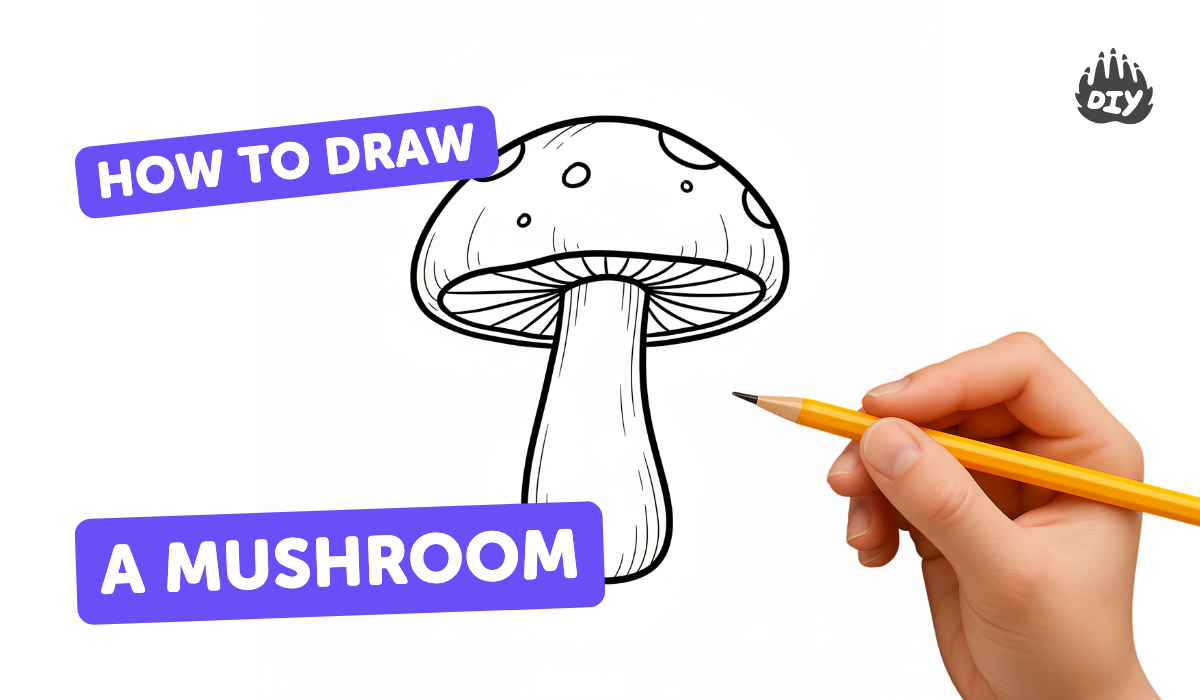
Step-by-step guide to draw a simple mushroom
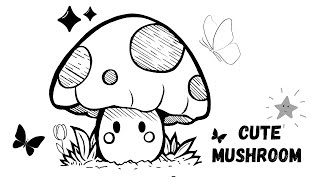
How to Draw a Cute Mushroom - Easy Step by Step for Kids & Beginners!
Step 1
Put your paper on a flat surface.
Step 2
Pick up your pencil.
Step 3
Draw a short horizontal line near the bottom of the paper to be the ground.
Step 4
Draw the mushroom stem by making two slightly curved vertical lines close together and connecting them with a small curve at the bottom.
Step 5
Draw a big rounded dome above the stem to make the mushroom cap.
Step 6
Draw a gentle curved line just under the cap to show the underside or gills.
Step 7
Draw several circles or ovals on the cap to make spots.
Step 8
Use your eraser to lightly remove any extra sketch lines you do not want.
Step 9
Shade the right side of the stem with light pencil strokes to show shadow.
Step 10
Shade the underside of the cap with light pencil strokes to show the shadow beneath it.
Step 11
Color the mushroom cap using your coloring materials.
Step 12
Color the mushroom stem using your coloring materials.
Step 13
Color the spots on the cap with a bright color to decorate your mushroom.
Step 14
Share your finished mushroom drawing on DIY.org.
Help!?
What can we use if we don't have a pencil, eraser, or crayons listed in the instructions?
If you don't have a pencil, eraser, or crayons for steps 2, 9, and 11–14, use a washable marker or pen for outlines, a clean tissue to gently lift stray pencil marks, and watercolors, markers, or glued colored paper scraps to color the cap, stem, and spots.
My mushroom cap looks lopsided—how do I fix it?
If the big rounded dome in step 5 looks uneven, draw a light vertical center guideline, reshape the dome with gentle pencil strokes, then use the eraser from step 9 to remove the guideline and refine the outline.
How can I change the instructions to suit different ages?
For younger children, pre-draw the stem and cap from steps 4–5 for them to color and add sticker spots in step 13, while older kids can add detailed gills and cross-hatching shading in steps 8–9 and create a background before sharing on DIY.org in step 15.
How can we make the mushroom drawing more creative or personal?
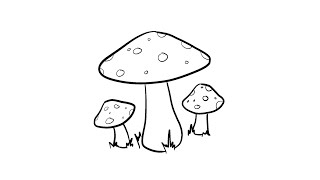
To extend the activity, draw a mushroom family by varying stem heights and cap sizes in steps 4–6, decorate spots with patterns or glitter in step 13, and photograph your finished drawing to share on DIY.org (step 15).
Watch videos on how to draw a simple mushroom
How to Draw a Mushroom for Kids | Easy Drawing Tutorial
4 Videos
How to Draw a Mushroom for Kids | Easy Drawing Tutorial
How to draw mushrooms with markers for kids and beginners 🍄 🍄🟫
How to Draw a Simple Mushroom | Step-by-Step Lesson
Easy Cute Mushroom Drawing Tutorial Step-by-Step Guide for Beginners #sketch
Facts about drawing and sketching for kids
🍄 Mushrooms are the fruiting bodies of fungi — the hidden mycelium can cover over 2,000 acres in some cases.
✏️ Pencils are graded by hardness (H) and blackness (B); artists often use 2B–6B pencils for soft shading.
🧚♀️ The red-and-white Amanita muscaria is the iconic 'fairy-tale' mushroom that inspired many cartoon designs.
⚪ The white spots on some mushrooms are leftover bits of a protective layer called the universal veil.
🎨 Drawing a mushroom is easy when you start with simple shapes — ovals for the cap and cylinders or curved rectangles for the stem.
How do I teach my child to draw a mushroom step by step?
What materials do we need to draw a simple mushroom?
What ages is drawing a mushroom suitable for?
What are the benefits of drawing mushrooms and fun variations to try?
