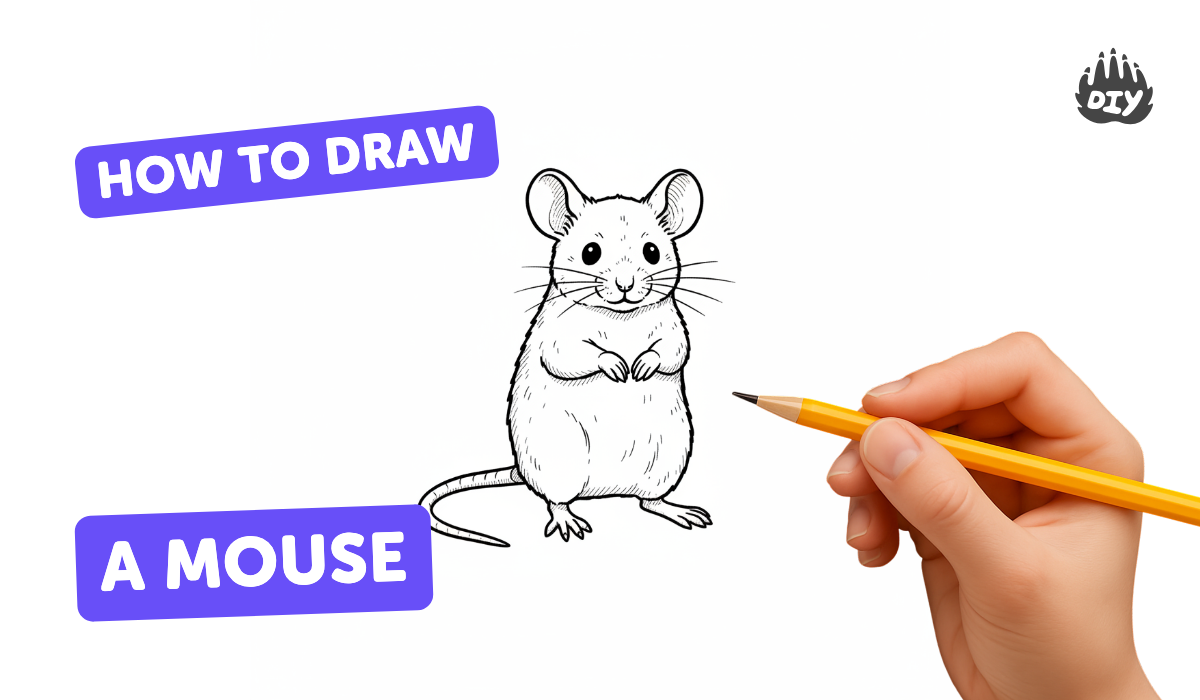
How to draw a mouse - a free mouse drawing guide
Draw a friendly mouse step-by-step using simple shapes, add whiskers, ears, tail, and shading to practice proportions and basic drawing skills.


Drawing Apps
Photos of mouse drawing examples
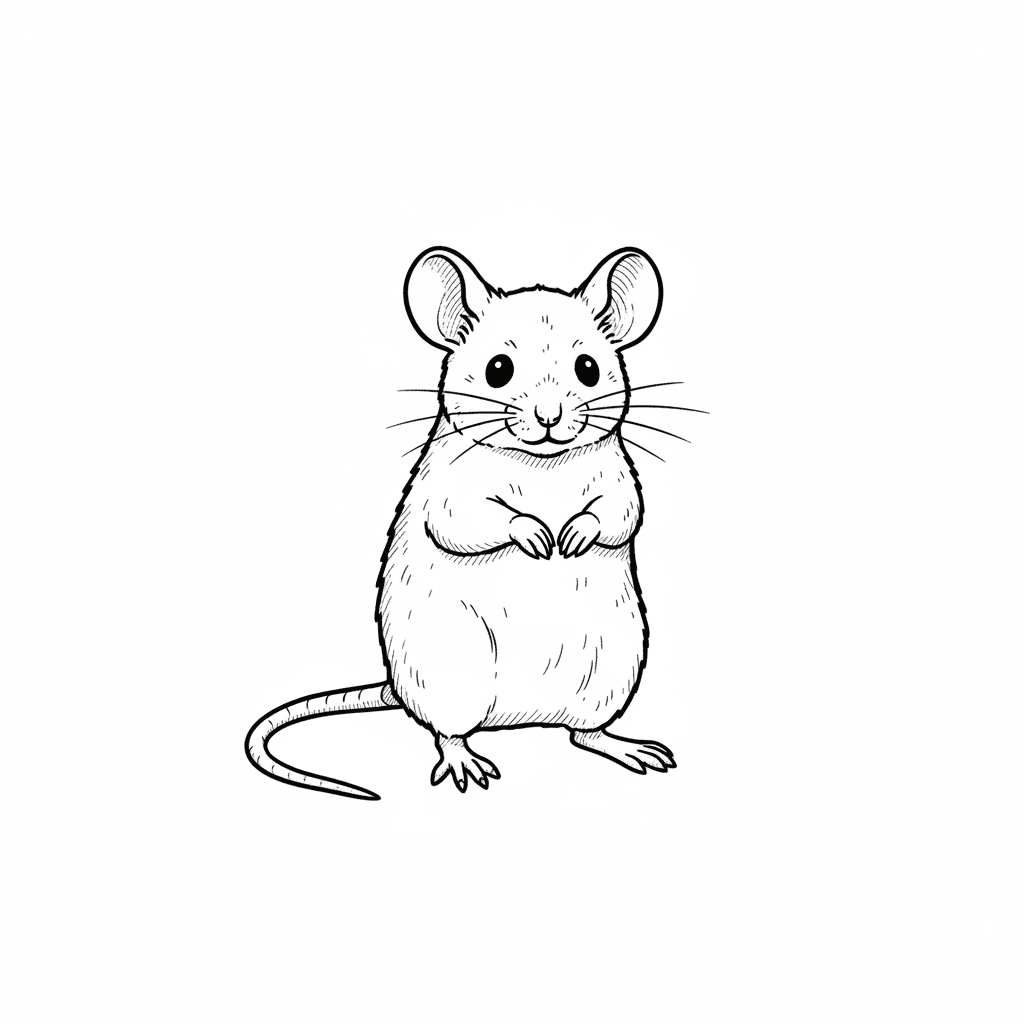
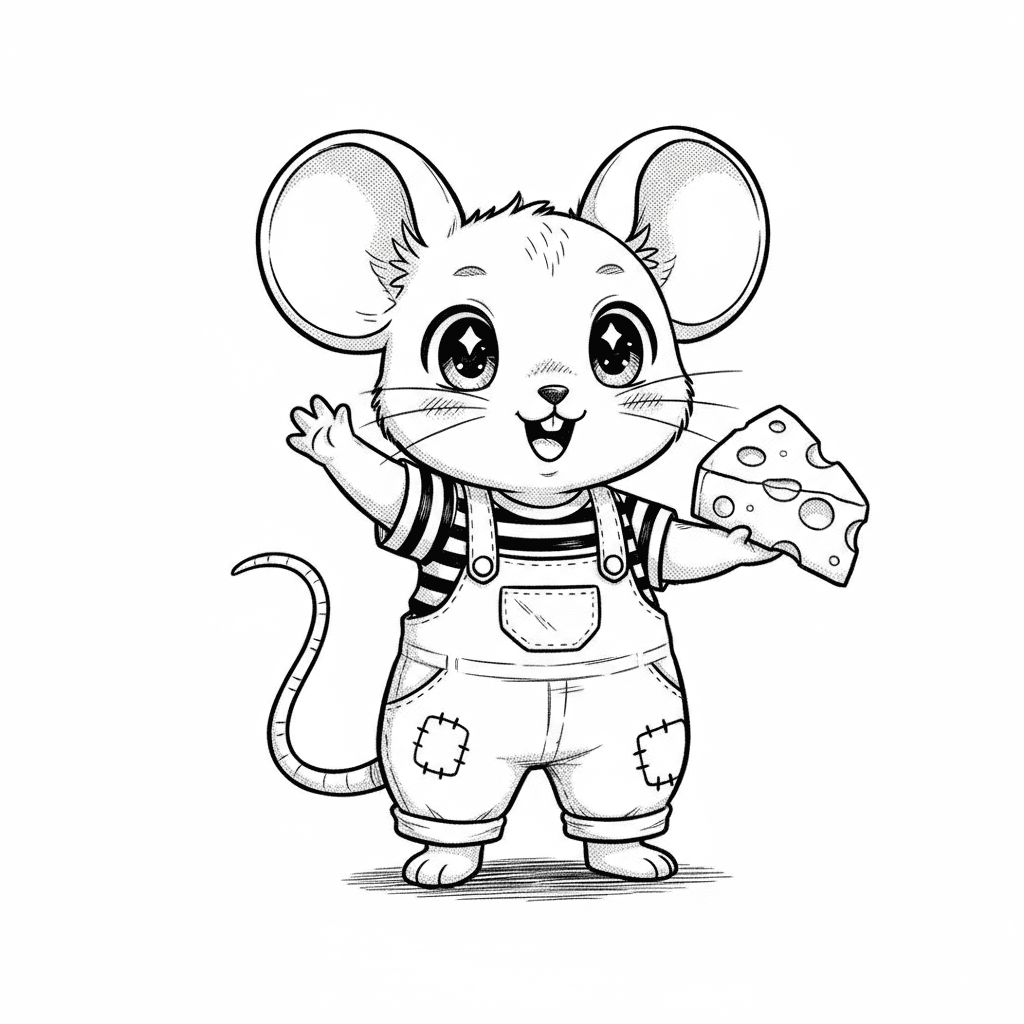
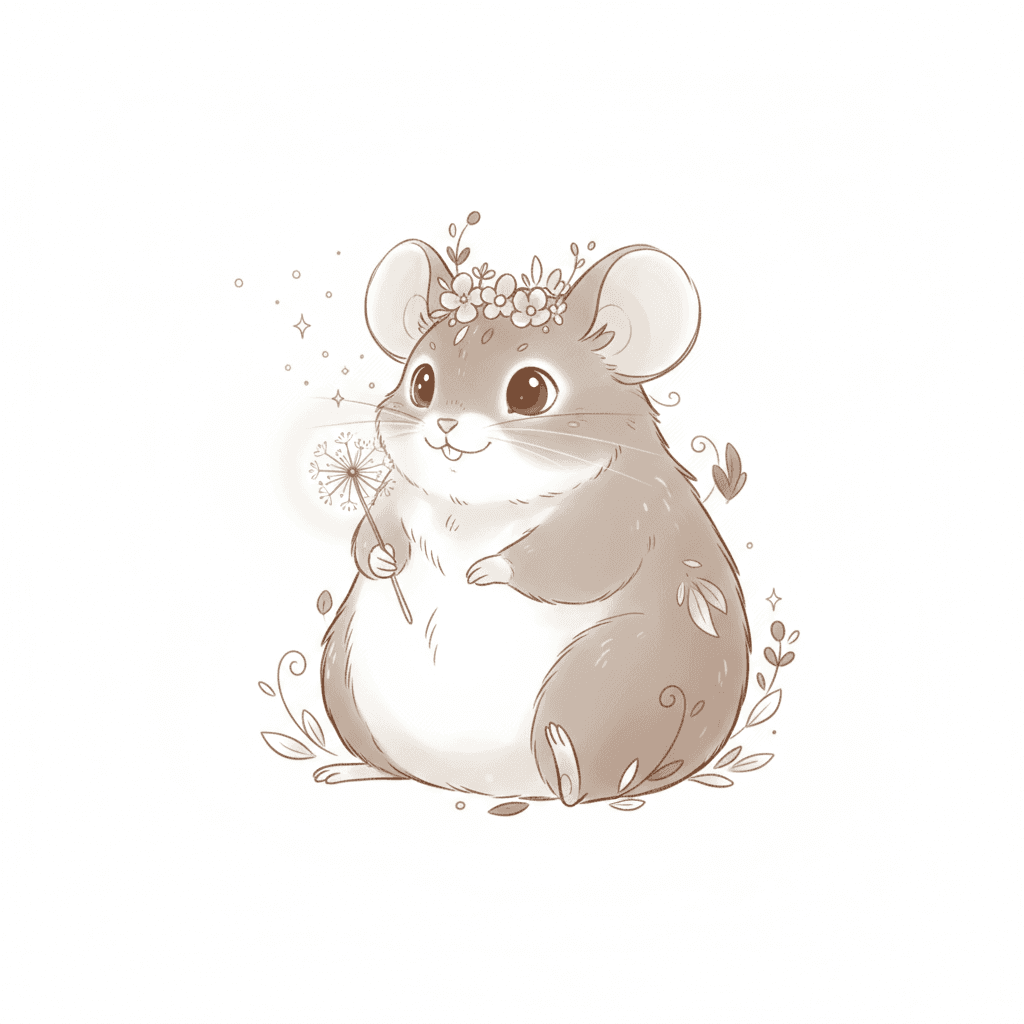


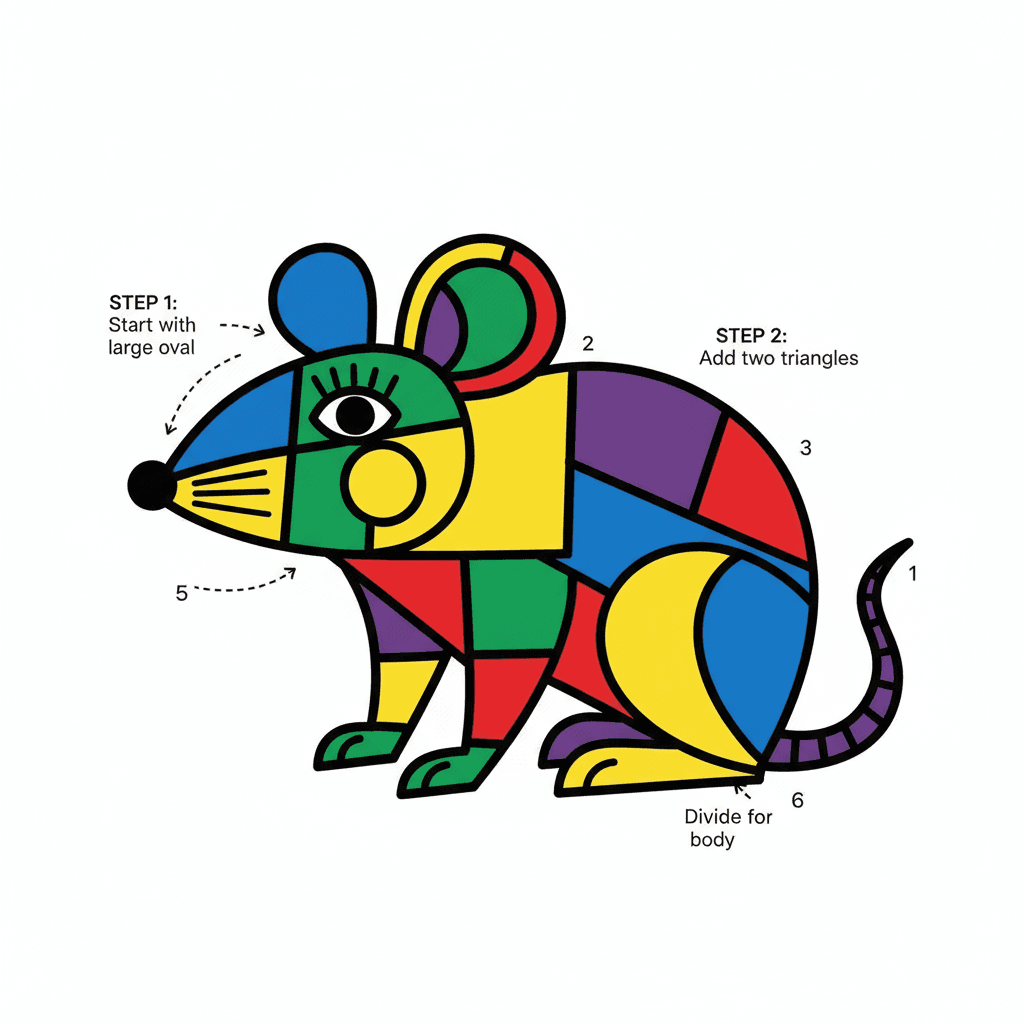
Step-by-step guide to draw a friendly mouse
How to Draw a Cute Mouse - Easy Step-by-Step Drawing for Kids & Toddlers
Step 1
Draw a light circle near the top center of the paper for the mouse's head.
Step 2
Draw a larger oval that touches the bottom of the head for the mouse's body.
Step 3
Lightly draw a cross guideline across the head to help place the face features.
Step 4
Draw two big round ears on the top sides of the head to make a friendly look.
Step 5
Draw two small circles on the horizontal guideline for the mouse's eyes.
Step 6
Draw a small rounded triangle at the front of the head for the nose.
Step 7
Draw a short curved line under the nose for a smiling mouth.
Step 8
Draw three straight whisker lines on each side of the nose.
Step 9
Draw short front and back legs under the body with tiny rounded feet.
Step 10
Draw a long wiggly tail coming out from the back of the body.
Step 11
Add a smaller curved line inside each ear for the inner ear detail.
Step 12
Add little toe lines on each foot and any extra small details you like.
Step 13
Lightly shade one side of the head and body and under the belly then color your mouse to finish it.
Step 14
Share your finished mouse drawing on DIY.org.
Help!?
What can we use if we don't have a pencil, eraser, or colored pencils to follow the 'lightly draw' and 'lightly shade' steps?
If you don't have a pencil or eraser, use a light-colored crayon or a soft colored pencil and press very lightly for the head, cross guideline, and body oval, and use markers or regular crayons to color and shade the side of the head and under the belly.
My mouse's face looks lopsided—how can I fix the eyes and nose placement using the instructions?
Use the light cross guideline across the head to realign the two small circles for the eyes and the rounded-triangle nose on the horizontal line, then lightly erase and adjust the ears and smiling mouth so they sit symmetrically.
How can I adapt this drawing activity for toddlers, school-age kids, and older children?
For toddlers skip the cross guideline and use stickers or pre-cut shapes for the head, ears, eyes, and nose, for school-age kids follow the steps as written and practice the light shading and toe lines, and for older kids add fur texture, blended shading on one side, a more detailed tail and a background scene before sharing on DIY.org.
How can we extend or personalize the mouse drawing beyond the 'add extra small details' instruction?
Personalize it by changing the inner ear detail to hearts or stripes, adding fur strokes along the body, drawing a patterned scarf or a little cheese prop near the tail, and using layered colors when you lightly shade one side and under the belly.
Watch videos on how to draw a friendly mouse
How To Draw A Cartoon Mouse
4 Videos
How To Draw A Cartoon Mouse
How to Draw a MOUSE! Easy Learning Video For Toddlers through Kindergarten Kids
How to Draw Mouse - Easy Drawings for Beginners
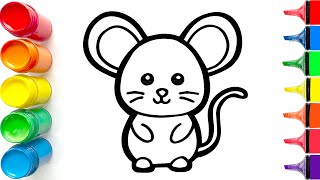
How to Draw a Cute Mouse | Easy Step-by-Step Tutorial
Facts about basic drawing skills
🐭 A typical adult house mouse weighs only about 20 grams—small enough to sit in your palm!
✏️ Many artists build animal drawings from simple shapes (circles, ovals, triangles) before adding details.
🐾 A mouse's whiskers (vibrissae) are super-sensitive and help it sense nearby objects in the dark.
👂 Mice have large ears for their size and excellent hearing, which helps them detect danger and other mice.
🎨 Mickey Mouse debuted in 1928 and helped make friendly cartoon mice one of the most loved character types.
How do I teach my child to draw a friendly mouse step-by-step?
What materials do we need to draw a mouse with my child?
What ages is drawing a friendly mouse suitable for?
What are the benefits of practicing drawing a mouse with my child?
