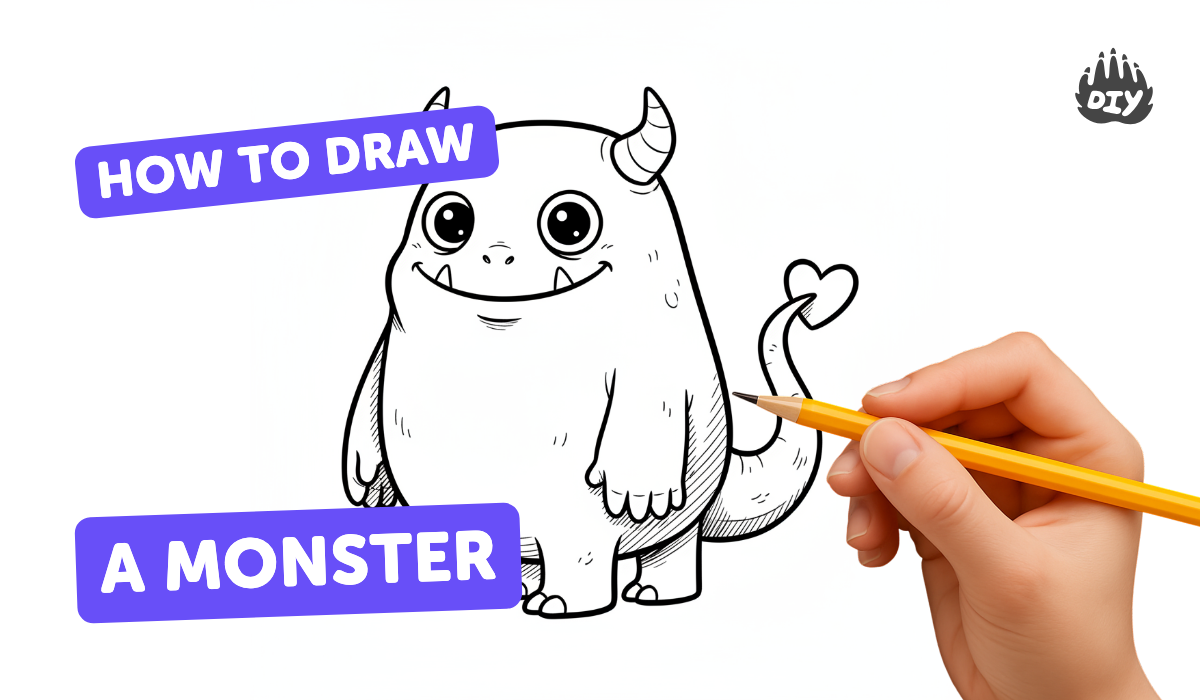
How to draw a monster - a free monster drawing guide
Learn to draw a friendly monster step-by-step using simple shapes, colors, and shading while practicing creativity, proportion, and drawing skills.

Drawing Apps
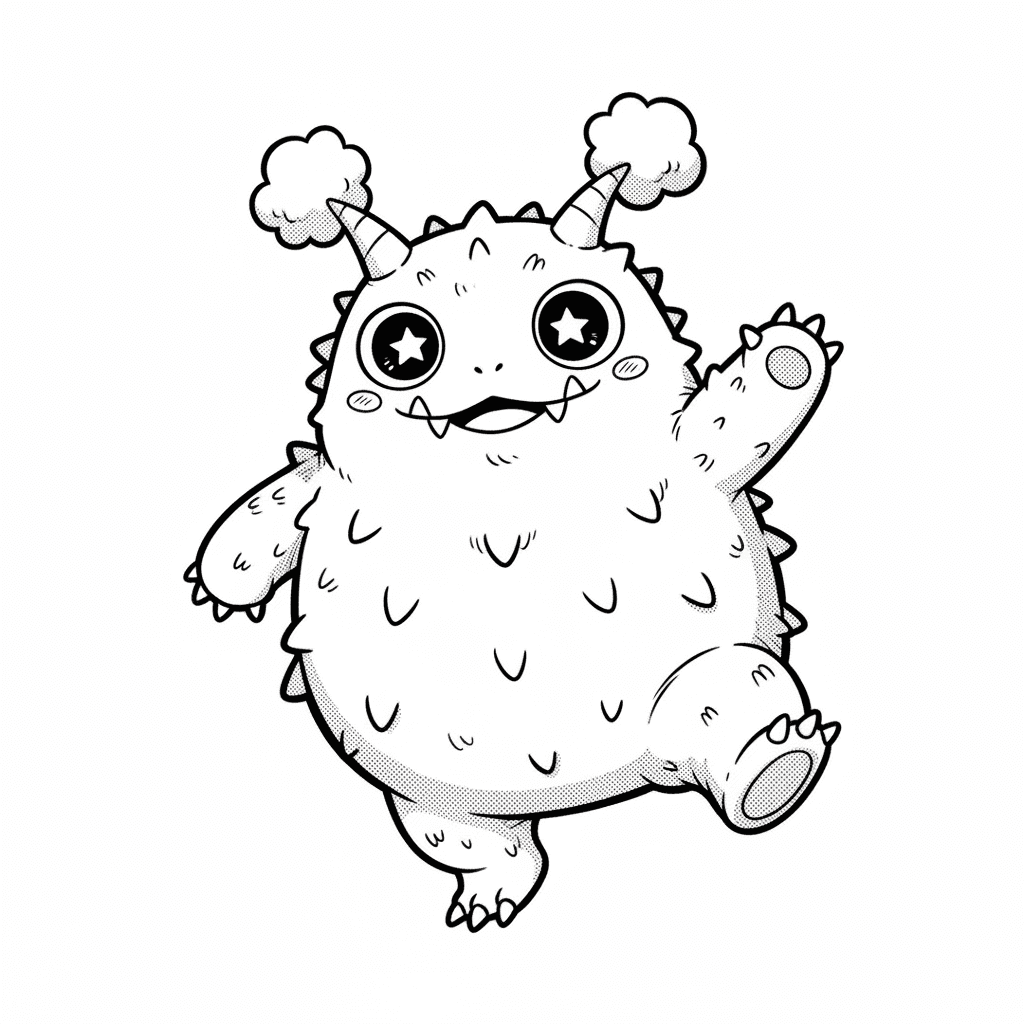
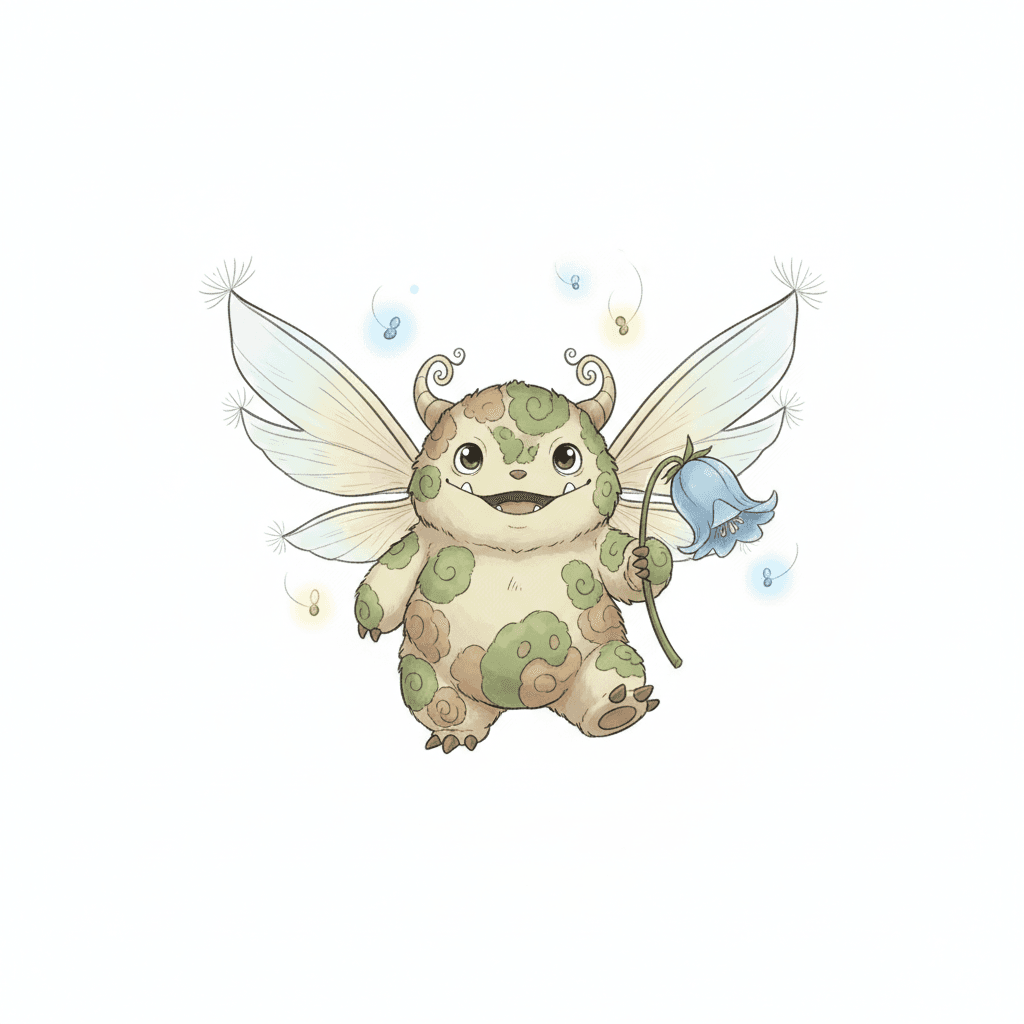
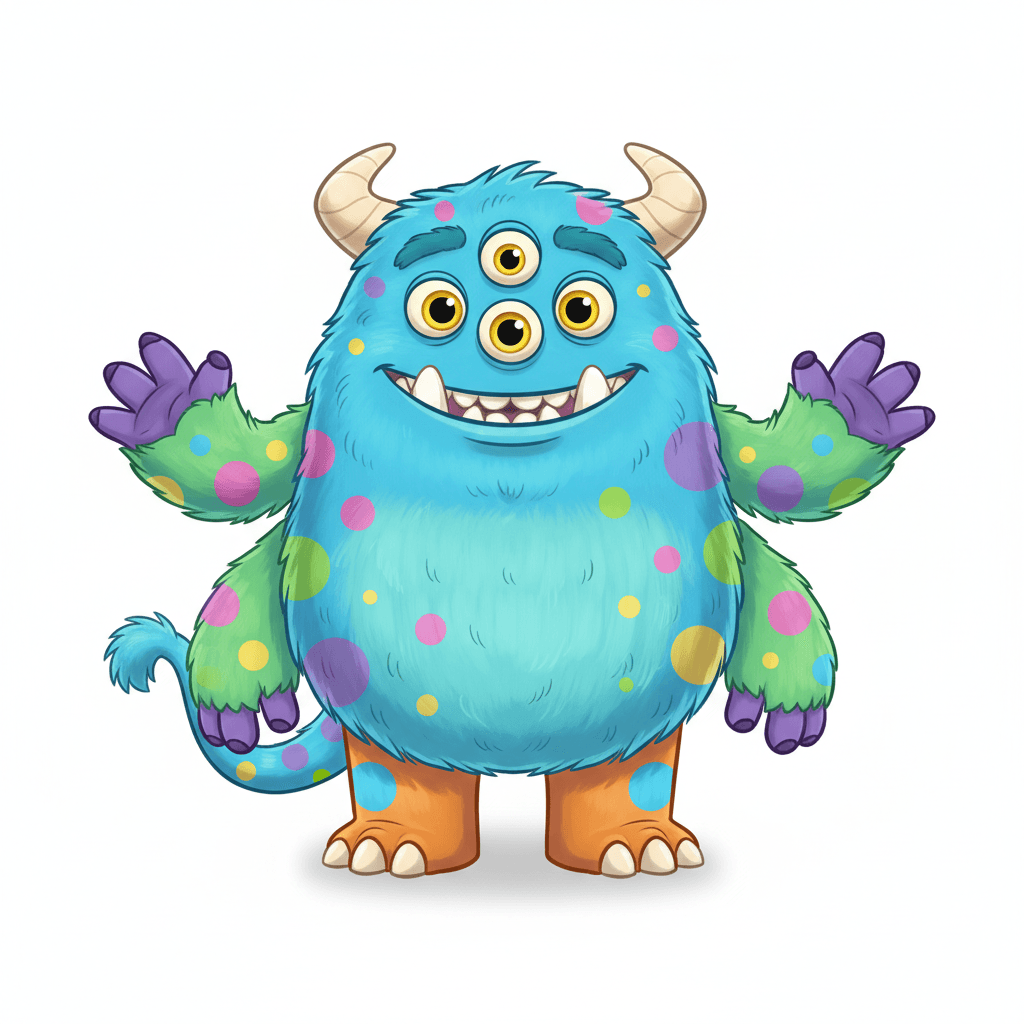
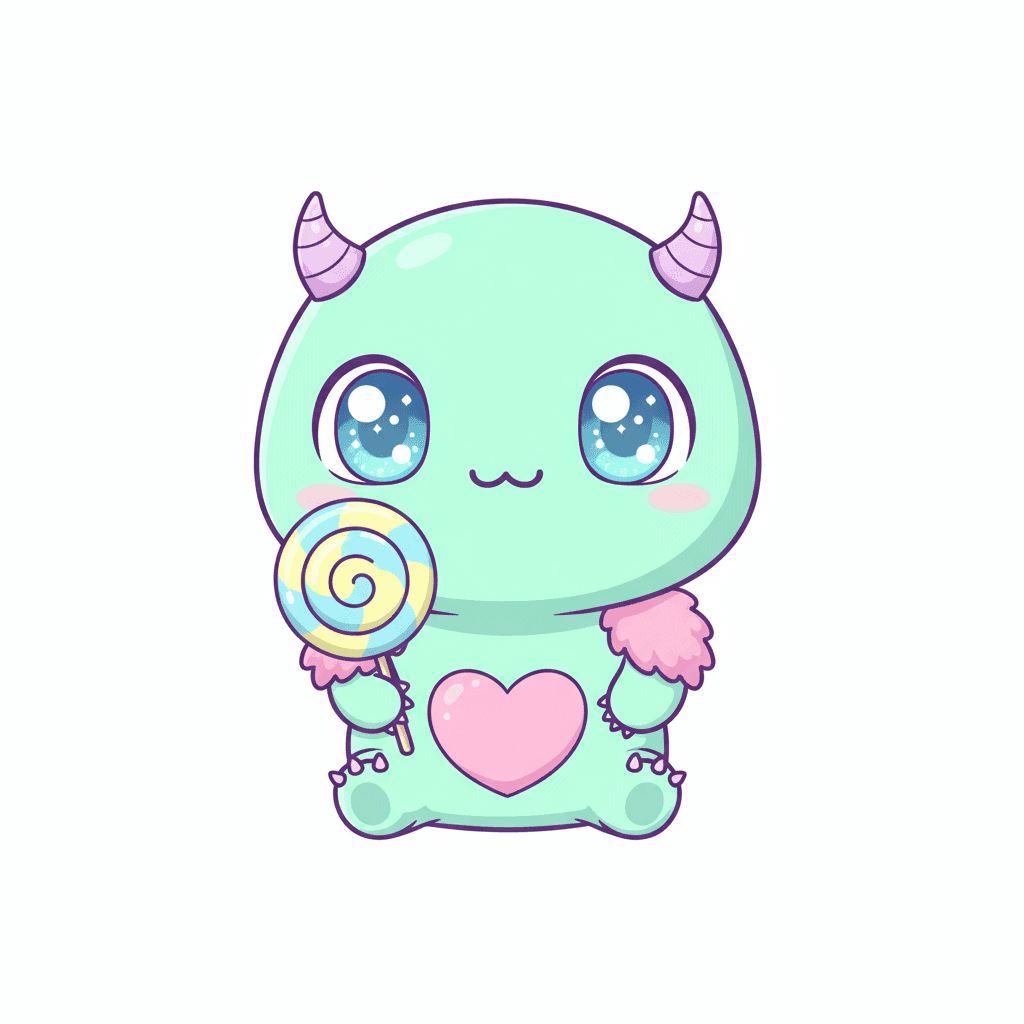
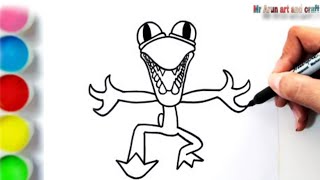
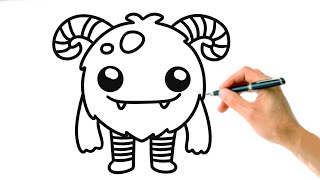
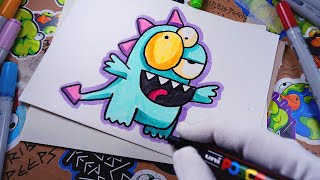
Photos of friendly monster drawing examples
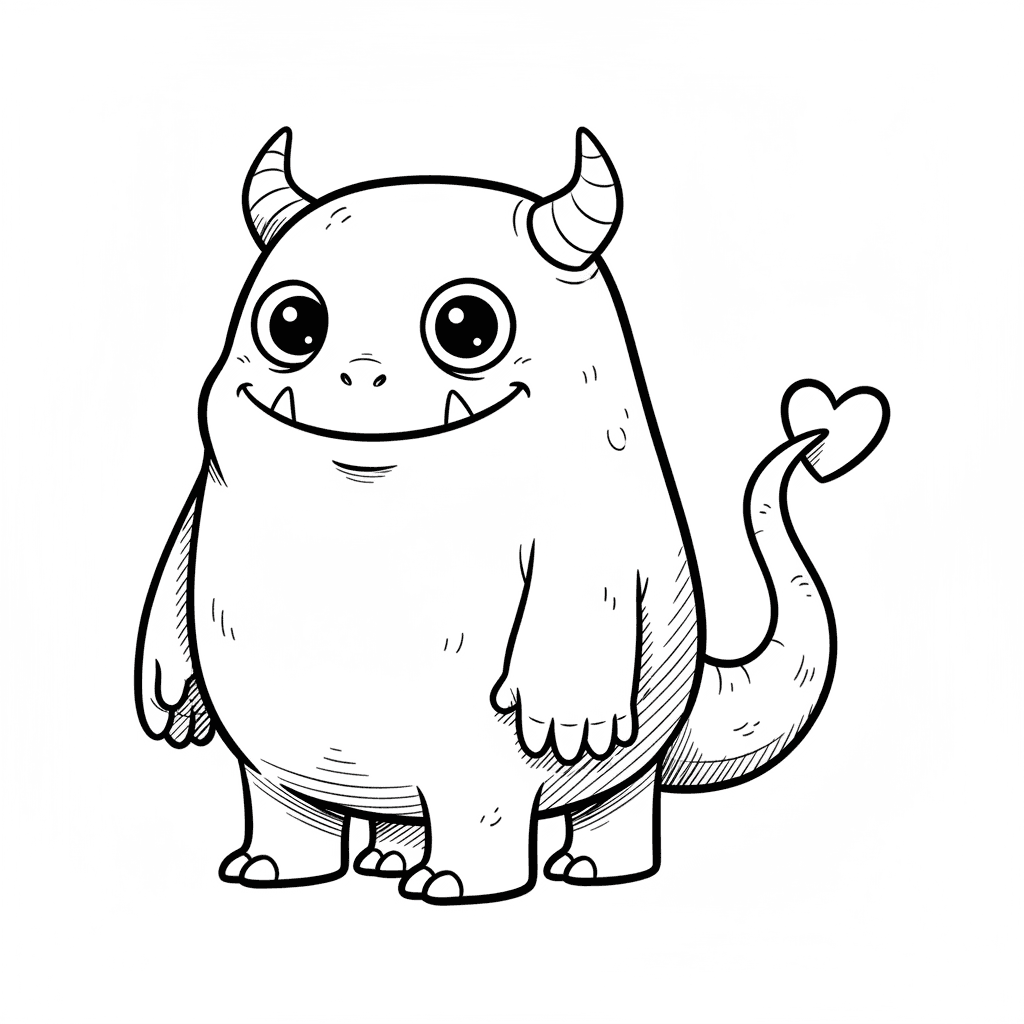
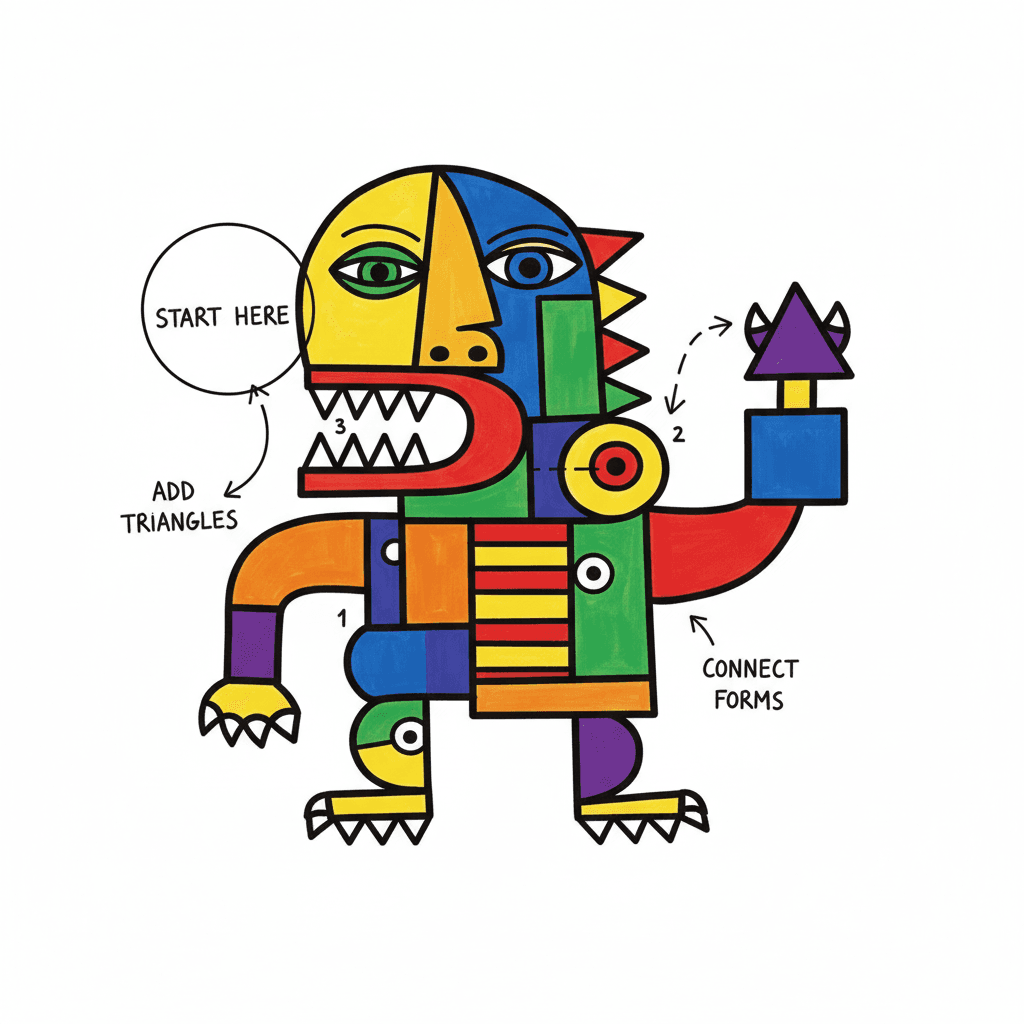
Step-by-step guide to draw a friendly monster
How to Draw a Monster - Step by Step for Kids
Step 1
Lightly draw a large oval in the middle of the paper for the monster's body.
Step 2
Lightly draw a smaller circle overlapping the top of the oval for the monster's head about one-third the size of the body.
Step 3
Draw two round eyes inside the head spaced evenly apart.
Step 4
Draw small filled circles inside each eye to make the pupils.
Step 5
Leave a tiny uncolored dot in each pupil to create a shiny eye highlight.
Step 6
Draw a wide friendly smile under the eyes to give your monster a happy expression.
Step 7
Add one or two simple teeth inside the smile as small rectangles or triangles.
Step 8
Draw arms and legs using tube shapes or rectangles attached to the body.
Step 9
Add fun features like horns antennae spikes or big ears around the head using simple shapes.
Step 10
Add body patterns like spots stripes or scales using small shapes across the body.
Step 11
Trace over your final pencil lines with the black marker and wait a moment for the ink to dry.
Step 12
Gently erase any leftover pencil lines so only the marker outlines remain.
Step 13
Draw a small sun or arrow to show where your light is coming from.
Step 14
Add shading on the side opposite the light using a darker colored pencil and blend softly with a blending stump or your finger.
Step 15
Color your monster with your coloring materials and then share your finished creation on DIY.org.
Help!?
I don't have a blending stump or a black marker — what can I use instead?
If you don't have a blending stump use a clean cotton swab or your finger to blend the darker colored pencil when adding shading on the side opposite the light, and if you lack a black marker trace your final pencil lines with a black pen or fine-tip felt marker before waiting to dry and erasing pencil lines.
My marker smudged and the pupil highlights disappeared — how do I avoid or fix that?
To prevent smudging and protect the tiny uncolored dot highlights in the pupils, draw all lines lightly in pencil (steps 1–9), trace with the black marker in step 11 and wait the full drying time before gently erasing leftover pencil lines in step 12, and if a highlight is lost leave a tiny white spot with a white gel pen or carefully erase around the pupil.
How can I change this activity for different ages?
For younger kids simplify to the big oval body, head circle, two eyes, and coloring with crayons (skip the shading and blending stump), while older kids can add detailed horns, spikes, body scales, the light-direction arrow, and use colored pencils plus a blending stump to shade opposite the light for more depth.
What are some ways to extend or personalize my monster drawing after coloring?
Extend and personalize your monster by adding a background scene or companion creatures, experimenting with mixed media like watercolor washes before tracing in step 11, using metallic or gel pens for spots and highlights, and photographing your finished creation to share on DIY.org.
Watch videos on how to draw a friendly monster
How to Draw a Simple Monster: Easy Step by Step Drawing Tutorial for Beginners
4 Videos
How to Draw a Simple Monster: Easy Step by Step Drawing Tutorial for Beginners
🎨 Easy Monster Drawing for Kids | Step by Step Tutorial 🖌️
Drawing Cute Monster Step-By-Step Tutorial For Kids Draw & Color Guide
How to Draw a Three-Eyed Cute Monster: Easy Tutorial for Beginners
Facts about drawing fundamentals for kids
🎨 Starting with simple shapes like circles, squares, and triangles makes building monsters super easy and fun.
😊 Monsters with round shapes, big eyes, and smiles usually look friendlier to people and other kids.
🔺 Lots of sharp angles, spikes, and teeth tend to make a creature look scary—soften them to keep your monster friendly.
🌈 Color choices change the mood: bright warm colors feel energetic and happy, cool colors feel calm and gentle.
✏️ Adding basic shading (light and shadow) makes a flat monster drawing look 3D and more alive.
How do I teach my child to draw a friendly monster step-by-step?
What materials do I need to draw a friendly monster with my child?
What ages is drawing a friendly monster suitable for?
What are the benefits of having my child draw friendly monsters?
