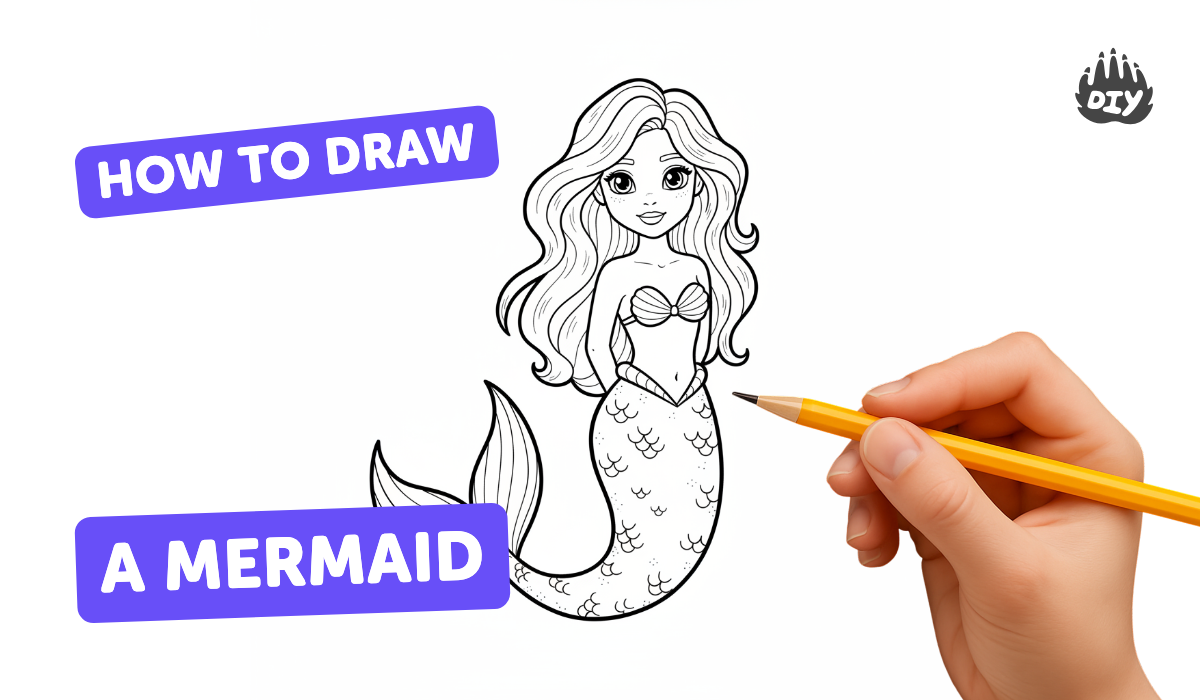
How to draw a mermaid - a free mermaid drawing guide
Learn to draw a friendly mermaid step-by-step using simple shapes, pencil, eraser, and colors, practicing proportions, poses, and underwater details.

Drawing Apps
Photos of friendly mermaid drawing examples


Step-by-step guide to draw a friendly mermaid
How To Draw A Mermaid
Step 1
Draw a light vertical guideline down the middle of the paper to help with symmetry
Step 2
Draw a circle near the top of the guideline to make the mermaid's head
Step 3
Draw a slightly curved oval under the head for the torso
Step 4
Draw two curved lines from the torso to make the arms in a pose you like
Step 5
Draw a long curved shape starting under the torso that widens into the mermaid tail
Step 6
Draw a tail fin at the end of the tail with two rounded or pointed lobes
Step 7
Add facial features like two eyes a small nose and a smiling mouth using a light hand
Step 8
Draw flowing hair around the head and shoulders using big curved shapes to show movement
Step 9
Add simple tail details such as rows of scales or a pattern of lines
Step 10
Add a seashell top or necklace for a fun costume detail
Step 11
Erase the guidelines and any unwanted sketch lines gently
Step 12
Trace your final lines with a darker pencil or the fine black marker to make them bold
Step 13
Color your mermaid using your coloring materials and add lighter areas for highlights
Step 14
Draw underwater details like bubbles seaweed and small fish around your mermaid
Step 15
Share your finished mermaid drawing on DIY.org
Help!?
I don't have a fine black marker—what can I use to make the final lines bold?
Use a darker pencil (like 2B) or a thin felt-tip pen to trace your final lines, following the instruction to 'Trace your final lines with a darker pencil or the fine black marker'.
My mermaid looks uneven—how can I fix symmetry while sketching?
Keep and use the 'light vertical guideline down the middle of the paper' to compare the head, torso oval, arms, and tail on both sides, then gently erase and adjust sketch lines before tracing final lines.
How can I adapt this drawing for younger or older kids?
For younger children simplify shapes by using one big circle and oval for the head and torso and chunky coloring materials, while older kids can add detailed rows of scales, fin patterns, and subtle highlights as in the 'Add simple tail details' and 'Color your mermaid... add lighter areas for highlights' steps.
What are some ways to personalize or extend the mermaid drawing?
Personalize it by designing a unique seashell top or necklace, experimenting with watercolor or glitter over the 'Color your mermaid' step, and expanding the scene with 'underwater details like bubbles, seaweed and small fish' before sharing on DIY.org.
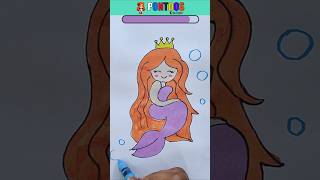
Watch videos on how to draw a friendly mermaid
How to Draw a Mermaid | Mermaid Drawing and Coloring | Step-by-Step Mermaid Drawing for Kids
4 Videos

How to Draw a Mermaid | Mermaid Drawing and Coloring | Step-by-Step Mermaid Drawing for Kids
How to draw a cute mermaid | Step by step drawing for kids
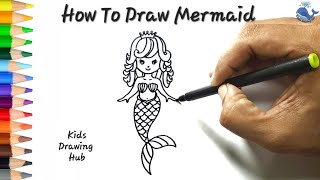
How to Draw a Beautiful Mermaid - Easy and Fun! | Step-by-Step Guide | Kids Drawing Hub

Learn How to Draw a Mermaid | Easy Drawing for Kids
Facts about drawing basics for kids
🧜♀️ The word "mermaid" comes from Old English: "mere" meaning sea and "maid" meaning girl — mermaid tales go back thousands of years.
✏️ Artists often start figure drawings with quick gesture sketches (30–60 seconds) using simple shapes to capture motion and pose.
📏 A common rule in figure drawing is to measure the body in "head" units — many classical proportions use about 7.5 to 8 heads tall.
🌊 To make an underwater scene believable, draw hair and fins with flowing, curved lines and add little bubbles or light beams for depth.
🎨 Layering blues, greens, and pearlescent or metallic highlights makes a mermaid tail look shiny and magical on paper.
How do you draw a friendly mermaid step-by-step?
What materials do I need to draw a mermaid?
What ages is this mermaid drawing activity suitable for?
What are the benefits and safe variations of drawing mermaids?
