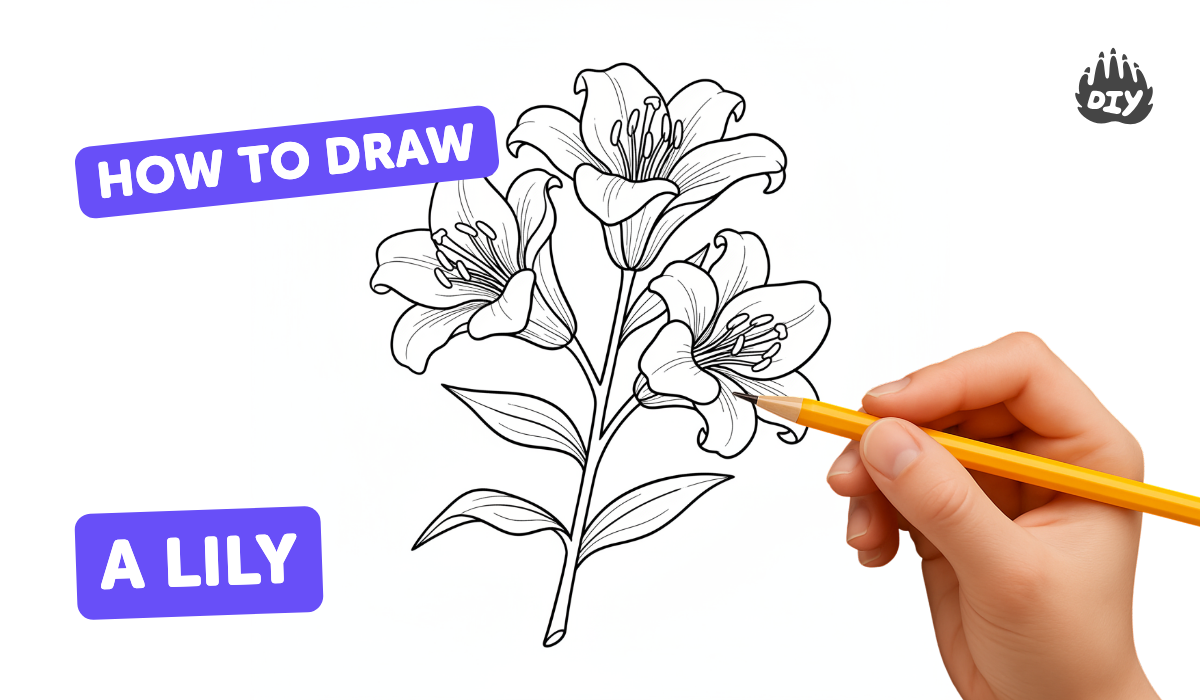
How to draw a lily - a free lily drawing guide
Learn to draw a graceful lily step by step using pencil, eraser, and color. Practice shapes, petal details, and shading techniques.

Drawing Apps
Photos of lily drawing examples


Step-by-step guide to draw a graceful lily
How to draw a lily flower step by step // Flower drawing// Easy drawing// Kids Art
Step 1
Place your paper on a flat surface and set your pencil eraser and coloring materials within easy reach.
Step 2
Lightly draw a small oval near the top third of the paper for the lily's center.
Step 3
Draw a gentle curved line downward from the oval to make the stem.
Step 4
Draw one long rounded teardrop shape at the top of the oval to make the top petal.
Step 5
Draw two wide curved teardrop petals one on each side overlapping the top petal.
Step 6
Draw two smaller curved petals below the others to show petals that sit behind.
Step 7
Inside the oval draw several thin curved lines each ending in a tiny rounded tip to make the stamen.
Step 8
Add two long lance shaped leaves along the stem one on the left and one on the right.
Step 9
Draw a central vein line in each leaf using short light strokes.
Step 10
Erase any extra guide lines and stray marks so your drawing looks neat.
Step 11
Add light pencil vein lines and gentle shading where petals fold and near the base with short soft strokes.
Step 12
Choose colors and gently color the petals and leaves keeping small areas lighter to show highlights.
Step 13
Take a photo or scan your finished lily and share your creation on DIY.org
Help!?
What can we use if we don't have a pencil eraser or traditional coloring materials?
If you don't have a pencil eraser, use a kneaded or vinyl eraser (or a clean piece of soft bread for tiny smudges), and substitute crayons, markers, or watercolors for the coloring materials when you color the petals and leaves after adding light shading.
My petals look uneven or the stem is crooked—what should I do?
Lightly erase the extra guide lines and redraw the top teardrop petal and stem with softer, shorter pencil strokes or place a clean sheet over your drawing and trace a corrected version so the two wide side petals overlap the top petal neatly.
How can I change this activity for younger or older children?
For preschoolers simplify by drawing one large oval, a single stem, and using big teardrop stickers or crayons to fill petals, while older kids can add fine pencil vein lines, gentle shading where petals fold, and color gradients or watercolor washes on the petals and leaves.
How can we personalize or extend the lily drawing once it's finished?
Personalize your lily by adding patterns or spots on petals, drawing a small cluster of lilies and a background, experimenting with colored-paper collage for petals, or photographing/scanning your shaded and colored drawing to share on DIY.org.
Watch videos on how to draw a graceful lily
How to Draw a Lily Flower Easy
4 Videos

How to Draw a Lily Flower Easy

How To Draw A Lily Flower Easy Step By Step - Draw Flowers

How To Draw A Lily Flower Drawing Step By Step Tutorial | Flower drawing for beginners

🌸 How to Draw a Lily - Beautiful Flower Drawing Guide for Kids
Facts about drawing and sketching for kids
🌷 Lilies (genus Lilium) include about 100 different species and come in lots of colors — great models for drawing!
✏️ Many artists start flower sketches with simple shapes like circles, ovals, and cones before adding petals.
🎨 Famous botanical illustrators such as Pierre-Joseph Redouté painted flowers so accurately scientists used them to identify species.
🌸 Some lilies have spotted or striped petals — adding spots is an easy way to make your lily look realistic.
💡 Shading the fold and base of a petal darker than the tip makes a flat drawing look three-dimensional and graceful.
How do you draw a lily step by step?
What materials do I need to draw a lily?
What ages is learning to draw a lily suitable for?
What are the benefits of drawing a lily with my child?
