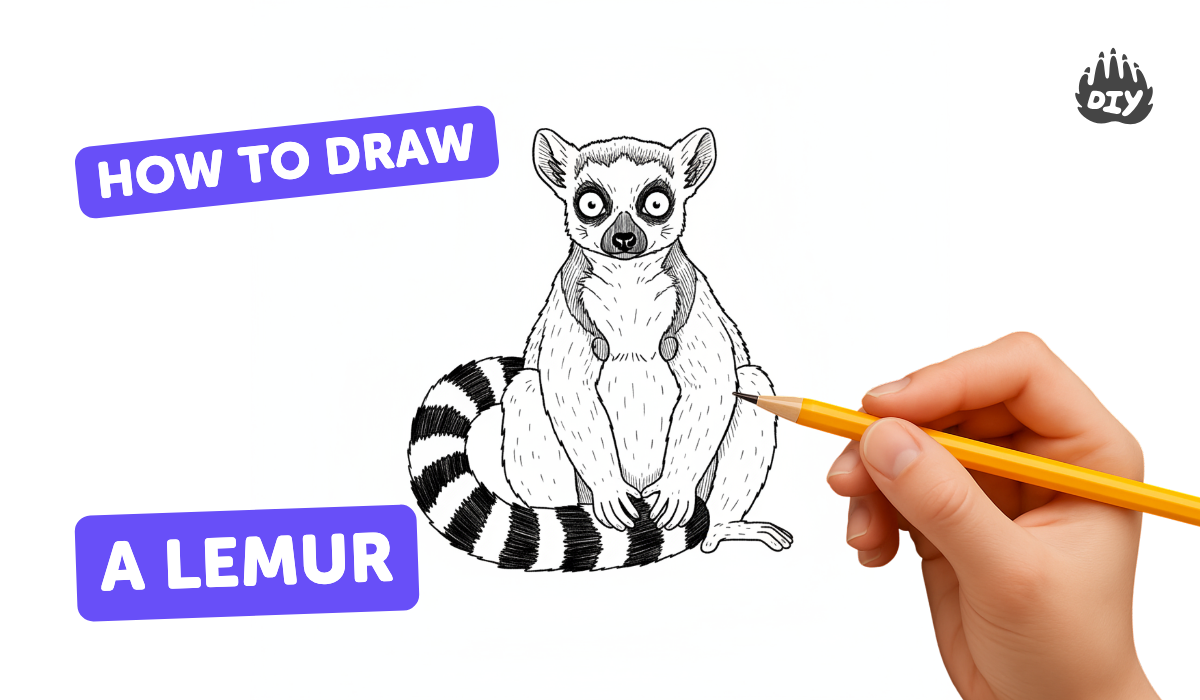
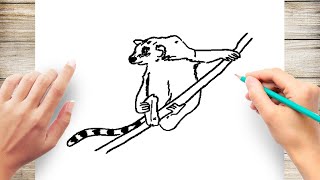
How to draw a lemur - a free lemur drawing guide
Draw a lemur step-by-step using simple shapes, add fur texture and a striped tail. Practice proportions, facial features, and shading.

Drawing Apps
Photos of lemur drawing examples


Step-by-step guide to draw a lemur
How To Draw A Cute Cartoon Lemur
Step 1
Lightly draw a circle for the head and a larger oval just below it for the body.
Step 2
Lightly sketch a vertical centerline down the head and a horizontal eye line across the middle of the head to guide features.
Step 3
Draw two big round eyes on the eye line spaced evenly from the centerline.
Step 4
Draw a small oval below the eyes centered on the vertical line for the muzzle.
Step 5
Draw a small rounded triangle for the nose at the top of the muzzle and a tiny curved line under it for the mouth.
Step 6
Add two rounded pointy ears on top of the head aligned with the eye area.
Step 7
Draw simple long rounded tubes for the arms and legs attached to the sides and bottom of the body.
Step 8
Sketch a long curved tail starting at the base of the body that sweeps outward.
Step 9
Draw several evenly spaced curved bands along the tail to make the striped pattern.
Step 10
Add short light pencil strokes around the head body and limbs to show fur texture following the shape of the body.
Step 11
Shade lightly under the belly under the chin and along one side of the body to give the lemur simple volume.
Step 12
Carefully trace your final preferred lines with a black marker or darker pencil.
Step 13
Gently erase the remaining pencil guide lines once ink is dry.
Step 14
Colour your lemur using greys whites and blacks and darken the rings around the eyes and the tail stripes.
Step 15
Share your finished lemur drawing on DIY.org.
Help!?
What can we use if we don't have a black marker or grey/black colouring supplies?
If you don't have a black marker, carefully trace your final preferred lines with a darker pencil (2B–4B) or a fine-tip black pen, and create greys by shading lightly with graphite or layering black and white coloured pencils or crayons when you colour your lemur.
My lemur's eyes or features look off-centre—how can I fix that?
If the eyes look uneven, lighten or erase them and reposition by re-checking the vertical centreline and horizontal eye line from step 2, measuring equal distances from the centreline before darkening the two big round eyes.
How can I change the activity for younger kids or make it harder for older kids?
For younger kids simplify by using just the big circle and larger oval for the head and body and skip the short light pencil fur strokes and shading, while older kids can add detailed fur texture with the short pencil strokes, stronger shading under the belly and chin for volume, and more precise striped bands along the tail.
What are some ways to personalise or extend the lemur drawing once it's finished?
After you carefully trace and gently erase the guide lines, personalise the drawing by adding a rainforest background, changing the tail stripe pattern or eye rings, experimenting with mixed media for the fur texture, and then photograph it to share on DIY.org.
Watch videos on how to draw a lemur
How to Draw a Lemur in a Few Easy Steps: Drawing Tutorial for Beginner Artists
4 Videos
How to Draw a Lemur in a Few Easy Steps: Drawing Tutorial for Beginner Artists
How to Draw a Lemur step by step | Easy animals to draw
How to Draw Lemur Step by Step
How to Draw Lemur for Kids Step by Step Easy
Facts about drawing animals for kids
🐒 Lemurs are primates found only on Madagascar and a few nearby islands — there are over 100 species!
🐾 The ring-tailed lemur's black-and-white striped tail isn't prehensile but helps with balance and group signaling.
👀 Many lemurs have big, expressive eyes and a reflective layer (tapetum lucidum) that helps them see at night — great inspiration for drawing shiny pupils.
🌴 Lemur fur ranges from short and smooth to long and woolly, so different short strokes can show different textures in your sketch.
☀️ Ring-tailed lemurs famously sunbathe sitting upright with their bellies to the sun — a fun, easy pose to practice proportions and shading.
How do I draw a lemur step by step?
What materials do I need to draw a lemur?
What ages is drawing a lemur suitable for?
What are the benefits of drawing a lemur?
