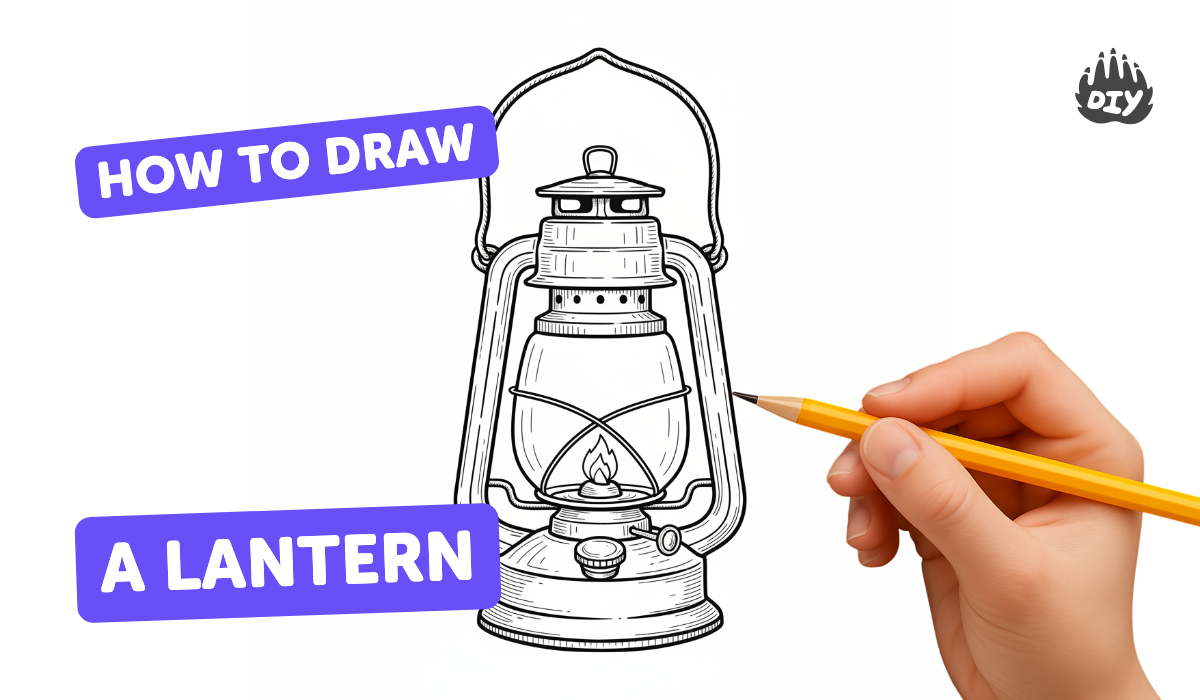
How to draw a lantern - a free lantern drawing guide
Draw a paper lantern step by step using pencil, ruler, and markers. Practice symmetry, measurement, and shading to decorate and finish your lantern drawing.

Drawing Apps
Photos of paper lantern examples


Step-by-step guide to draw a paper lantern
Fun and Easy Lantern Drawing for Kids | How to Draw a Lantern | Step by Step Tutorial | How to Draw
Step 1
Place your paper in a portrait (tall) position on a flat table so you have lots of room to draw.
Step 2
Use your ruler and pencil to draw a light vertical center line down the middle of the paper.
Step 3
Measure and lightly mark a top point and a bottom point on the center line about 12 cm or 5 inches apart.
Step 4
Draw a small horizontal oval at the top mark and another horizontal oval at the bottom mark for the lantern rims.
Step 5
Draw two matching curved lines from the sides of the top oval to the sides of the bottom oval to make the lantern body shape.
Step 6
Lightly mark five evenly spaced points across the top rim and matching points directly below them on the bottom rim.
Step 7
Draw slightly bowed vertical lines connecting each top point to its matching bottom point to create the lantern ribs.
Step 8
Draw a loop handle at the top center of the lantern so it can hang.
Step 9
Draw a small tassel or fringe shape hanging from the bottom center of the lantern for decoration.
Step 10
Shade the edges of each rib lightly with your pencil to make the lantern look round and three dimensional and gently blend the shading with the tissue.
Step 11
Carefully trace the main outline and decorative lines of your lantern with a thin black marker to make the drawing pop.
Step 12
Erase the extra pencil construction lines so your final drawing looks clean.
Step 13
Add matching patterns or cutout shapes on each rib to practice symmetry and measurement.
Step 14
Colour each section of your lantern with markers and colouring materials using repeating colors and shading for depth.
Step 15
Take a photo of your finished lantern drawing and share your creation on DIY.org
Help!?
What can we use if we don't have a ruler, tissue, or thin black marker?
If you don't have a ruler use the straight edge of a hardcover book or a credit card to draw the center line and measure the 12 cm/5 in marks, swap the tissue for a cotton ball or your fingertip to gently blend the pencil shading, and use a fine-tip black pen or dark black colored pencil instead of the thin black marker to trace the outline.
My lantern ribs look uneven or the shape doesn't look round—what should I do?
If the slightly bowed vertical ribs look uneven, lightly erase them, re-measure and mark the five evenly spaced points across the top rim and their matching bottom points with your ruler, then reconnect each pair with gentle curved pencil strokes and reapply light edge shading with the tissue to restore roundness.
How can I change this drawing activity for different ages or skill levels?
For younger children, pre-draw the light vertical center line and the top/bottom ovals and have them add three large ribs and simple colour blocks with crayons, while older kids can precisely measure the 12 cm/5 in spacing, add more ribs and symmetrical cutout patterns, and practice detailed shading with blending tissue and markers.
How can we extend or personalize the lantern drawing once it's finished?
To enhance the project, add matching patterns or cutout shapes on each rib as instructed, cut and gently fold the coloured paper along the ribs to create a 3D lantern, attach a real tassel at the bottom, experiment with metallic markers for repeating colours and shading, then take a photo to share on DIY.org.
Watch videos on how to draw a paper lantern
How to draw a LANTERN easy
4 Videos
How to draw a LANTERN easy
How to draw a Lantern step by step for beginners
How to Draw a Lantern in a Few Easy Steps: Drawing Tutorial for Beginner Artists

How to Draw a Lantern | Easy Drawing for Kids and Toddlers
Facts about drawing and sketching for kids
🏮 Paper lanterns are traditional in China, Japan, and Thailand and often appear in festivals and celebrations.
✏️ Light pencil construction lines and a ruler make accurate measurements and easy erasing possible as you sketch.
🔁 Symmetry gives lantern designs a balanced, pleasing look — many lanterns repeat patterns around a central axis.
🖊️ Markers give bright, bold color; using light layers and letting ink dry helps prevent streaks and bleeding.
🎯 Shading techniques like hatching and blending can turn a flat outline into a round, 3D-looking lantern.
How do I draw a paper lantern step by step using pencil, ruler, and markers?
What materials do I need to draw a paper lantern?
What ages is this paper lantern drawing activity suitable for?
What are the benefits, safety tips, and variations for the paper lantern drawing activity?
