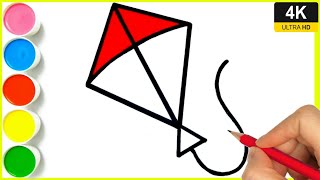
How to draw a kite - a free kite drawing guide
Draw a classic diamond shaped kite using simple shapes, add a tail with bows, decorate with patterns, and color it neatly to finish the kite.

Drawing Apps
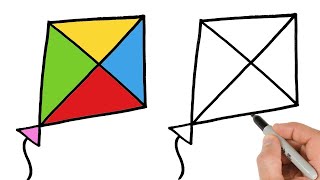
Photos of classic diamond-shaped kite drawings


Step-by-step guide to draw a classic diamond-shaped kite
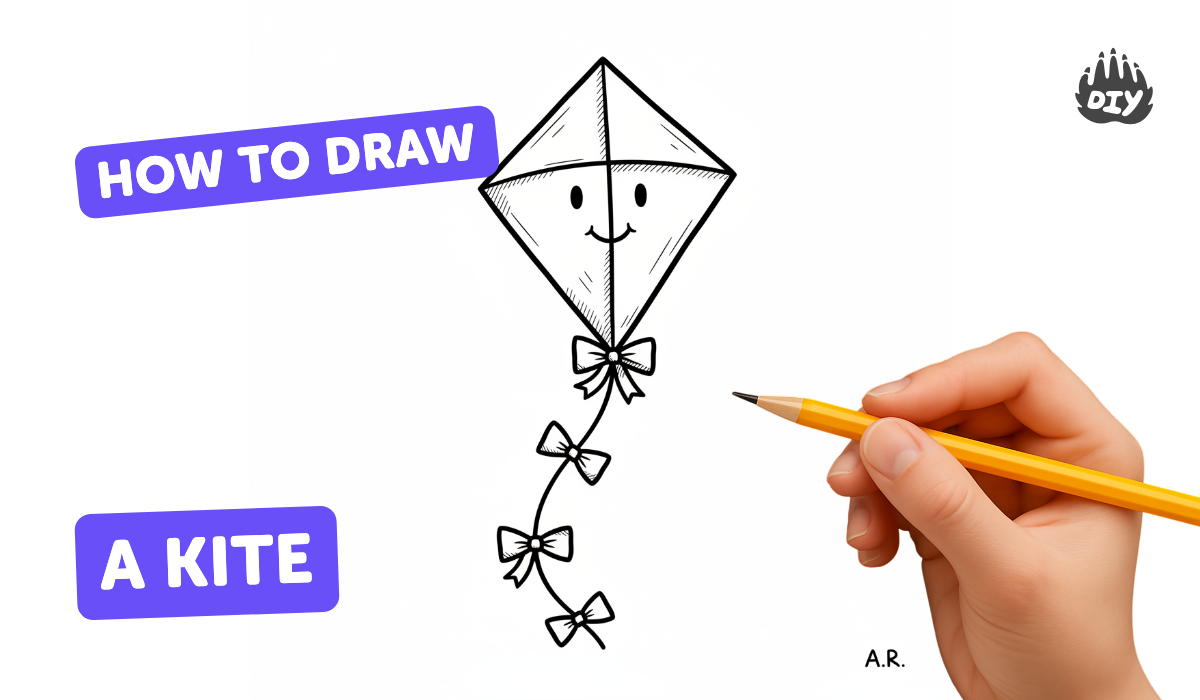
How To Draw A Kite
Step 1
Place your paper in portrait orientation on a flat surface so it is taller than wide.
Step 2
Use your ruler and pencil to draw a straight vertical line about two thirds of the paper height down the center.
Step 3
Use your ruler to draw a horizontal line across the middle of the vertical line about half the vertical line's length.
Step 4
Draw a straight pencil line connecting the top end of the vertical line to the right end of the horizontal line.
Step 5
Draw a straight pencil line connecting the right end of the horizontal line to the bottom end of the vertical line.
Step 6
Draw a straight pencil line connecting the bottom end of the vertical line to the left end of the horizontal line.
Step 7
Draw a straight pencil line connecting the left end of the horizontal line back to the top end to finish the diamond kite shape.
Step 8
Lightly erase the vertical and horizontal guide lines so only the diamond outline remains.
Step 9
Draw a long wavy tail extending down from the bottom tip of the diamond with a pencil.
Step 10
Add several small bow shapes evenly along the tail by drawing two small triangles or loop shapes that meet in the middle for each bow.
Step 11
Draw a fun pattern inside the diamond such as stripes polka dots or zigzags in pencil.
Step 12
Carefully trace the kite outline the tail the bows and your pattern with a black pen or fine liner.
Step 13
Erase any remaining pencil marks so only your inked lines remain.
Step 14
Color your kite the bows and the tail neatly using your colouring materials.
Step 15
Share your finished kite on DIY.org
Help!?
If I don't have a ruler or a black fine liner, what can I use to draw straight guide lines and trace the kite neatly?
Use the straight edge of a hardcover book or a folded piece of cardboard as your ruler to draw the vertical and horizontal guide lines, and trace the kite outline and tail with a permanent marker, gel pen, or a sharpened colored pencil instead of the black fine liner.
My diamond kite looks lopsided after drawing the connecting lines—how can I fix it without starting over?
Lightly erase the vertical and horizontal guide lines, remeasure the center and half-length with your ruler (or fold the paper to find the center), redraw the connecting lines from the top to right, right to bottom, bottom to left and left to top to even out the diamond, and then erase stray pencil marks.
How can I adapt the activity for a preschooler versus an older child who wants more challenge?
For preschoolers, pre-draw the diamond and have them trace the outline, add large bows and color with thick crayons on bigger paper, while older children can use precise measurements from the instructions, add detailed patterns, ink with a fine liner, and use watercolor or shading when coloring.
What are some creative ways to enhance or personalize the finished kite before sharing it on DIY.org?
Glue tissue-paper streamers to the long wavy tail from the bottom tip, add sequins or stickers to your striped or polka-dot pattern, write your name on the diamond, or attach a string to turn the drawing into a simple hanging kite decoration.
Watch videos on how to draw a classic diamond-shaped kite
Kite Drawing | How to Draw Kite | Easy Step by Step | Drawing for Kids
4 Videos
Kite Drawing | How to Draw Kite | Easy Step by Step | Drawing for Kids
How to Draw a Kite | Super Easy Step-by-Step Tutorial!
How To Draw A Kid Flying A Kite
How to draw a kite 🪁 || Easy step by step flying kite drawing || kite drawing with colour By Arya.
Facts about drawing and coloring for kids
🪁 The oldest kites were flown in China over 2,000 years ago!
📐 In geometry, a "kite" is a quadrilateral with two pairs of adjacent equal-length sides.
🌬️ A kite's tail with bows helps stabilize it by adding drag and preventing wild spins.
🎨 Many kite designs use mirror symmetry — draw half the pattern and copy it to the other side for neat results.
🖍️ Bright, contrasting colors and bold patterns make a kite easier to spot and more fun to decorate.
How do you draw a classic diamond-shaped kite?
What materials do I need to draw and decorate a kite?
What ages is this kite drawing activity suitable for?
What are some creative variations for drawing a kite?
