How to draw a kitchen - a free kitchen drawing guide
Learn step by step how to draw a simple kitchen scene with cabinets, sink, stove, and table, practicing perspective, shapes, and coloring.

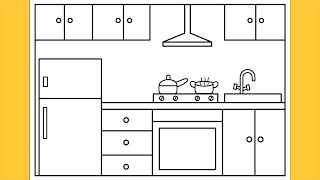
Step-by-step guide to draw a simple kitchen scene
How to Draw a Cute Cooking Scene | Easy Step by Step Tutorial
Step 1
Gather your materials and sit at a clean flat table.
Step 2
Lightly draw a horizontal horizon line across the paper.
Step 3
Mark a small vanishing point dot on the horizon line.
Step 4
Use your ruler to draw two guideline lines from the vanishing point to the bottom corners to make a simple floor perspective.
Step 5
Draw a large rectangle above the floor lines for the back wall and add a row of base cabinet boxes along its bottom using the perspective lines.
Step 6
Add cabinet doors and little handles to each base cabinet by drawing vertical lines and small handle shapes.
Step 7
Draw a rectangular sink on one base cabinet and a curved faucet above it.
Step 8
Draw a stove rectangle next to the sink and add four burners and knobs on the front.
Step 9
Draw wall cabinets above the base cabinets as rectangles and add small handles.
Step 10
Draw a table in the foreground by sketching the tabletop in perspective and then add four legs beneath it.
Step 11
Add details like tiles on the wall and floor and small kitchen items like a pot or plate on the table.
Step 12
Trace the final lines you want to keep with a black marker.
Step 13
Erase the extra pencil construction lines gently.
Step 14
Colour your kitchen drawing using your colouring materials.
Step 15
Share your finished creation on DIY.org.
Help!?
What can I use if I don't have a ruler or a black marker?
Use the straight edge of a cereal box or a hardcover book to draw the guideline lines from the vanishing point and substitute a dark crayon, ballpoint pen, or fine-tip permanent pen to trace the final lines instead of a black marker.
My base cabinets look skewed—how do I fix perspective mistakes?
Lightly erase the skewed cabinet edges and carefully redraw the guideline lines from the vanishing point to the bottom corners with your ruler or straight edge (step 4) so each base cabinet box aligns with the floor perspective.
How can I simplify or make this drawing more challenging for different ages?
For younger kids, skip strict perspective and have them draw simple rectangles for base and wall cabinets and stick on handles, while older kids can refine the vanishing point, add detailed tiles, shading, and precise cabinet hardware using finer colouring materials.
How can we personalize or enhance the kitchen after finishing the basic steps?
Personalize the scene by opening a cabinet door, drawing patterned tiles and small kitchen items in the 'Add details' step, adding collage elements with coloured paper before you colour, then trace final lines and share the finished creation on DIY.org.
Watch videos on how to draw a simple kitchen scene
Kitchen Drawing | Step by Step | How to Draw a Kitchen for Beginners
4 Videos
Kitchen Drawing | Step by Step | How to Draw a Kitchen for Beginners
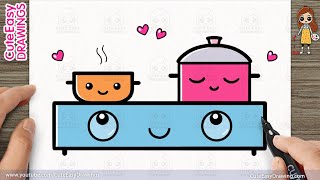
How to Draw Cute Pots on the Kitchen Stove / Draw a Cute Cooking Scene - Easy step by step for Kids

HOW TO DRAW A KITCHEN - Step by Step | Easy Drawing
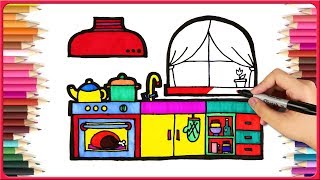
*Easy Kitchen Drawing* Drawing Kitchen Step By Step - Art for Kids 🖌
Facts about drawing and perspective for kids
🖍️ Artists often learn perspective by drawing simple boxes first — it makes whole rooms look 3D!
📐 One-point perspective uses a single vanishing point so parallel lines appear to meet on the horizon.
🧽 Kitchen designers use a 'work triangle' (sink, stove, fridge) to make cooking efficient — great to sketch into your layout.
🍽️ Most dining tables are about 28–30 inches (71–76 cm) high, a handy measurement for drawing scale.
🎨 Warm colors (reds, yellows) make a kitchen feel cozy while cool colors (blues, greens) feel calm — try both when coloring.
How do you teach a child to draw a simple kitchen step by step?
What materials do I need to draw a simple kitchen with my child?
What ages is this kitchen drawing activity suitable for?
What are some variations and learning benefits of drawing a kitchen?
