How to draw a kiss - a free kiss drawing guide
Draw a kiss (pair of lips) step by step using pencil, ink, and colored pencils. Practice shape, symmetry, and shading for a realistic result.

Drawing Apps
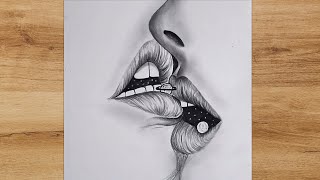
Photos of kiss drawings


Step-by-step guide to draw a kiss
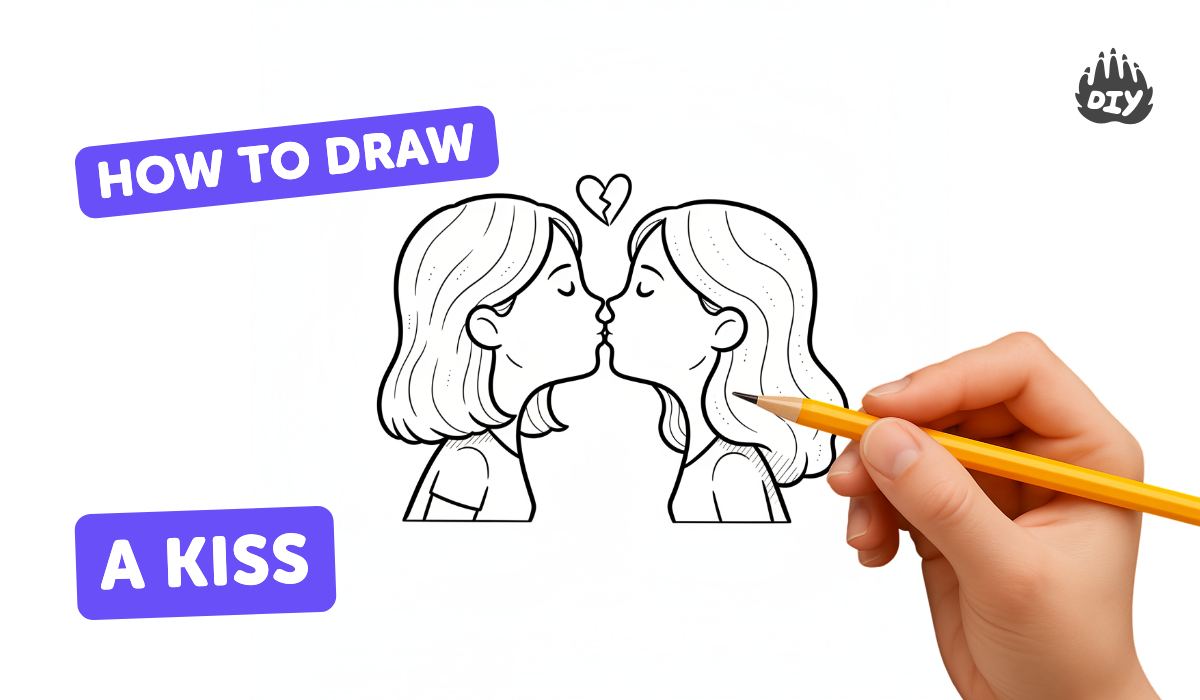
How to Draw a Boy and Girl Kissing Easy
Step 1
Clear a flat workspace and gather all materials so everything is ready to use.
Step 2
Place your paper vertically and draw a very light vertical centerline down the middle with your pencil using the ruler.
Step 3
Decide how wide the lips will be and make two tiny dots at the same height on each side of the centerline to mark the corners.
Step 4
Draw the top lip by sketching two small curved hills from each corner dot that meet at a soft point on the centerline to form the cupid’s bow.
Step 5
Draw the bottom lip by sketching a gentle curved line connecting the two corner dots below the top lip so the shape looks like a soft oval.
Step 6
Erase any guide marks you no longer need but keep the lip outlines light so you can change them if needed.
Step 7
Compare the left and right sides and gently adjust your pencil lines so both sides look as symmetrical as possible.
Step 8
Carefully trace over your final pencil outlines with the fine liner or ink pen and wait for the ink to dry.
Step 9
Lightly erase the remaining pencil marks after the ink is dry so only the clean ink outline remains.
Step 10
Shade with your pencil by adding soft strokes: make the top lip slightly darker near the center and add shadow under the bottom lip while leaving the middle area lighter for a highlight.
Step 11
Use colored pencils to layer color with light strokes and gently blend with the stump or tissue to create a smooth realistic finish.
Step 12
Take a photo or scan your finished kiss drawing and share your creation on DIY.org.
Help!?
What can I use instead of a fine liner, blending stump, or ruler if I don't have those exact materials?
Use a thin-tipped ballpoint pen or permanent marker to trace your final pencil outlines instead of the fine liner, a tissue or cotton swab for blending in place of a stump when working with colored pencils in the shading and blending step, and the straight edge of a book or cereal box as a ruler to draw the vertical centerline.
My lips look uneven or my ink smudged — what should I do to fix them?
If the lips look lopsided after comparing sides, lightly erase and re-sketch one side using the vertical centerline and corner dots as guides for symmetry, and if ink smudges after tracing, blot and let the ink fully dry before erasing remaining pencil marks so only the clean ink outline remains.
How can I adapt this kiss drawing activity for younger children or older kids?
For younger children, pre-draw the vertical centerline and corner dots and let them trace the cupid's bow and bottom lip with a thicker marker, while older kids can focus on refined pencil shading near the top lip and under the bottom lip and practice layered colored-pencil blending with a stump for a more realistic finish.
What are some ways to enhance or personalize the finished kiss drawing before sharing it on DIY.org?
After completing shading and color layering, add a small white gel-pen highlight in the lighter middle area for shine, experiment with a subtle background color wash around the lips, or draw a tiny pattern or initials on the lower lip for a personalized touch before photographing or scanning your final piece.
Watch videos on how to draw a kiss
How to draw a kiss very easy, Drawing for kids | For beginners
4 Videos
How to draw a kiss very easy, Drawing for kids | For beginners
How to Draw a Kiss Emoji Step by Step | Easy Drawing for Kids 😘✏️
How To Draw A Valentines Day Kissing Lips
how to draw kissing lips for beginners
Facts about drawing facial features for kids
👄 Every person's lip print is unique—scientists study them like fingerprints (a field called cheiloscopy)!
🎨 Colored pencils were mass-produced in the early 20th century and now come in thousands of shades artists layer for realistic skin tones.
🖋️ Ink outlines (using fineliners or pens) help keep the edges of a drawn kiss crisp before you add color and shading.
🔁 Human faces are mostly bilaterally symmetrical, so artists often draw a center guide to match each half of the lips.
✏️ Lips have thinner skin and no oil glands, so artists use light pencil strokes and gentle blending to create soft, realistic shading.
How do you draw a kiss (pair of lips) step by step using pencil, ink, and colored pencils?
What materials do I need to draw a kiss with pencil, ink, and colored pencils?
What ages is drawing a kiss suitable for?
What are the benefits and fun variations of drawing a kiss?
