How to draw a human heart - a free human heart drawing guide
Draw an anatomical human heart on paper using colored pencils, follow step by step shapes. Label major parts to learn structure and function.

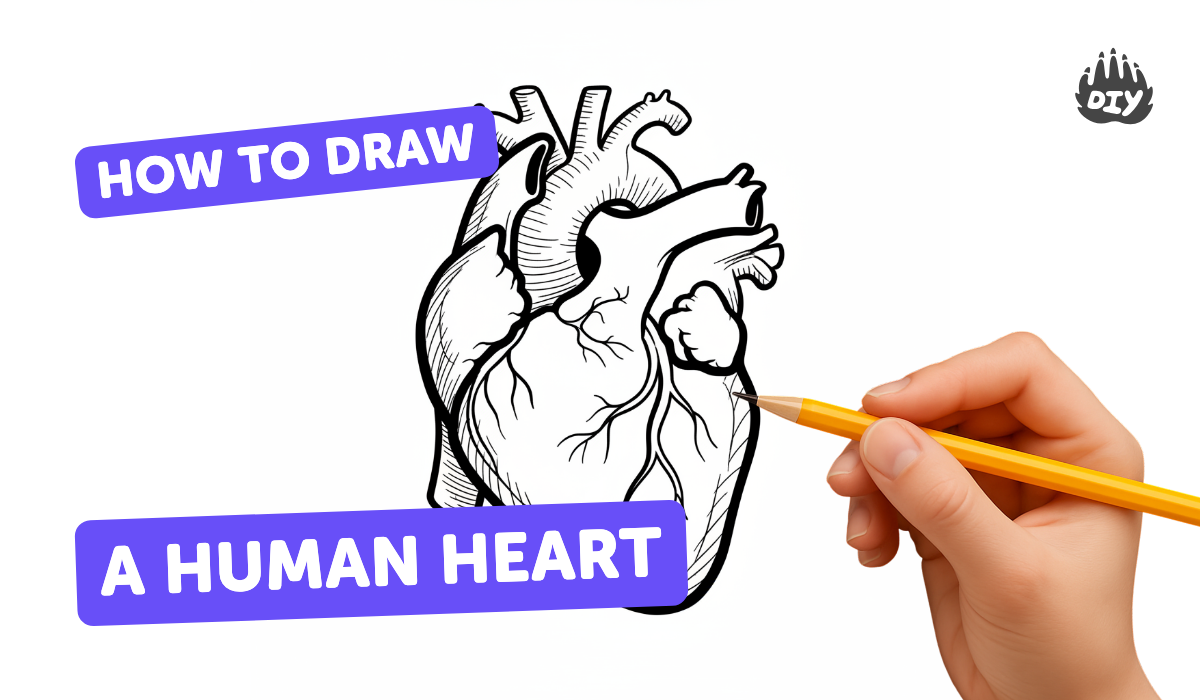
Step-by-step guide to draw an anatomical human heart
How to draw Human Heart🫀 | Human Heart Anatomy with labels | step by step easy drawing tutorial
Step 1
Put all your materials where you can reach them easily on a flat table.
Step 2
Lightly sketch a large tilted oval in the middle of the paper to make the outer shape of the heart.
Step 3
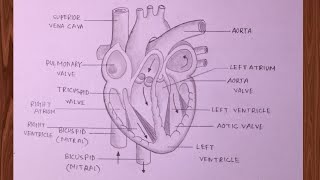
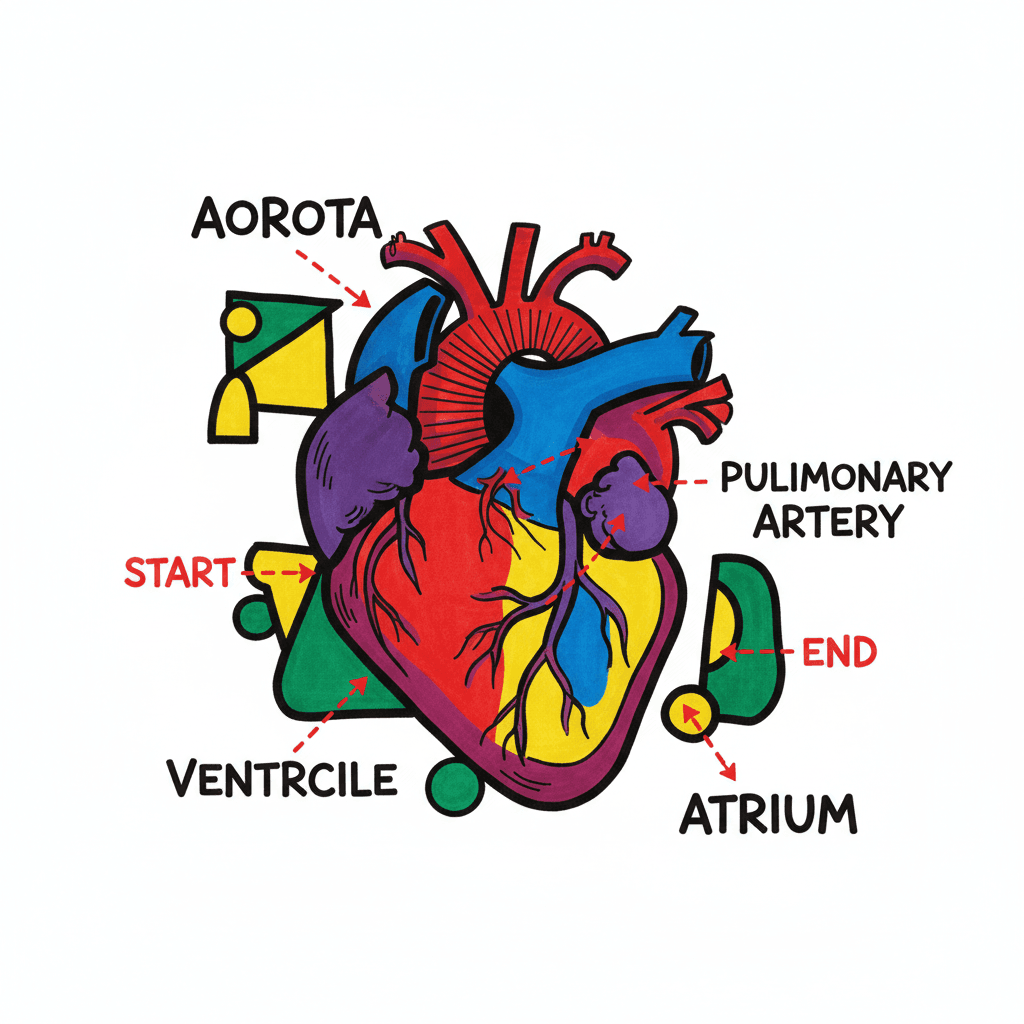
Draw two small rounded bumps at the top of the oval to make the left atrium and right atrium shapes.
Step 4
Add two bigger rounded lobes below the bumps so they connect and form the left ventricle and right ventricle.
Step 5
Draw a curved line down the center from top to bottom to separate the left side from the right side.
Step 6
Sketch a thick arching tube rising from the top center for the aorta.
Step 7
Draw another tube coming out from the top that splits toward the right for the pulmonary artery.
Step 8
Sketch a straight tube entering the right top bump to show the superior vena cava.
Step 9
Trace the main lines you want to keep with the black pen and let the ink dry a moment.
Step 10
Erase the extra light pencil guide lines so only the clear black drawing remains.
Step 11
Colour each major area and vessel in a different color so you can tell them apart.
Step 12
Write labels for the major parts: left atrium; right atrium; left ventricle; right ventricle; aorta; pulmonary artery; vena cava.
Step 13
Next to each label write one short sentence that explains what that part does.
Step 14
Share your finished anatomical heart drawing on DIY.org.
Help!?
What can we use if we don't have a black pen, colored pencils, or special paper listed in the instructions?
If you don't have a black pen, trace the final lines with a fine-tip marker or a sharpened dark pencil (step 11), and for colors use washable markers, crayons, or cut colored paper to fill the major areas (step 12).
My oval and vessel lines look uneven or the ink keeps smudging—how do I fix that?
Lightly refine the tilted oval and lobes with pencil first (steps 2–4), rest your hand on scrap paper while inking, and wait a moment for the black pen to dry before erasing pencil guides (steps 10–11).
How can I adapt the drawing steps for younger or older children?
For younger kids, use a pre-drawn tilted oval and have them color the atria/ventricles and skip labels (steps 2–4, 12–13), while older kids can add valve details, color-coded blood-flow arrows, and write full explanatory sentences for each label (steps 12–13).
What are creative ways to enhance or personalize the anatomical heart drawing?
Add color-coded arrows to show blood flow, glue a small paper flap to demonstrate ventricles opening, or use watercolor shading to highlight each major area and vessel before sharing the finished piece on DIY.org (steps 12–14).
Watch videos on how to draw an anatomical human heart
How to draw a human heart easy || Heart diagram
4 Videos
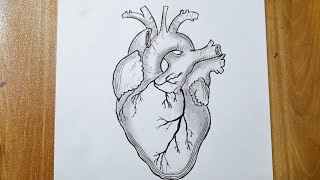
How to draw a human heart easy || Heart diagram
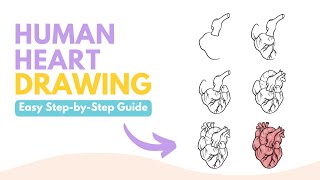
How to Draw a Human Heart - A Step-by-Step Guide
How to Draw a Human Heart Step‑by‑Step (Easy Tutorial)
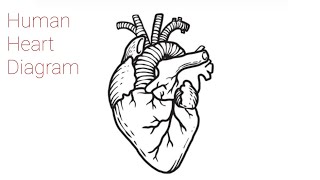
How to draw diagram of human Heart in easy way - step by step
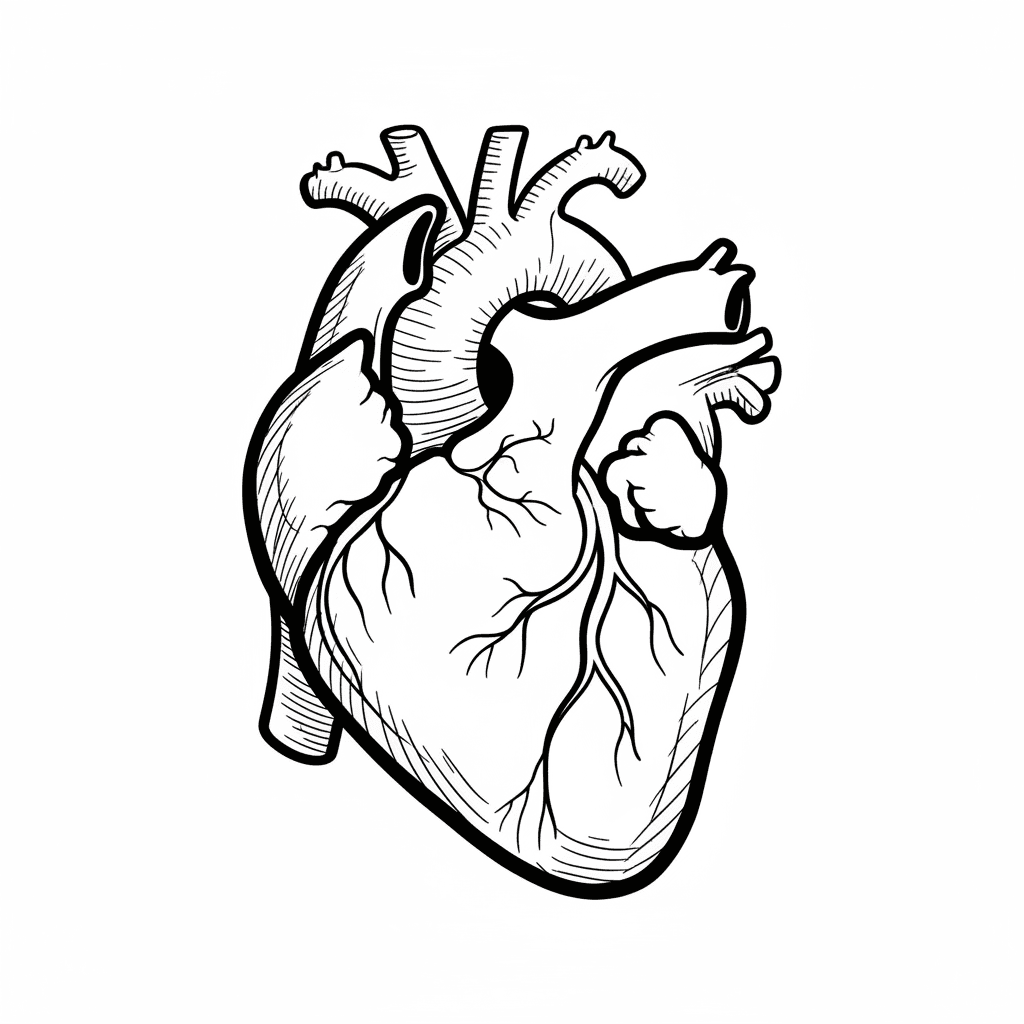
Photos of anatomical human heart drawings


Facts about human anatomy
🫀 The human heart is about the size of your clenched fist — a handy drawing tip for scale!
❤️ Your heart beats about 100,000 times every day — that’s a lot of tiny rhythms to sketch!
💧 At rest the heart pumps roughly 5 liters of blood every minute, like a busy little pump in your chest.
🔁 The heart has four chambers (two atria and two ventricles) that move blood in one direction through valves.
⚡ Heart muscle cells make their own electrical signals to keep the heart beating — no brain needed to start a heartbeat!
How do I teach my child to draw an anatomical human heart step by step?
What materials do I need to draw an anatomical human heart with my child?
What ages is drawing an anatomical human heart suitable for?
What are the benefits and safety tips for drawing an anatomical human heart with kids?
