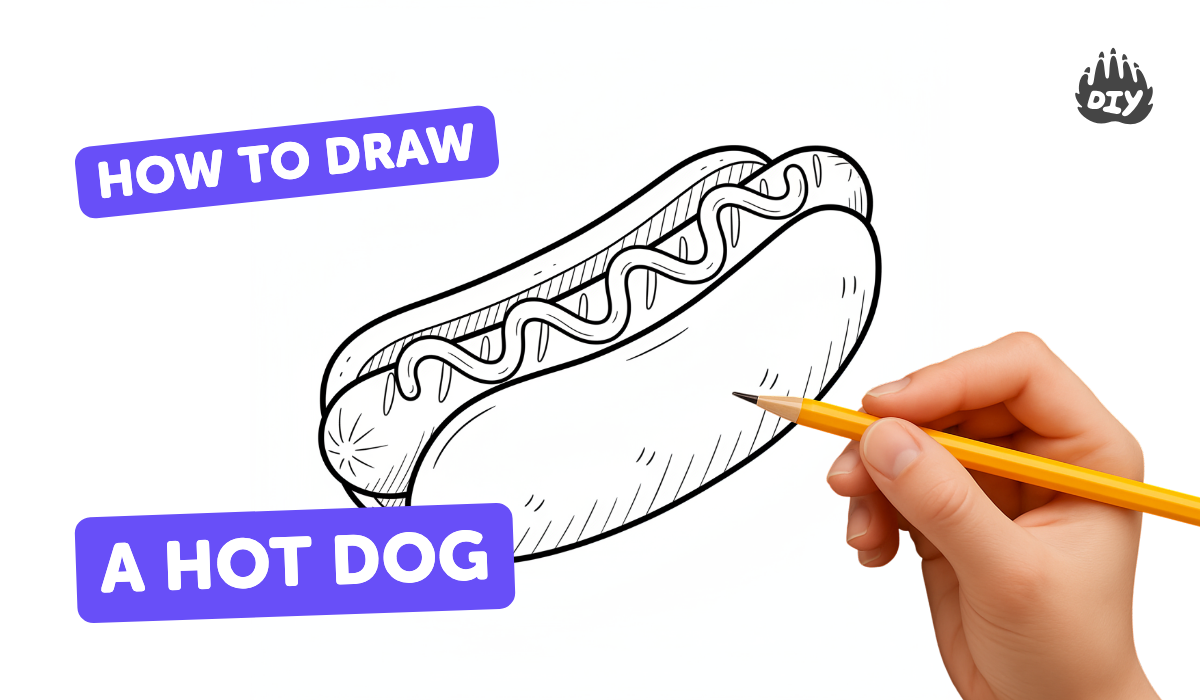
How to draw a hot dog - a free hot dog drawing guide
Draw a detailed hot dog by sketching the bun, sausage, and condiments, then add shading and color for realism. Practice proportion and shading.

Drawing Apps
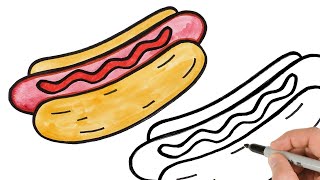
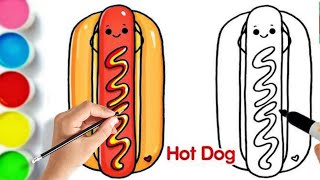
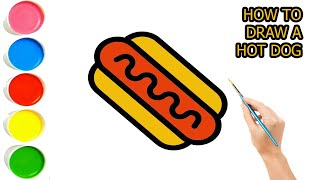
Photos of hot dog drawing examples


Step-by-step guide to draw a hot dog
How to Draw a Cute Hot Dog 🌭 - Easy Drawing Tutorial for Kids & Beginners
Step 1
Place your paper on a flat surface and get your pencil ready.
Step 2
Lightly draw a horizontal center guide line across the paper to help place the hot dog.
Step 3
Sketch a long soft curved shape above the guide line for the top of the bun.
Step 4
Sketch a matching soft curved shape below the guide line for the bottom of the bun.
Step 5
Draw a long oval or slightly rounded cylinder between the bun halves for the sausage.
Step 6
Add a thin curved line along the bun edge to show the bun seam.
Step 7
Draw small curved marks on the sausage to add texture and interest.
Step 8
Sketch wavy lines on top of the sausage to show mustard ketchup or relish.
Step 9
Erase the center guide line and any extra sketch marks so only your final shapes remain.
Step 10
Shade the areas where the bun curves and under the sausage with short pencil strokes to create depth.
Step 11
Gently blend the shaded pencil areas with a tissue or cotton swab to smooth shadows.
Step 12
Color the bun sausage and condiments with your coloring materials using darker tones where you shaded.
Step 13
Share your finished hot dog drawing on DIY.org.
Help!?
What can we use if we don't have a tissue or cotton swab for blending?
If you don't have a tissue or cotton swab for the blending step, gently smooth the shaded pencil areas under the sausage and on the bun (step 11) with a clean fingertip, soft cloth, Q‑tip, or a blending stump.
My bun looks uneven and the center guide line won't erase—how do I fix it?
To keep the bun halves balanced, redraw the long soft curved shapes above and below the center guide line (steps 3–4) using light pencil strokes and then lift the dark guide line and extra marks in the erasing step (step 8) with a kneaded or soft eraser before shading.
How can I adapt this hot dog drawing for different ages and skill levels?
For younger kids, simplify by tracing a printed hot dog outline and using crayons to skip shading and blending (omit steps 9–11), while older kids can follow steps 9–12 to add detailed shading, texture marks on the sausage, and layered coloring with colored pencils.
What are some ways to personalize or extend the hot dog drawing activity?
After finishing the basic drawing and coloring (steps 1–12), personalize it by adding sesame seeds to the bun (small ovals after step 6), drawing a plate or picnic background, creating different condiment patterns in step 7, or making a series of hot dog characters to share on DIY.org.
Watch videos on how to draw a hot dog
How to Draw Hot Dog | Super Easy Food Drawing Step-by-Step Tutorial!
4 Videos
How to Draw Hot Dog | Super Easy Food Drawing Step-by-Step Tutorial!
Easy Steps to Draw a Delicious Hot Dog for Little Artists
HOW TO DRAW A HOT DOG FOR KIDS ||STEP BY STEP AND EASY || EASY ART TUTORIAL
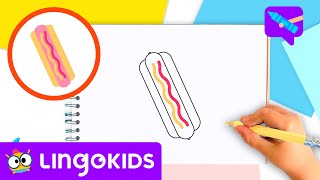
How to draw a HOT DOG 🌭🎨 Drawing for kids | CRAFTS by Lingokids
Facts about sketching and shading
🌭 Hot dogs became a U.S. street-food favorite in the late 1800s after German immigrants popularized sausages on buns.
🍽️ Americans eat about 20 billion hot dogs every year — that's a lot of yummy models to sketch!
🍞 Hot dog buns are often steamed or buttered for a soft, slightly glossy surface — great reference for shiny highlights.
🟡 In Chicago it's traditional to never put ketchup on a hot dog — a fun detail you can add to tell a story in your drawing.
✏️ Adding a clear light source, midtones, and cast shadows is one of the quickest ways to make a flat hot dog look three-dimensional.
How do you draw a detailed hot dog step by step?
What materials do I need to draw a realistic hot dog?
What ages is this hot dog drawing activity suitable for?
What are the benefits of drawing a detailed hot dog for kids?
