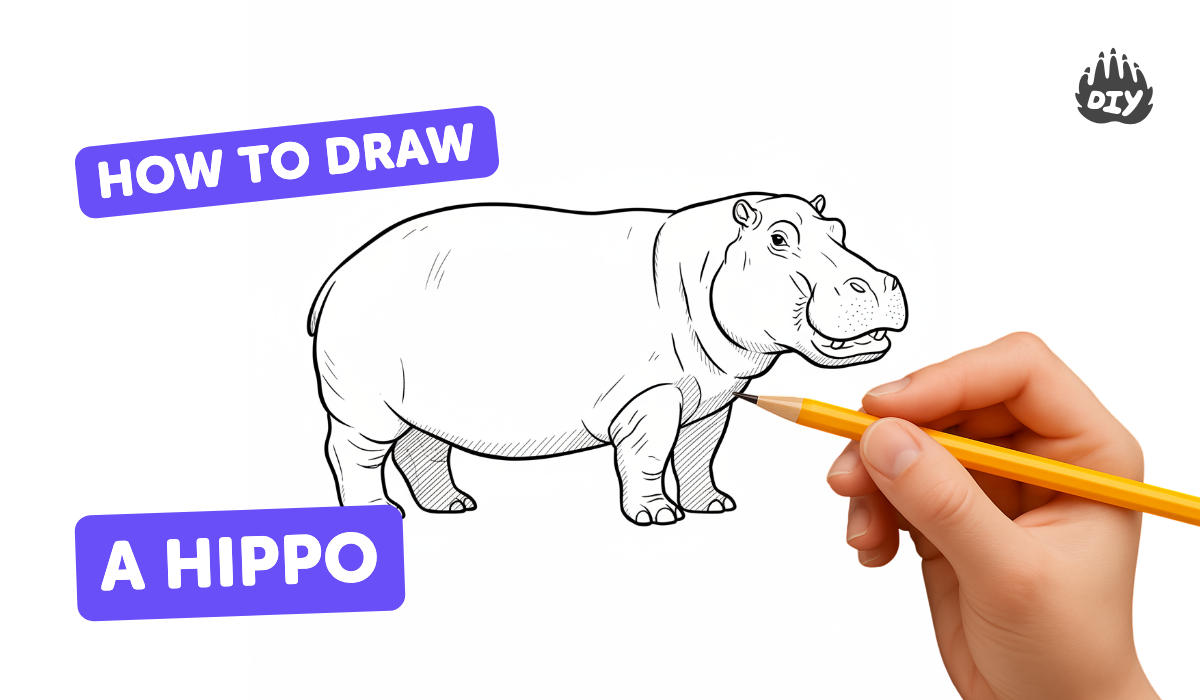
How to draw a hippo - a free hippo drawing guide
Draw a friendly hippo step-by-step using simple shapes, pencil, eraser, and colors to learn proportions, shading, and adding playful details.

Drawing Apps
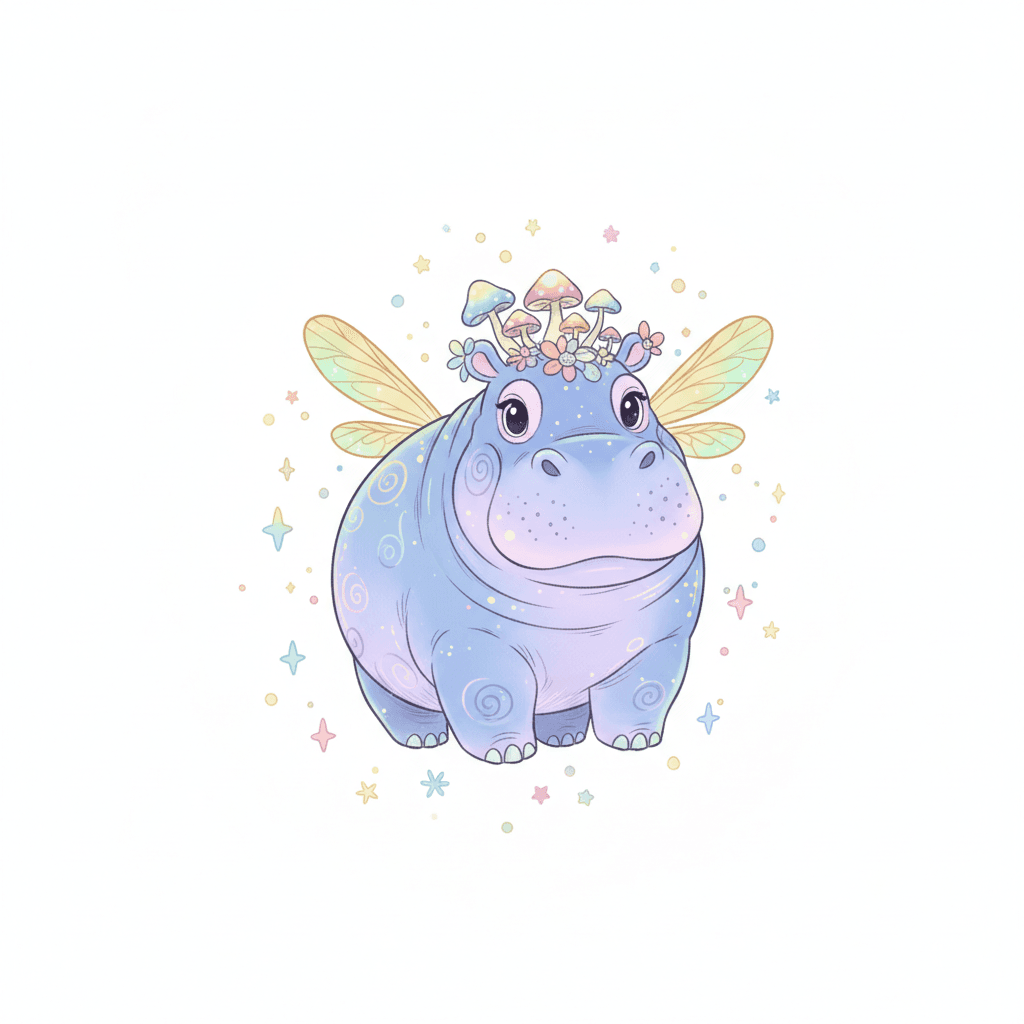
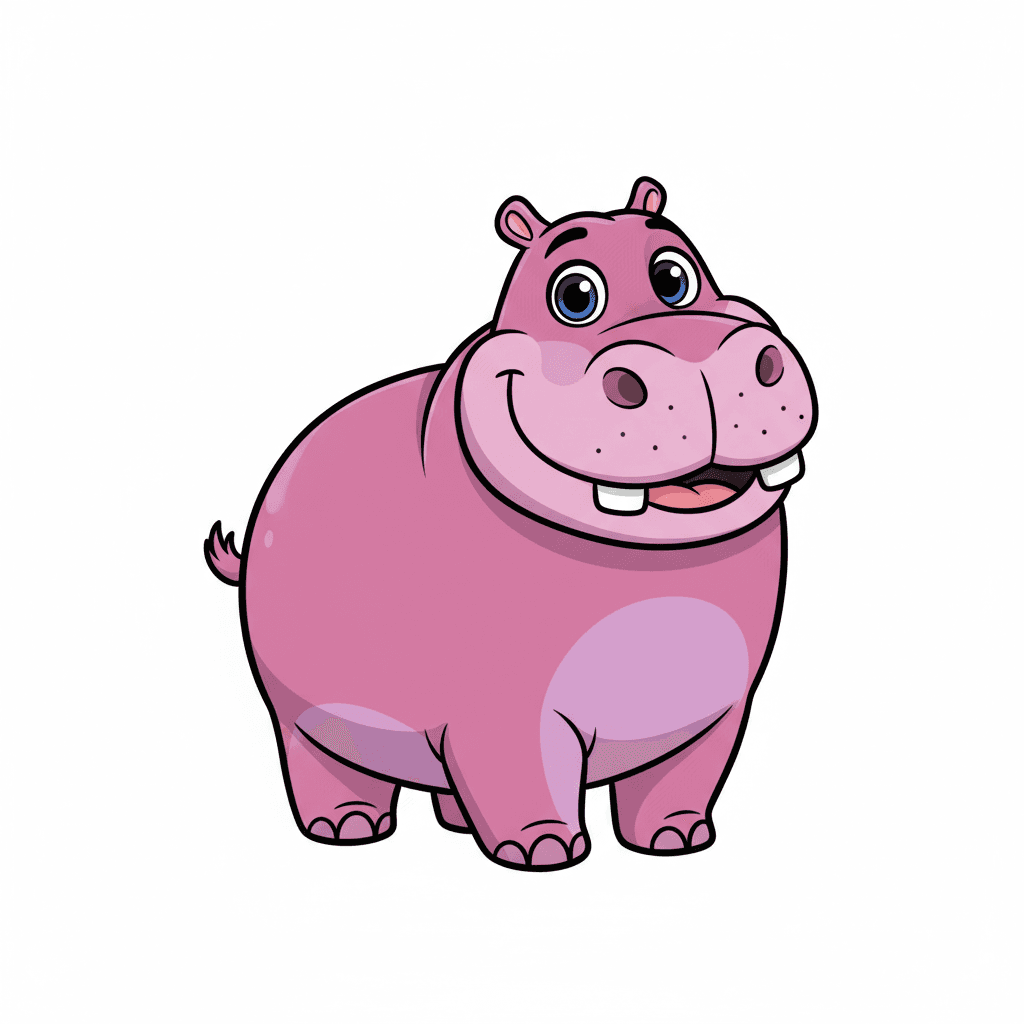
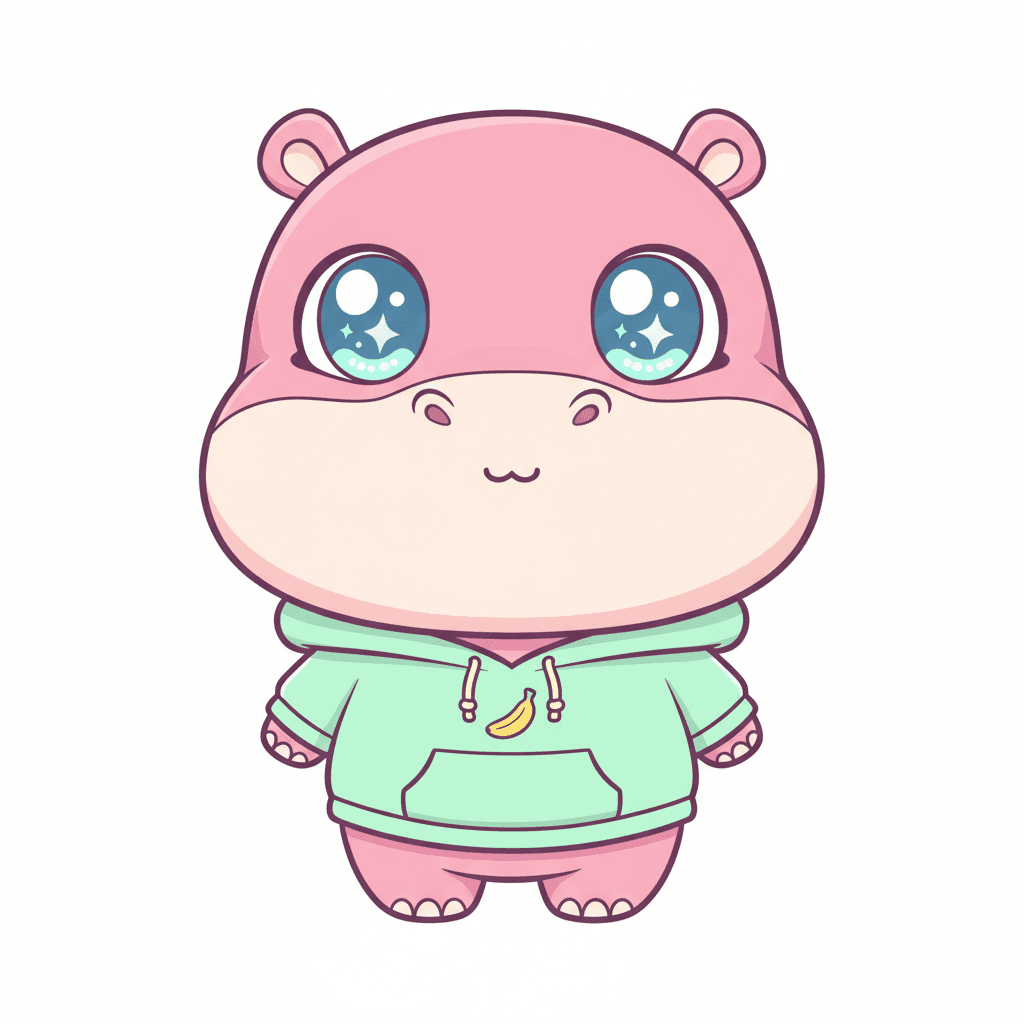
Photos of friendly hippo drawings


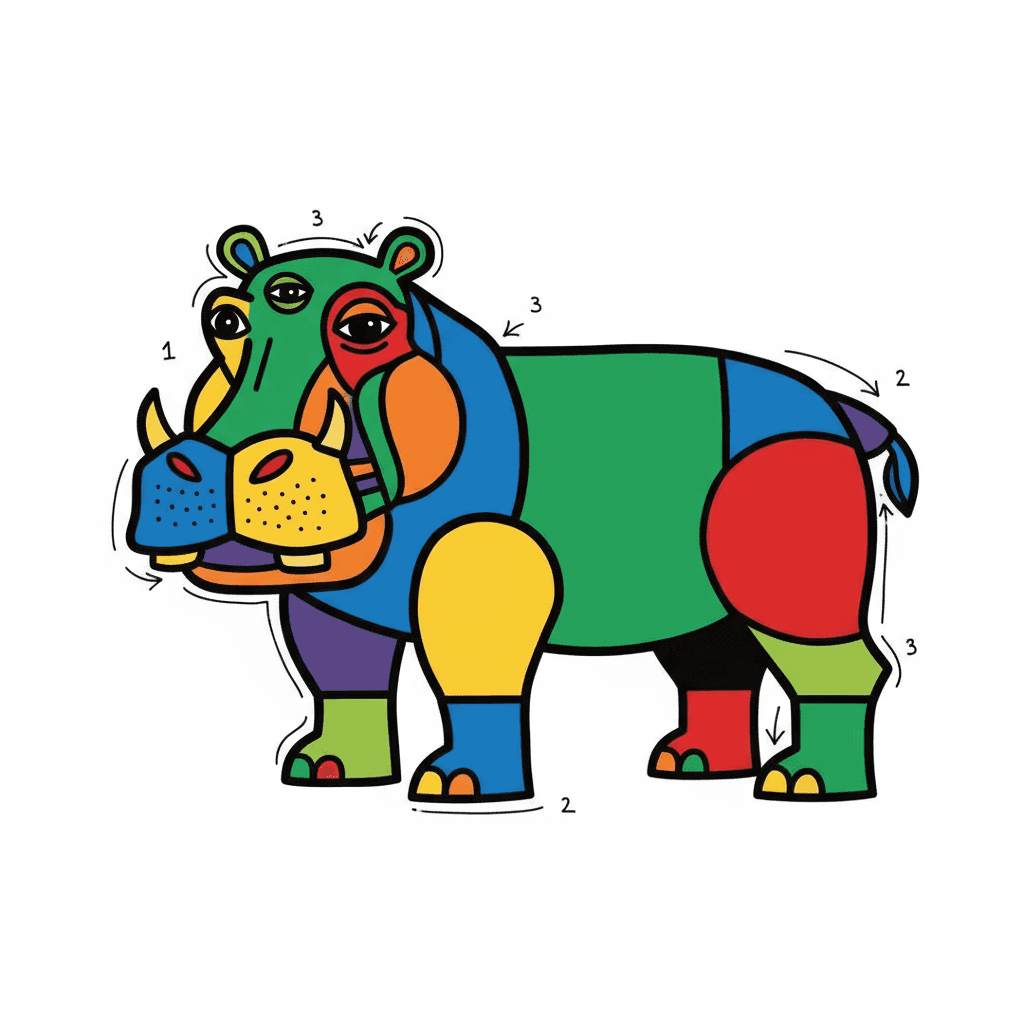
Step-by-step guide to draw a friendly hippo
How To Draw A Hippo
Step 1
Lightly draw a large horizontal oval in the middle of your paper for the hippo's body.
Step 2
Lightly draw a medium circle overlapping the front top of the oval for the hippo's head.
Step 3
Add two small rounded ears on top of the head circle.
Step 4
Draw two small circles on the head for the eyes.
Step 5
Put a tiny dot inside each eye circle for the pupils.
Step 6
Draw two small ovals near the front of the head for the nostrils.
Step 7
Draw a wide curved line under the nostrils for the smiling mouth.
Step 8
Draw two short square teeth at the top of the mouth so the hippo looks friendly.
Step 9
Draw four short rounded legs under the body so the hippo can stand.
Step 10
Draw a small curly tail at the back of the body.
Step 11
Add a couple of short curved lines on the snout for playful wrinkles.
Step 12
Trace over the hippo's final outline with a darker pencil line.
Step 13
Erase the light sketch guidelines you no longer need.
Step 14
Add light pencil shading under the belly and inside the ears to make the hippo look round.
Step 15
Color your hippo with your colouring materials and then share your finished creation on DIY.org.
Help!?
What can we use if we don't have a darker pencil, eraser, or colouring materials mentioned in the instructions?
If you don't have a darker pencil, trace the final outline with a fine-tipped marker or pen, replace an eraser with a clean tissue or kneaded eraser to remove the light sketch guidelines, and use crayons, washable markers, or torn colored paper to color your hippo.
My hippo's head and body don't look right—how can I fix the overlap and proportions while following the steps?
Keep the large horizontal oval and the medium overlapping head circle very light, compare the circle size to the oval before adding ears or features, and use your eraser to nudge or redraw the head until the overlap matches the instructions before tracing the final outline.
How can I adapt the drawing steps for younger or older children?
For younger kids simplify to just a big oval body and a circle head and skip tiny details like pupils and teeth, for school-age kids follow all steps including nostrils, teeth, and light shading under the belly, and for older kids add extra wrinkles, detailed shading inside the ears, and more realistic coloring techniques.
What are some ways to extend or personalize the hippo activity after finishing the basic drawing and coloring?
Personalize your hippo by adding a patterned saddle, a hat, a pond background with grass, or textured collage materials before coloring, and then photograph your finished creation to share on DIY.org as the instructions suggest.
Watch videos on how to draw a friendly hippo
How To Draw A Hippo With Shapes
4 Videos
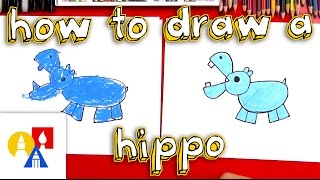
How To Draw A Hippo With Shapes

How To Draw A Ballerina Hippo
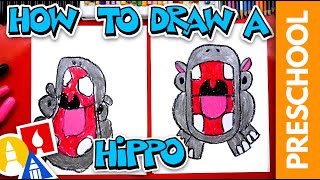
How To Draw A Hippo - Letter H - Preschool
How To Draw Cartoon Rapunzel
Facts about drawing for kids
🦛 Hippos can run about 30 km/h (around 19 mph) for short bursts on land — faster than many people!
✏️ Cartoon hippos are often started with simple shapes like circles and ovals, which makes proportions easier to learn.
🎨 Using just three tonal values (light, mid, dark) helps beginners shade and suggest roundness quickly.
🖍️ Many kids’ hippo drawings use playful colors like purple or pink — imagination beats realism in character design!
📏 Exaggerating features (big belly, tiny legs) makes hippos look friendlier and is a classic character-design trick.
How do I draw a friendly hippo step-by-step with my child?
What materials do I need to draw a hippo with kids?
What ages is drawing a friendly hippo suitable for?
What are the benefits of drawing a hippo with kids?
