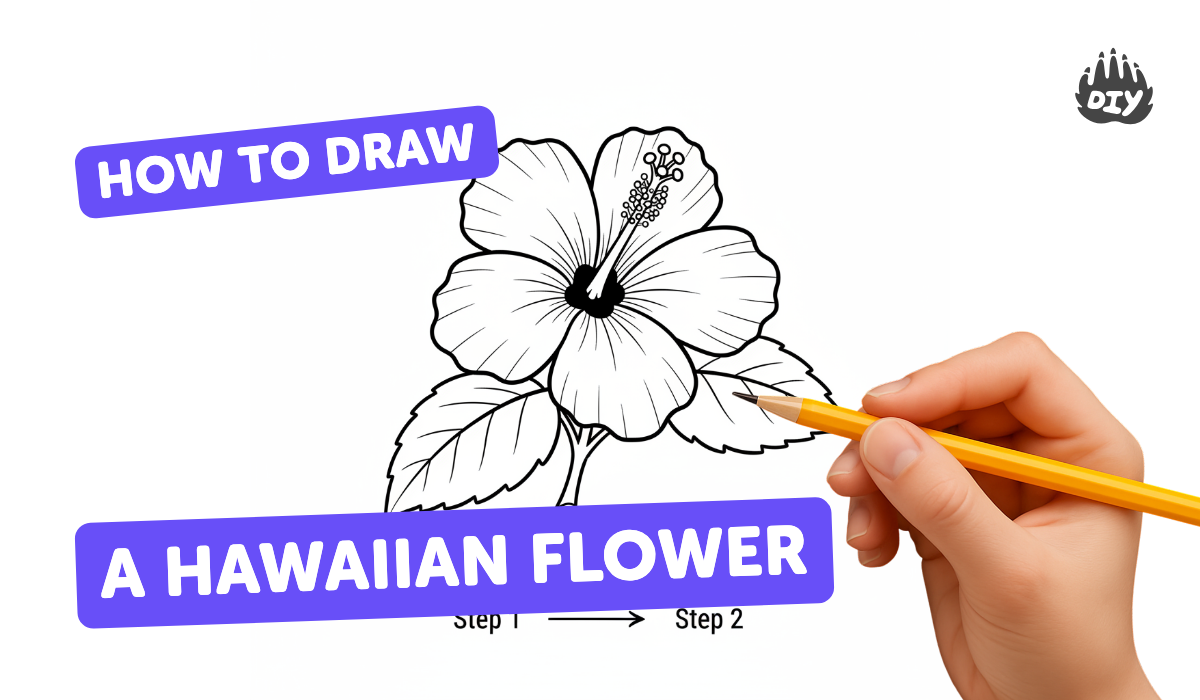
How to draw a hawaiian flower - a free hawaiian flower drawing guide
Draw a Hawaiian hibiscus flower step-by-step using basic shapes, lines, and shading; practice symmetry, proportions, petal details, and tropical color choices.

Drawing Apps
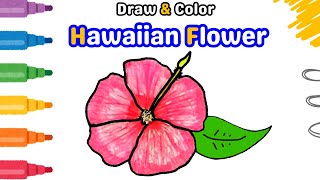
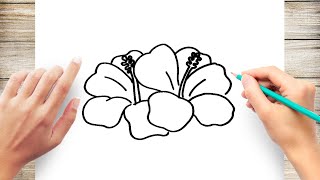
Photos of Hawaiian hibiscus flower drawings


Step-by-step guide to draw a Hawaiian hibiscus flower
🌺 Learn How to Draw a Hawaiian Flower - Step-by-Step Tutorial for Kids and Beginners! #howtodraw
Step 1
Draw a small circle in the middle of your paper to mark the flower center.
Step 2
Lightly draw a vertical and horizontal line crossing at the center circle to make a guide for symmetry.
Step 3
Place five evenly spaced dots around the circle where each petal will go.
Step 4
Draw five large teardrop-shaped petals connecting each dot to the center circle and make their outer edges slightly wavy so they look ruffled.
Step 5
Make the petals overlap a little by adjusting their edges so each petal sits slightly in front of the next.
Step 6
Erase the parts of the guide lines that fall inside the petals to clean up your sketch.
Step 7
Draw a short curved tube from the center circle for the stamen and add a small cluster of tiny ovals at the tip for the pollen.
Step 8
Add one or two curved vein lines on each petal starting near the center and reaching toward the tip.
Step 9
Lightly shade the base of each petal with your pencil to add depth.
Step 10
Trace your final pencil lines with a black marker or fineliner to make the drawing pop.
Step 11
After the ink dries erase any remaining pencil lines carefully.
Step 12
Color the petals using bright tropical colors making the base a bit darker and the tips lighter to create a soft gradient and small highlights.
Step 13
Color the stamen and the flower center with warm colors like yellow or orange and add two big green leaves behind the flower for a tropical look.
Step 14
Sign your name and the date in a corner to finish your artwork.
Step 15
Share your finished Hawaiian hibiscus flower on DIY.org.
Help!?
I don't have a black marker or fineliner—what can I use to trace my final pencil lines?
If you don't have a black marker or fineliner (from 'Trace your final pencil lines'), use a sharpened dark-colored pencil, a ballpoint pen, or a thin-tip permanent marker as substitutes and test on scrap paper first.
My petals look uneven or lopsided after placing the five dots and drawing the teardrop shapes—how can I fix them?
If your five petals look uneven after placing the dots and drawing the teardrop-shaped petals, adjust them using the lightly drawn vertical and horizontal guide lines to measure spacing, rotate the paper while redrawing each petal, and then erase the guide lines that fall inside the petals.
How can I adapt this drawing for younger children or make it more challenging for older kids?
For younger children (3–6) skip the guide lines and use five petal stickers or pre-made teardrop stencils to trace and color with crayons, while older kids (10+) can add detailed vein lines, soft pencil shading at the base of each petal, and experiment with ink and watercolor washes for richer gradients.
What are some ways to extend or personalize the hibiscus drawing before sharing it on DIY.org?
To personalize and extend the activity, draw a garland of several hibiscus flowers with varied petal colors and patterns, add a beach or tropical background and two big green leaves behind each flower, seal with clear glue for shine if desired, then sign, date, and share on DIY.org.
Watch videos on how to draw a Hawaiian hibiscus flower
Secrets Revealed: 🌺 Fun Hawaiian Flower Drawing Tutorial for Kids and Toddlers👧
4 Videos
Secrets Revealed: 🌺 Fun Hawaiian Flower Drawing Tutorial for Kids and Toddlers👧
How to Draw a Hawaiian Flower Step by Step for Kids

How to Draw a Hawaiian Flower - Easy Tropical Art for Beginners

How To Draw A Hibiscus Flower 🌺
Facts about drawing flowers
🌺 The yellow hibiscus (Hibiscus brackenridgei) is the official state flower of Hawaii.
🎨 Most hibiscus flowers have five petals, which makes them a great subject to practice symmetry.
✨ Hibiscus blooms are radially symmetrical (actinomorphic), so petals repeat evenly around the center.
🌈 Hibiscus come in many colors — red, pink, yellow, orange, white, and even bi-color varieties — perfect for tropical palettes.
📏 Some hibiscus flowers can grow over 6 inches (15 cm) across, so they make big, bold drawings!
How do I draw a Hawaiian hibiscus flower step-by-step?
What materials do I need to draw a Hawaiian hibiscus with kids?
What ages is drawing a Hawaiian hibiscus suitable for?
What are the benefits of drawing Hawaiian hibiscus and simple variations we can try?
