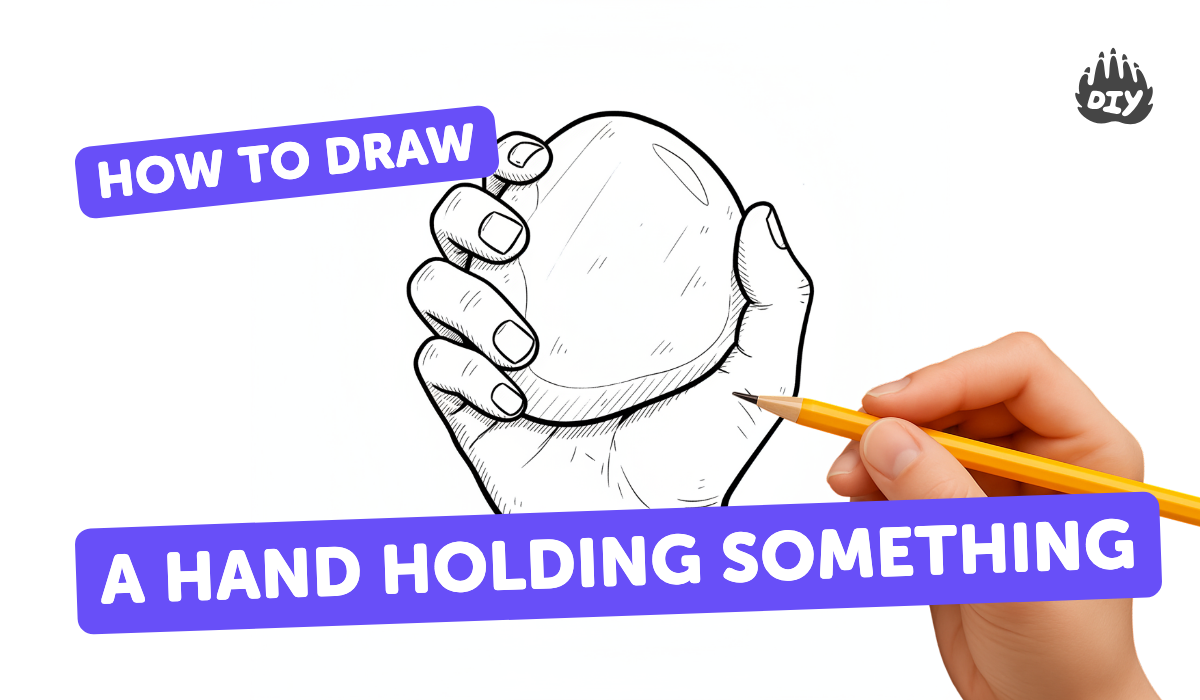
How to draw a hand holding something - a free hand holding something drawing guide
Draw a hand holding an object step-by-step using simple shapes and shading to learn proportion, perspective, and observational drawing. Practice careful observation.

Drawing Apps
Photos of drawings of a hand holding an object


Step-by-step guide to draw a hand holding an object
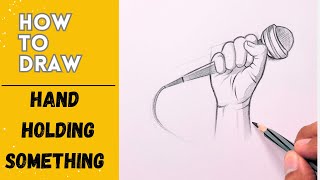
How to draw a hand holding a pencil | Easy Drawings | How To Draw A Hand Holding Something
Step 1
Pick a small object and hold it in your hand in a comfy pose so you can study how your fingers wrap around it.
Step 2
Look closely at your hand and draw one light gesture line from the wrist through the center of the palm to show the main angle.
Step 3
Draw a simple rounded rectangle or oval for the palm and a short rectangle for the wrist to block in the hand’s main shapes.
Step 4
Add five light curved lines from the top of the palm to mark the direction and length of each finger.
Step 5
Put three small rectangles or cylinders along each finger line to mark the finger joints and a thicker shape for the thumb.
Step 6
Sketch the basic shape of the object where it sits in the fingers and show where the fingers overlap the object.
Step 7
Trace smooth outer contours around your simple shapes to turn the blocks into a real hand outline.
Step 8
Erase the extra construction and overlapping lines that you no longer need.
Step 9
Add details like knuckle folds fingernails and skin creases with short careful lines.
Step 10
Pick a light source direction and mark it with a small arrow so you know where shadows and highlights belong.
Step 11
Shade the hand and object using light to dark pencil strokes putting darker tones where shadows fall and lighter tones where the light hits.
Step 12
Gently blend the shading with your tissue or cotton swab to make smooth transitions and then sharpen any dark shadow edges you want to keep.
Step 13
Share your finished drawing on DIY.org
Help!?
What can I use if I don't have a tissue, cotton swab, or a specific pencil mentioned in the steps?
If you don't have a tissue or cotton swab for blending, use your fingertip, a soft cloth, or a blending stump and substitute any HB–2B graphite pencil and a kneaded eraser for the sketching and erasing steps.
My fingers look stiff or the proportions are off — which step should I redo to fix this?
If proportions are off, go back to the wrist-to-palm gesture line, re-block the palm as a rounded rectangle and the wrist as a short rectangle, then redraw the five curved finger lines and the three joint rectangles on each finger before tracing smooth outer contours.
How can I adapt this hand-drawing activity for younger or older children?
For younger kids use a large, easy-to-hold object and thick crayons or markers and focus only on the palm block and finger direction lines, while older kids should add knuckle folds, fingernails, mark a light source arrow, refine light-to-dark shading, and blend with a tissue or swab.
What are simple ways to extend or personalize the drawing once the basic hand is finished?
Extend the activity by drawing a series of hands holding different small objects, experimenting with different light source arrows and shading techniques, adding color with colored pencils or watercolor over the shaded drawing, and then sharing the results on DIY.org.
Watch videos on how to draw a hand holding an object
How to draw hand holding something | Easy Drawings
4 Videos
How to draw hand holding something | Easy Drawings
How to draw a Hand holding Something | Drawing Hands tutorial step by step |Hand drawing Art Sketch
How to Draw Holding Hands Step by Step Easy for Beginners/Kids - Simple Hand Drawing Tutorial
How to draw Holding Hands Step by step (very easy) || Art video
Facts about observational drawing for kids
✋ The human hand contains 27 bones—more than a quarter of the bones in your entire arm and hand!
🎨 Many artists begin a hand drawing with simple shapes (ovals, rectangles, cylinders) to block in proportions quickly.
🔍 Observational drawing—looking closely at light, shadow, and tiny details—often makes a sketch look much more realistic.
🖊️ Shading (using light and dark values) gives fingers and knuckles their round, three-dimensional appearance.
📐 Foreshortening is a perspective trick used when fingers point toward the viewer, making them appear shorter than they really are.
How do you draw a hand holding an object step-by-step?
What materials do I need to draw a hand holding an object?
What ages is this drawing activity suitable for?
What are the benefits of drawing a hand holding an object?
