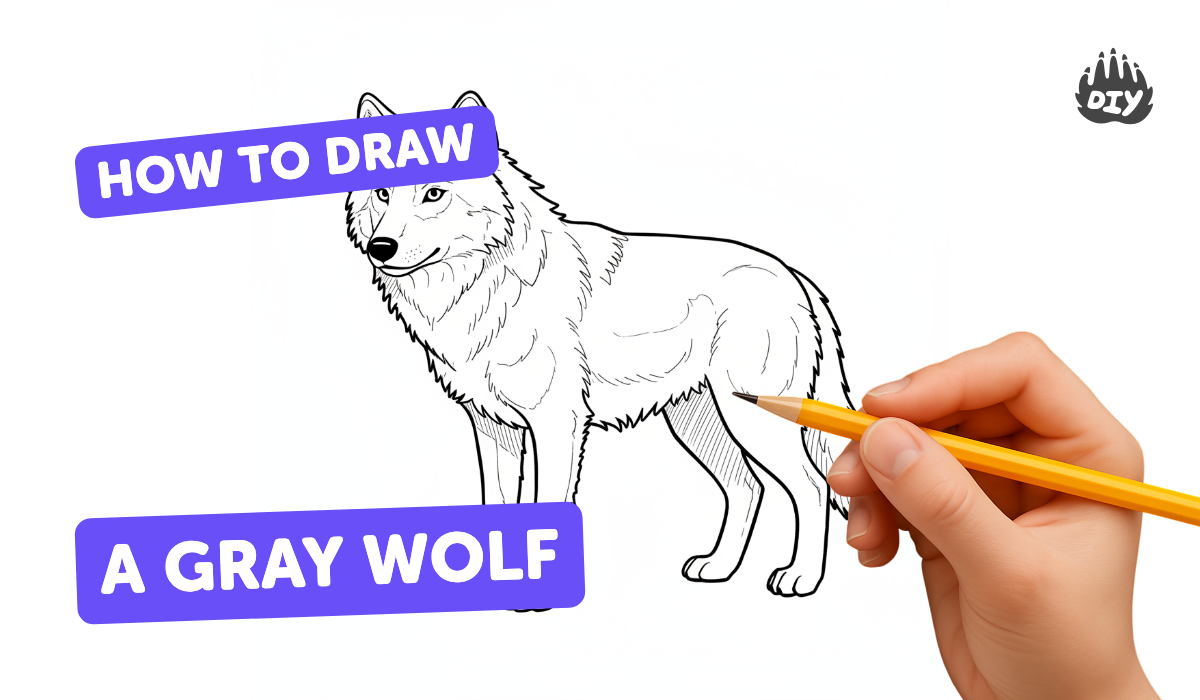
How to draw a gray wolf - a free gray wolf drawing guide
Draw a realistic gray wolf step by step using pencil, shading, and simple shapes. Practice observing proportions, facial features, and fur texture.

Drawing Apps
Photos of gray wolf drawing examples


Step-by-step guide to draw a realistic gray wolf
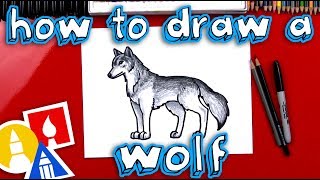
HOW TO DRAW A GREY WOLF - KIDS VERSION | STEP BY STEP BASICS EASY DRAWING | PENCIL SKETCH
Step 1
Place your drawing paper and the reference photo of the gray wolf side by side on a flat table.
Step 2
Lightly draw a circle for the head and an oval that sticks out for the snout using a light HB pencil.
Step 3
Add a small circle at the bottom of the head for the neck base and a gentle curved line for the shoulder.
Step 4
Draw a vertical centerline down the head and a horizontal eye line to help keep the face balanced.
Step 5
Mark the positions of the eyes with two small dots on the eye line.
Step 6
Sketch the nose at the tip of the snout as a small rounded triangle.
Step 7
Draw a soft curved line for the mouth and shape the jaw under the snout.
Step 8
Sketch two triangular ears on top of the head where they meet the circle.
Step 9
Refine the face and head outline into the wolf’s real contours by smoothing and adjusting the shapes.
Step 10
Lightly erase the extra construction lines that are outside your refined outline.
Step 11
Add fur texture with short pencil strokes that follow the direction the fur grows around the face and neck.
Step 12
Shade the midtone areas gently with HB and deepen the shadows with 2B or 4B to show form.
Step 13
Blend shaded areas softly with a blending stump or tissue to make the fur look smooth.
Step 14
Use your eraser to lift tiny highlights on the fur nose and eyes and add final dark accents for contrast.
Step 15
Share your finished gray wolf drawing on DIY.org.
Help!?
What can we use if we don't have a blending stump or 2B/4B pencils?
Use a soft tissue, cotton swab, or fingertip to blend the shaded areas and substitute a softer pencil like 3B or a charcoal pencil to deepen shadows when you don't have a blending stump or 2B/4B.
My wolf's face looks lopsided—how can I fix the proportions?
Lightly erase the problematic areas and re-check your placement using the vertical centerline and horizontal eye line, then reposition the eye dots and snout oval to balance the face.
How can this activity be adapted for different age groups?
For younger kids, simplify by tracing the head circle and snout oval and coloring with crayons or colored pencils, while older kids can follow all steps, add short pencil fur strokes, and use 2B/4B plus a blending stump for realistic shading.
What are some ways to extend or personalize the finished gray wolf drawing?
After completing the fur texture and shading, personalize by drawing a forest background, adding color with colored pencils or watercolor, or framing and uploading the final piece to DIY.org to share.
Watch videos on how to draw a realistic gray wolf
Easy Drawing for Kids: Learn How to Draw a Wolf | Fun and Simple Tutorial #easydrawing #howtodraw
4 Videos
Easy Drawing for Kids: Learn How to Draw a Wolf | Fun and Simple Tutorial #easydrawing #howtodraw
🎨 9-Year-Old Draws a Wolf! How To Draw a Wolf for Kids (Easy Step-by-Step Tutorial)
How to Draw a Cute Wolf Step by Step! 🐺✏️ Easy Animal Drawing Tutorial for Beginners
How To Draw A Realistic Wolf
Facts about pencil drawing and animal sketching
🐺 Gray wolves can weigh from about 18 to 79 kg (40–175 lb), so studying their size helps with realistic body proportions.
🎨 Many artists begin animal drawings with simple shapes (circles, ovals, triangles) to block in correct proportions quickly.
✏️ Pencil grades run from 9H (very hard, light) to 9B (very soft, dark); softer pencils are great for deep fur shading.
👀 Wolves have forward-facing eyes for strong binocular vision — notice eye placement to get a lifelike gaze.
🐾 Fur grows in layers and follows body contours; shading along those growth directions makes fur look textured and real.
How do you draw a realistic gray wolf step by step?
What materials do I need to draw a realistic gray wolf?
What ages is this drawing activity suitable for?
What are the benefits and variations of drawing a gray wolf?
