How to draw a gem - a free gem drawing guide
Draw a faceted gem using simple shapes, rulers, and colored pencils. Practice symmetry, shading, and color blending to create a realistic gemstone.

Drawing Apps
Photos of faceted gem examples


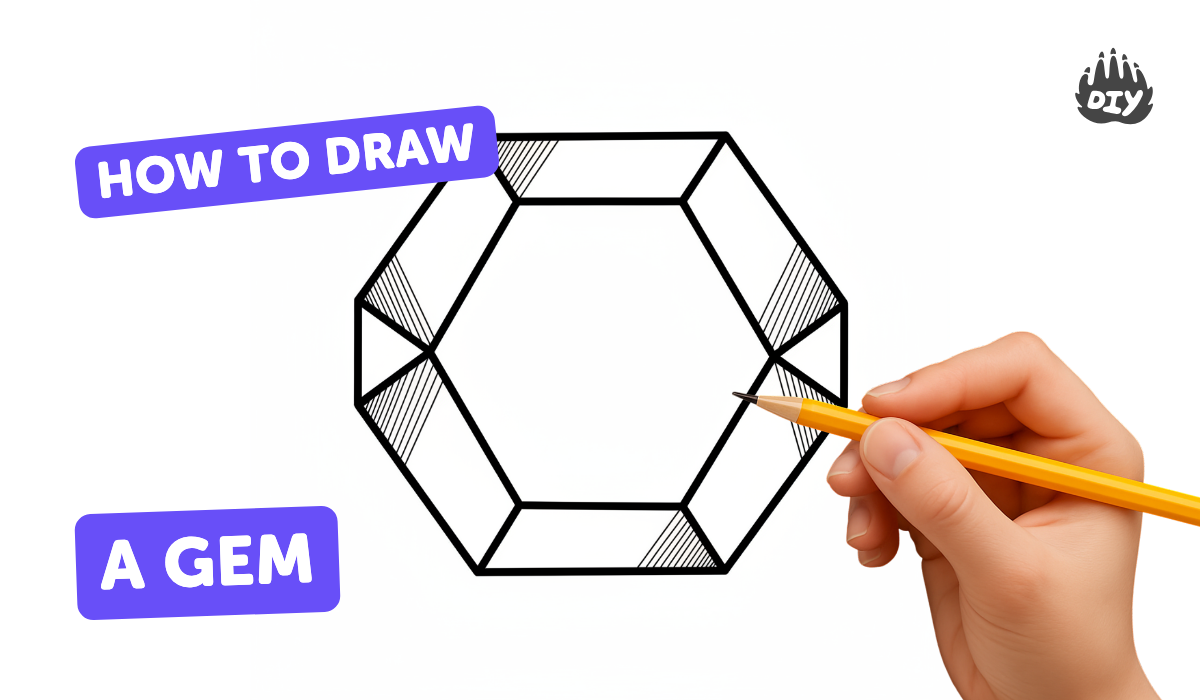
Step-by-step guide to draw a faceted gem
How to Draw A Simple Gem - Step by Step Tutorial
Step 1
Place your paper and draw a light vertical center line down the middle with your ruler and pencil.
Step 2
Draw a light horizontal center line that crosses the vertical line so the lines meet at the center.
Step 3
Put a small mark on the vertical line above the center to show the top point of your gem.
Step 4
Put a matching small mark on the vertical line below the center to show the bottom point.
Step 5
Put a small mark on the horizontal line to the left of center to show the left point.
Step 6
Put a small mark on the horizontal line to the right of center to show the right point.
Step 7
Use your ruler to connect the top mark to the left mark to the bottom mark to the right mark and back to the top to make the diamond outline.
Step 8
Draw a short horizontal line across the diamond slightly above the center to make the top facet base.
Step 9
Draw light straight lines from each corner of the diamond toward the center point so the lines meet and form many facet shapes.
Step 10
Erase any extra guide lines so only the diamond outline and the facet lines remain.
Step 11
Choose three colored pencils in the same color family: one light one medium and one dark.
Step 12
Color each facet using the three pencils so some facets are light and some are darker, layering the colors to blend smoothly.
Step 13
Use a white or very light colored pencil to draw small bright highlights on the facets where the light would hit.
Step 14
Take a photo or scan your finished gem and share your creation on DIY.org.
Help!?
What can I use if I don't have a ruler, colored pencils, or a scanner?
Use any straight edge like a book or cereal box to draw the vertical and horizontal center lines and connect marks, swap crayons, markers, or watercolor paints for the three light/medium/dark colored pencils and a white gel pen or white crayon for highlights, and photograph your finished gem with a smartphone instead of scanning before uploading to DIY.org.
My diamond outline or facet lines look uneven—how can I fix that?
Draw all guide lines very lightly with your pencil (steps about drawing center lines and marks), use the ruler to re-align and redraw the diamond outline from top to left to bottom to right if needed, and erase extra guide lines so only the clean outline and facet lines remain before coloring.
How can I adapt this gem drawing for different ages or skill levels?
For younger kids pre-draw the vertical/horizontal center lines and diamond outline and have them add only a few facet lines and color with chunky crayons or markers, while older kids can add many thin facet lines toward the center, practice layering the three chosen colored pencils for blending, and add precise white highlights with a gel pen.
What are some ways to extend or personalize the gem activity after coloring?
Create a gem series using different color families, add metallic gel pens or glitter glue to accent highlights on the facets, mount the finished gem on colored cardstock, and photograph each stage to share a step-by-step project on DIY.org.
Watch videos on how to draw a faceted gem
Drawing FACETED GEMSTONES! PART ONE!
4 Videos
Drawing FACETED GEMSTONES! PART ONE!
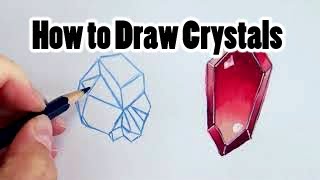
How to Draw Crystals and Gems Tutorial Tuesday
How To Draw A Gemstones || Drawing Ruby stone || Sketches & Diagrams Art ||
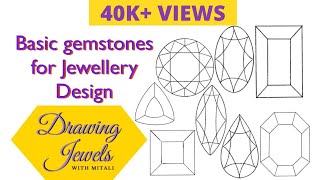
How to draw gemstones easily? | Basic gemstones for Jewellery Design
Facts about drawing and shading for kids
💎 Diamonds have a very high refractive index (about 2.42), which is why they sparkle so much.
✏️ Using a ruler to draw straight facet edges and mirroring them makes a drawn gem look perfectly cut.
🎨 Layering and light pressure when blending colored pencils can make flat color look like a deep, glowing stone.
🔍 A gem's sparkle comes from both reflection off facets and refraction of light inside the stone.
📏 Professional gem cutters measure facet angles to within tenths of a degree to maximize brilliance.
How do you draw a faceted gem step by step?
What materials do I need to draw a gem with facets?
What ages is a faceted gem drawing activity suitable for?
What are the benefits and fun variations of drawing faceted gems?
