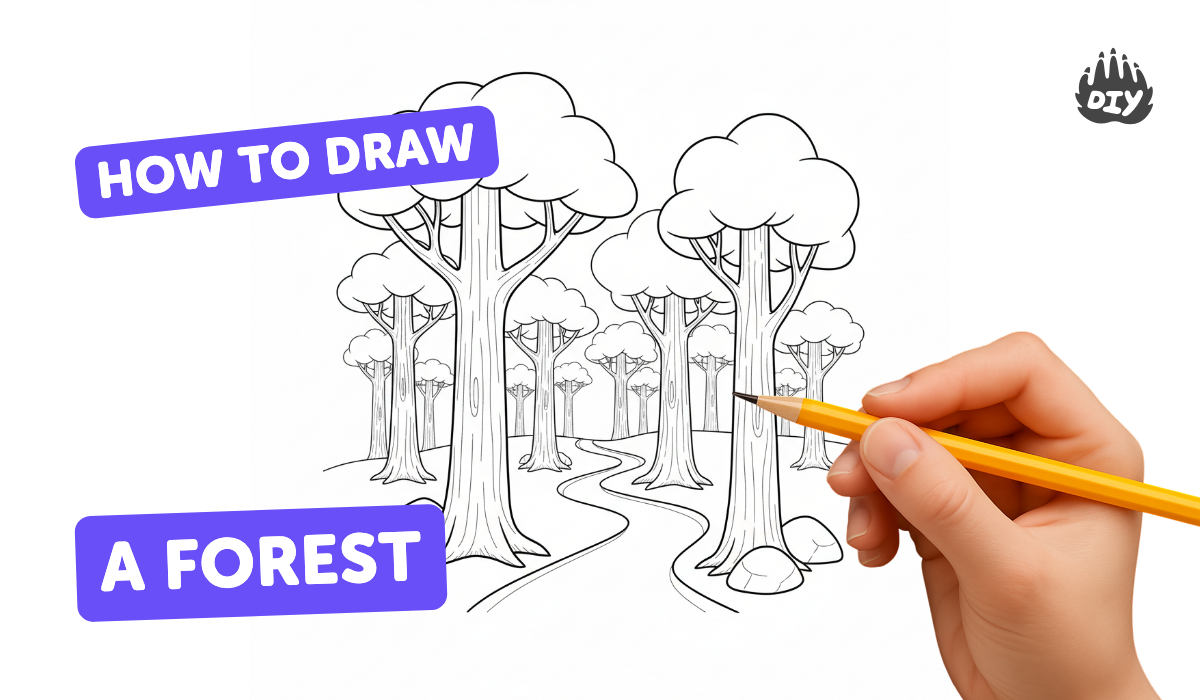
How to draw a forest - a free forest drawing guide
Learn to draw a lively forest scene using pencils, markers, and layering techniques; practice trees, leaves, depth, and simple shading for realism.

Drawing Apps
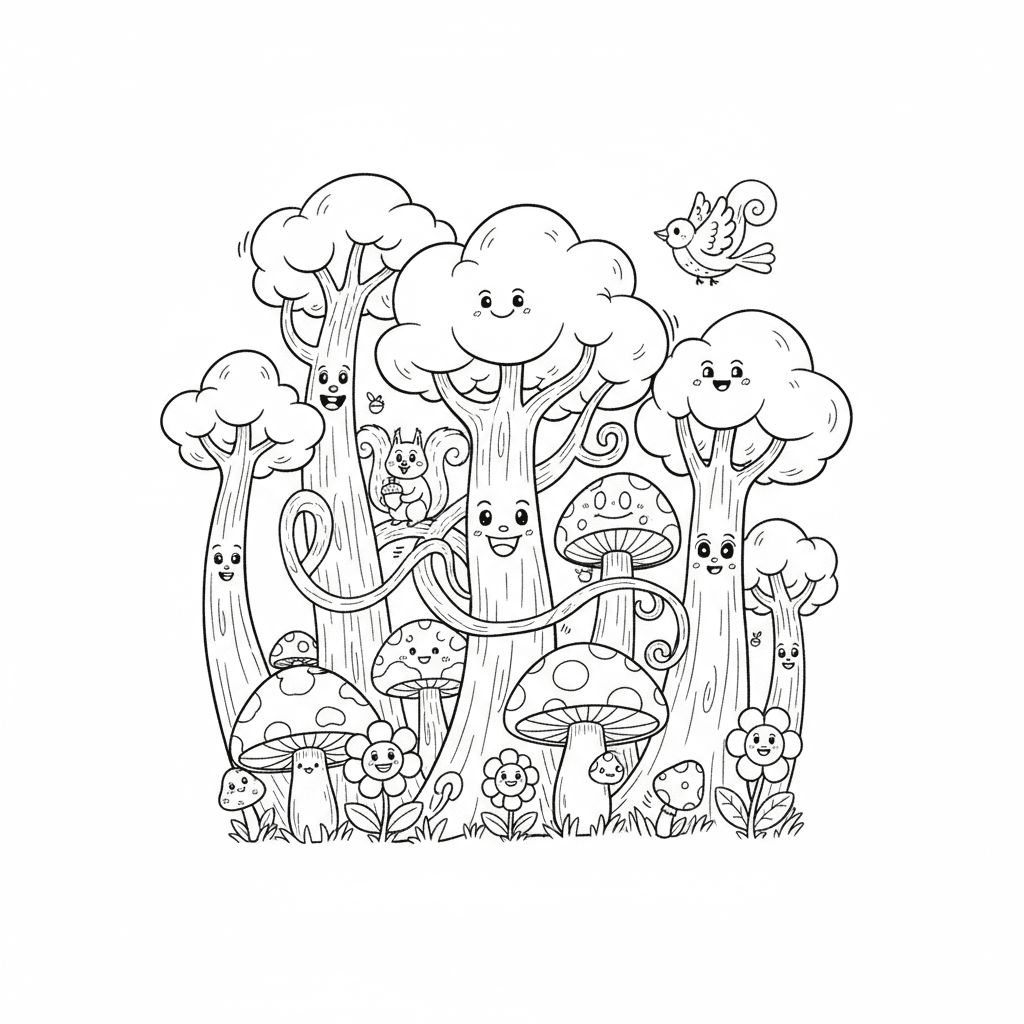
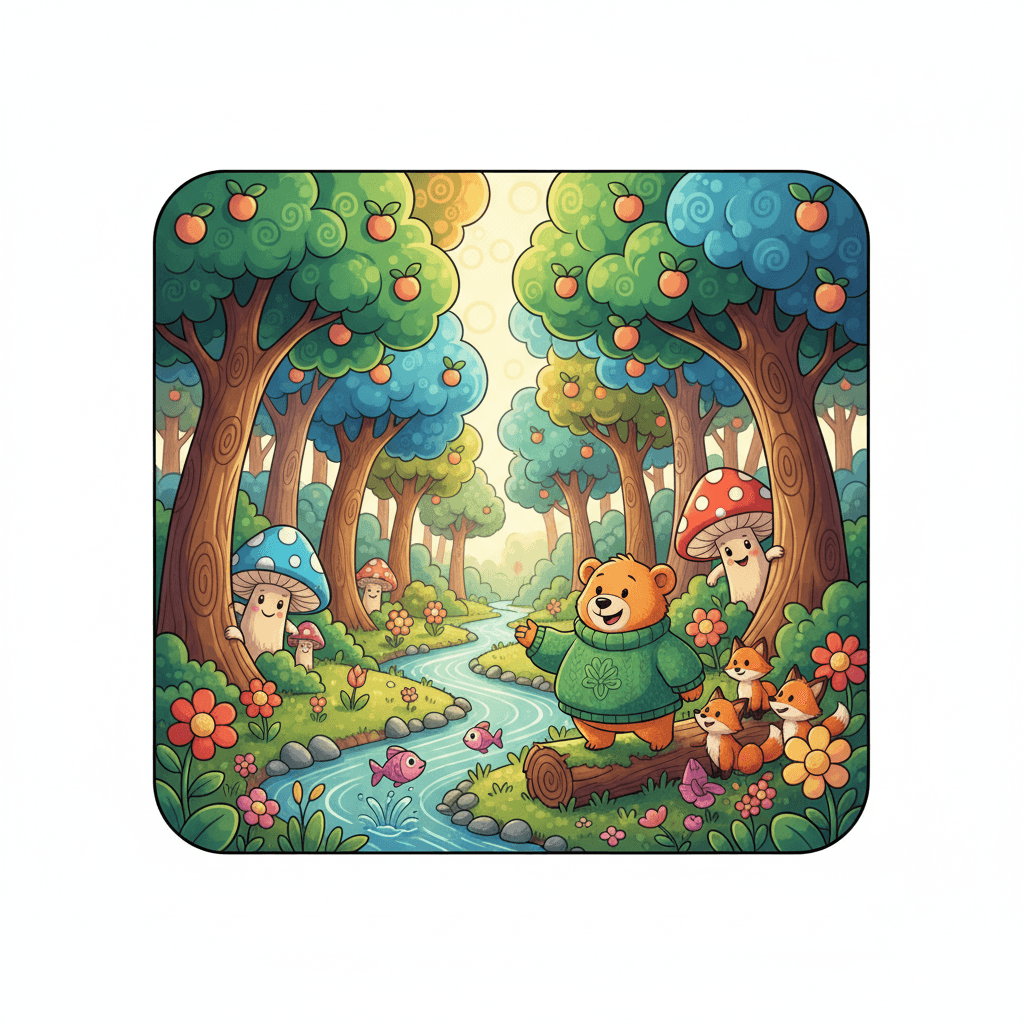
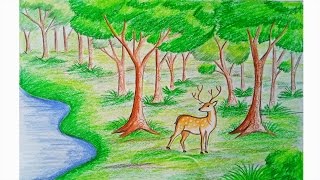
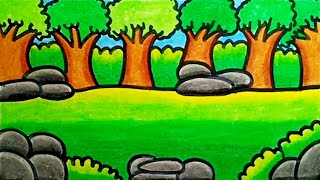
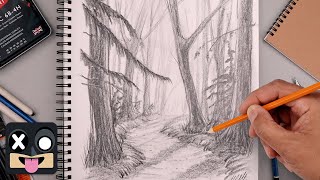
Photos of lively forest drawing examples
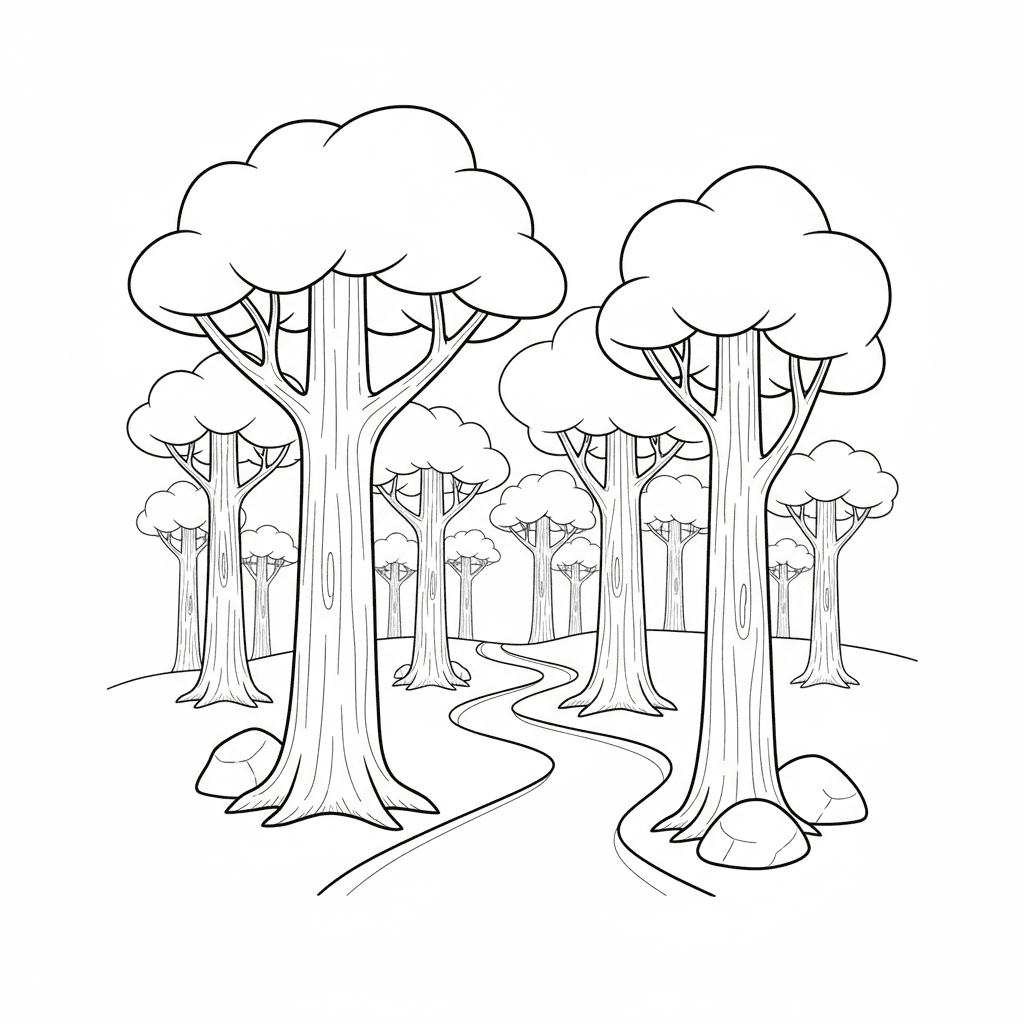

Step-by-step guide to draw a lively forest scene
How To Draw Forest Scenery Easy For Beginners |Drawing Forest Scenery Easy For Kids
Step 1
Find a comfy workspace and lay out your materials so everything is easy to reach.
Step 2
Lightly draw a horizontal line across the paper to mark the horizon and ground level.
Step 3
Sketch three large tree trunks in the foreground using light pencil lines and make them different widths.
Step 4
Draw smaller trees and tree shapes behind the big trunks using lighter and smaller pencil lines.
Step 5
Add simple branch shapes coming off each trunk using gentle curved lines.
Step 6
Draw leaf clusters as cloudlike shapes around the branches in different sizes.
Step 7
Gently erase extra construction lines so the main shapes are clear.
Step 8
Shade the sides of each trunk with your pencil to make them look round and darker on one side for light direction.
Step 9
Add darker pencil shading inside the leaf clusters near the branches to show shadow and depth.
Step 10
Carefully trace the main trunks branches and leaf outlines with the black marker and let the ink dry.
Step 11
Color the scene in layers by laying down a light base color then adding darker colors on top to build depth.
Step 12
Add small final details like grass at the base tiny leaf veins and a few bark lines then blend softly with a tissue or blending stump.
Step 13
Share your finished forest drawing on DIY.org
Help!?
If I can't find a black marker or a blending stump, what can I use instead?
Use a dark colored pencil or fine-tip pen to carefully trace the main trunks and branches in place of the black marker, and substitute a tissue, cotton swab, or your fingertip to softly blend the grass, bark lines, and shaded pencil areas instead of a blending stump.
What should I do if my ink smudges or my trunks look flat when I try to shade?
Prevent smudging by letting the traced black marker dry fully (or use a cool hair dryer), erase construction lines gently as the instructions say, and build roundness on the trunks by shading lightly on the sides and layering darker tones gradually rather than pressing hard.
How can I adapt the drawing steps for different ages and skill levels?
For younger children, simplify by marking the horizon and drawing one or two big trunk shapes for them to color with crayons or paint, while older kids can follow the full steps and add extra background trees, tiny leaf veins, detailed bark lines, and layered shading with a blending stump for more depth.
What are some fun ways to extend or personalize the finished forest drawing?
Try giving the forest a season by adding colored leaves or snow, glue in small real leaves or tissue-paper for leaf clusters, include tiny animals among the trunks, and then share the finished forest on DIY.org as suggested.
Watch videos on how to draw a lively forest scene
How to draw forest scene Step by step (very easy) || Art video
4 Videos
How to draw forest scene Step by step (very easy) || Art video
How To Draw Forest Scenery Very Easy Step By Step | Drawing Forest Scenery For Beginners
How To Draw a Forest Landscape | Step by Step Art Lesson for Beginners
How to draw a forest scenery step by step ||Very easy @Mousumi Arts Academy
Facts about drawing techniques for kids
🌲 Forests cover about 31% of Earth's land — perfect for finding tons of different tree shapes to draw.
✏️ Pencils are graded from hard (H) to soft (B); softer (B) pencils give darker, smoother shading for trunks and shadows.
🎨 Markers and layering let you build rich color and texture — start light and add darker layers for depth.
👀 Our eyes read depth from overlap, size, detail, and contrast — closer trees should be bigger and more detailed.
🌿 There are over 60,000 tree species worldwide, so mixing leaf shapes makes a forest look lively and realistic.
How do I teach my child to draw a lively forest scene step-by-step?
What materials do I need to draw a forest using pencils, markers, and layering techniques?
What ages is this forest drawing activity suitable for and how can I adapt it?
What are the benefits of teaching children to draw a forest scene?
