How to draw a fairy - a free fairy drawing guide
Learn to draw a fairy step by step using simple shapes, add wings, facial features, clothing, and color to create your own illustrated character.

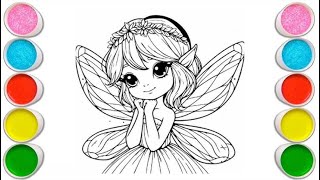
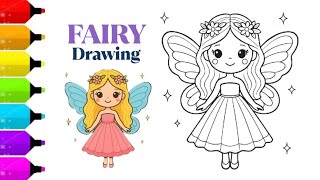
Photos of fairy drawing examples


Step-by-step guide to draw a fairy
How To Draw A Cute Fairy
Step 1
Draw a circle for the fairy's head.
Step 2
Lightly draw a vertical and horizontal guideline inside the head circle to place the face.
Step 3
Draw a small neck under the head.
Step 4
Draw an oval or teardrop shape below the neck for the fairy's body.
Step 5
Draw a skirt or dress shape around the lower body using a curved triangle or bell shape.
Step 6
Draw two arms using curved lines ending in small ovals for hands.
Step 7
Draw two legs under the skirt using straight or slightly curved lines and add simple shoes.
Step 8
Draw the fairy's hair around the head using long or short curved lines to make a fun hairstyle.
Step 9
Draw small ears peeking out from the hair if you want them visible.
Step 10
Draw the eyes on the horizontal guideline then add a small nose and a smiling mouth on the vertical guideline.
Step 11
Draw two big wings behind the body using large curved shapes and add a few vein lines inside each wing.
Step 12
Add clothing details like a belt frill or patterns on the dress.
Step 13
Draw a wand or another accessory for your fairy.
Step 14
Colour your fairy with your colouring materials and add sparkles or patterns to make it special.
Step 15
Share your finished fairy on DIY.org.
Final steps
You're almost there! Complete all the steps, bring your creation to life, post it, and conquer the challenge!


Help!?
What can we use if we don't have colouring materials like coloured pencils or markers?
Use crayons, watercolour paints, stickers, torn coloured paper for a collage dress, or cut-up magazine pieces to colour and decorate the fairy.
My wings look uneven — how can we make them match like the instructions say to draw two big wings?
Fold the paper in half and draw one wing along the fold so when you open it the two big wings match, then add the vein lines and erase the fold guide.
How can I adapt this drawing activity for younger or older kids?
For younger children, pre-draw the circle for the head and body shapes to trace and use stickers for details, while older kids can add detailed hair, clothing patterns, wing veins and shading with colouring materials.
How can we make the fairy extra special or personalized beyond the basic steps?
Glue glitter, sequins, or tissue-paper layers on the wings, make a real stick wand with ribbon, add a unique dress pattern and then photograph your fairy to share on DIY.org.
Watch videos on how to draw a fairy
"How to Draw a Cute Fairy |Easy Drawing for Kids Step by Step"
4 Videos
"How to Draw a Cute Fairy |Easy Drawing for Kids Step by Step"
How to Draw a Beautiful Fairy Girl 🧚♀️ | Easy Step-by-Step Drawing Tutorial for Kids & Beginners
🧚 How to Draw a Simple Fairy | Step-by-Step Lesson ✨
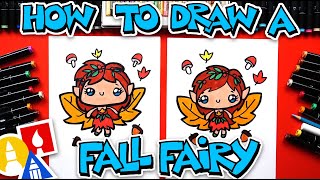
How To Draw A Cute Fall Fairy
Facts about drawing and character illustration for kids
🧚♀️ The word "fairy" comes from Old French "faerie," which originally meant enchantment or illusion.
✏️ Artists often start characters using simple shapes (circles, ovals, triangles) to build a friendly fairy form.
🖌️ Complementary colors (opposites on the color wheel) make wings and costumes pop—try purple with yellow!
✨ Tinker Bell, one of the world's most famous fairies, first appeared in J.M. Barrie's 1904 play Peter Pan.
🎨 Arthur Rackham, an early 20th-century illustrator, helped shape modern fairy imagery with intricate pen-and-ink art.

