How to Draw a Elf
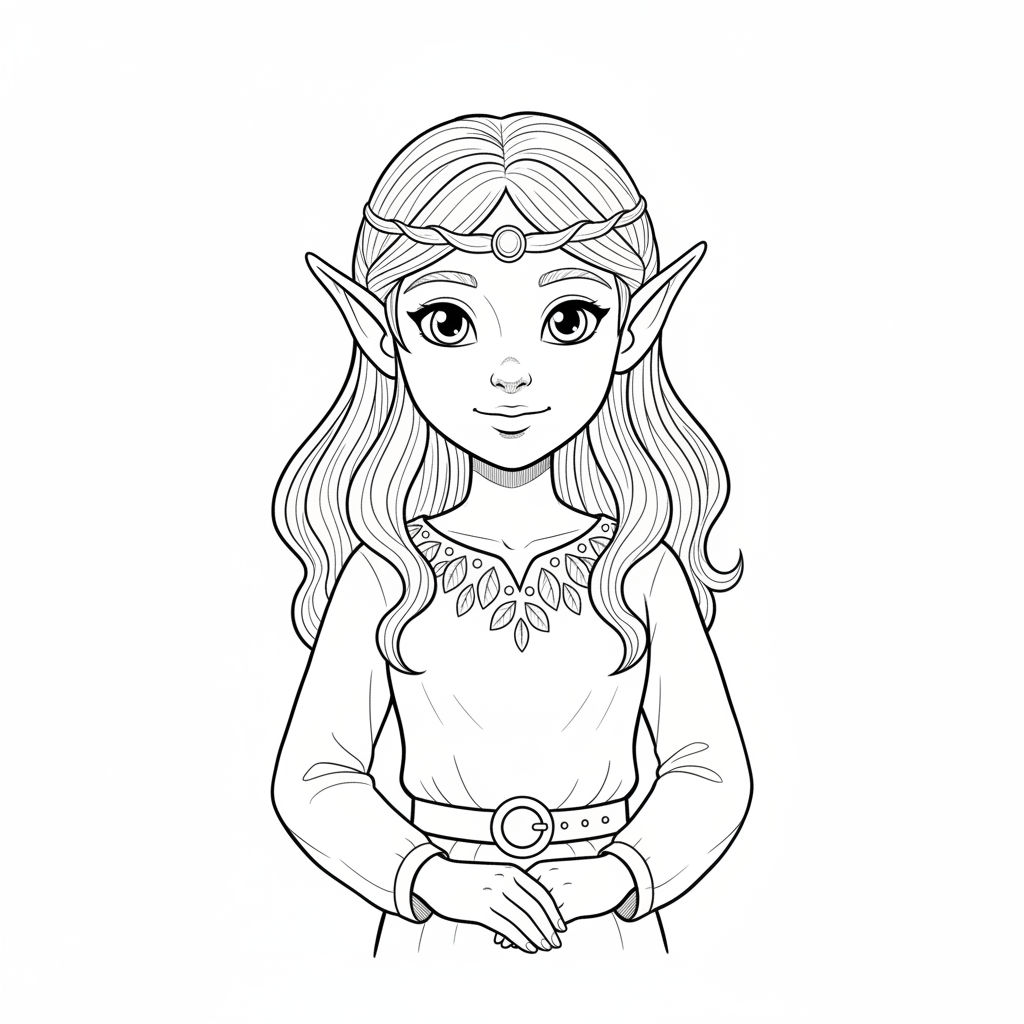
Draw an elf step by step using simple shapes, add facial details, clothing, and color to create your own cheerful festive character.
About this tutorial
Draw an elf step by step using simple shapes, add facial details, clothing, and color to create your own cheerful festive character.
What you need
Instructions
- 1
Step 1
Gather your materials and get a clean sheet of paper.
- 2
Step 2
Draw a big circle near the top of the page for the elf's head.
- 3
Step 3
Draw a rounded triangle or oval under the head for the elf's body.
- 4
Step 4
Draw a tall pointy hat on top of the head like a triangle.
- 5
Step 5
Draw a small circle at the tip of the hat for a pom-pom.
- 6
Step 6
Draw pointy ears on each side of the head.
- 7
Step 7
Draw two curved arms from the sides of the body ending with mitten-shaped hands.
- 8
Step 8
Draw two short legs under the body and add pointy shoes with curled toes.
- 9
Step 9
Draw two round eyes on the face.
- 10
Step 10
Draw a small triangle nose and a smiling curved mouth.
- 11
Step 11
Add clothing details like a collar a belt and buttons on the body.
- 12
Step 12
Trace over your favorite lines with a black pen or marker to make your elf pop.
- 13
Step 13
Erase any leftover pencil guide lines gently with your eraser.
- 14
Step 14
Color your elf using your coloring materials to make it bright and festive.
- 15
Step 15
Take a photo and share your finished cheerful elf on DIY.org
Get inspired
Fun facts
How do I draw a cheerful elf step by step?
Start with simple shapes: draw an oval for the head and a triangle or rounded rectangle for the body. Add a center guideline and a horizontal eye line. Sketch a pointy hat, big ears, and simple dot eyes with a small nose and smiling mouth. Draw arms, mitten hands, short legs, and curled shoes. Add clothing details like a collar, belt, and buttons. Ink the drawing, erase guidelines, then color with reds, greens, and skin tones.
What materials do I need to draw an elf?
You only need basic supplies: plain paper, a pencil, and an eraser for sketching. Add a fine black pen or marker to outline and colored pencils, crayons, or markers to fill in color. Optional extras include a ruler for straight edges, white gel pen for highlights, watercolor paints for soft color, and stickers or glitter for decoration. No special tools are required, so it’s great for at-home crafting.
What ages is this elf drawing activity suitable for?
This activity adapts well: ages 3–5 can trace and color large simple shapes with help; ages 6–9 can follow step-by-step shapes, add facial features, and decorate independently; ages 10+ can experiment with proportions, shading, and more detailed clothing patterns. Supervision is recommended for very young children using markers or scissors, but the core drawing steps are suitable across elementary ages.
What creative variations can we try when drawing an elf?
Try many fun twists: change the pose (waving, jumping), swap outfits (sweater, winter cloak), or design different expressions (mischievous, sleepy). Use themes—tropical elf, snow elf, or superhero elf—or mixed media like collage, watercolor washes, or glitter accents. Make cards, gift tags, or a scene with multiple elves. For younger kids, use pre-drawn templates to trace and decorate for a quicker success.
Watch & Learn
Need help?
What can I use if I don't have a black pen or special coloring supplies?
If you don't have a black pen or marker, darken your favorite pencil lines with a sharpened pencil or dark crayon and then 'Color your elf' using markers, colored pencils, crayons, or even watercolor before gently following the 'Erase any leftover pencil guide lines' step.
My elf's head, body, or hat look lopsided—how do I fix the proportions?
Lightly redraw the guide shapes by placing the big circle near the top for the head and the rounded triangle or oval directly under it for the body, adjust the tall pointy hat and pom-pom placement, then erase the incorrect pencil lines and retrace your favorite lines with the black pen or marker.
How can I adapt this drawing activity for different age groups?
For preschoolers, use pre-cut shapes to glue the big circle head, rounded triangle body, hat, ears and pom-pom before coloring, while older children can add detailed clothing like the collar, belt and buttons, practice inking, and try shading the pointy shoes and curled toes.
How can we enhance or personalize our elf drawing once it's finished?
Personalize the elf by adding patterned clothing details, gluing a real pom-pom to the hat tip, drawing a festive background, adding glitter to the collar, or taking a photo to share your finished cheerful elf on DIY.org.