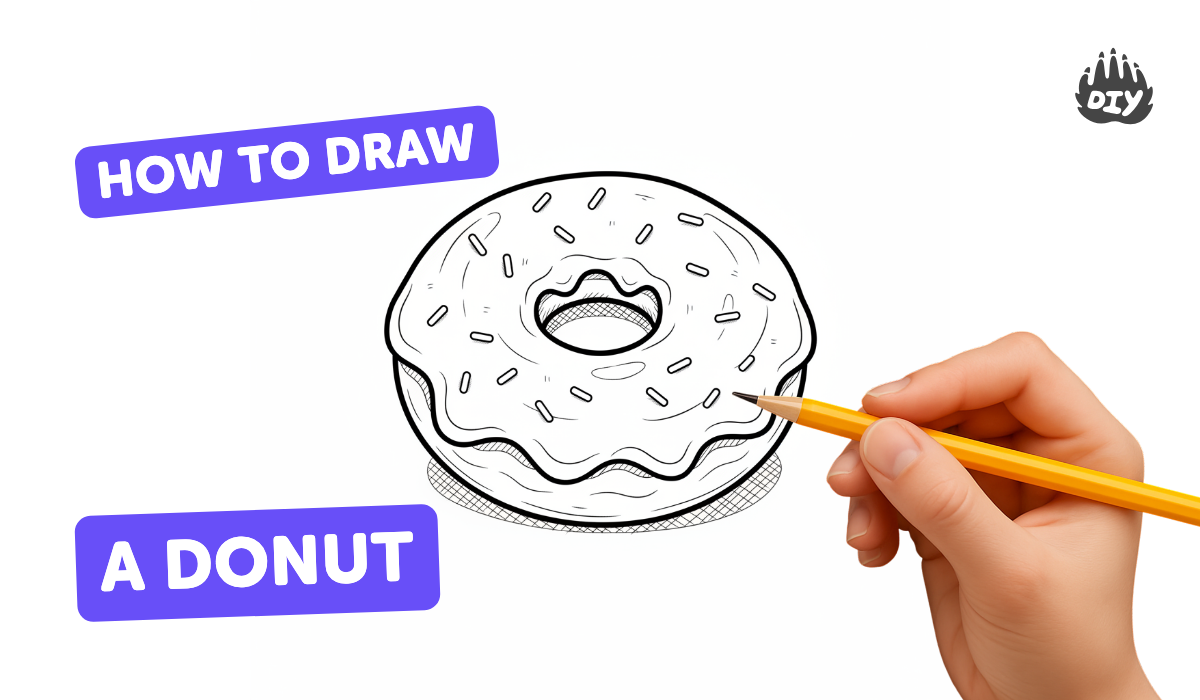
How to draw a donut - a free donut drawing guide
Learn to draw a colorful donut step by step using pencils, markers, simple shapes, shading, and sprinkles to practice proportions, lines, and creativity.

Drawing Apps
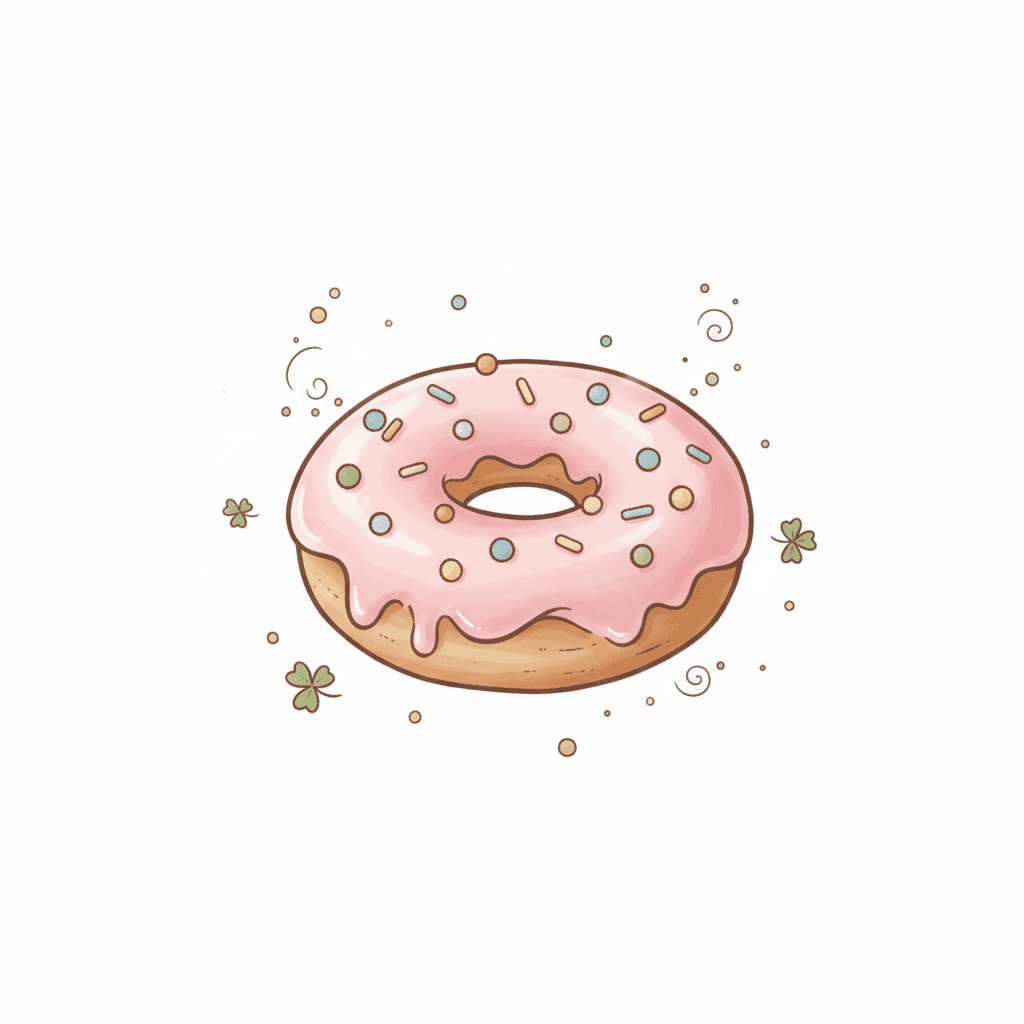
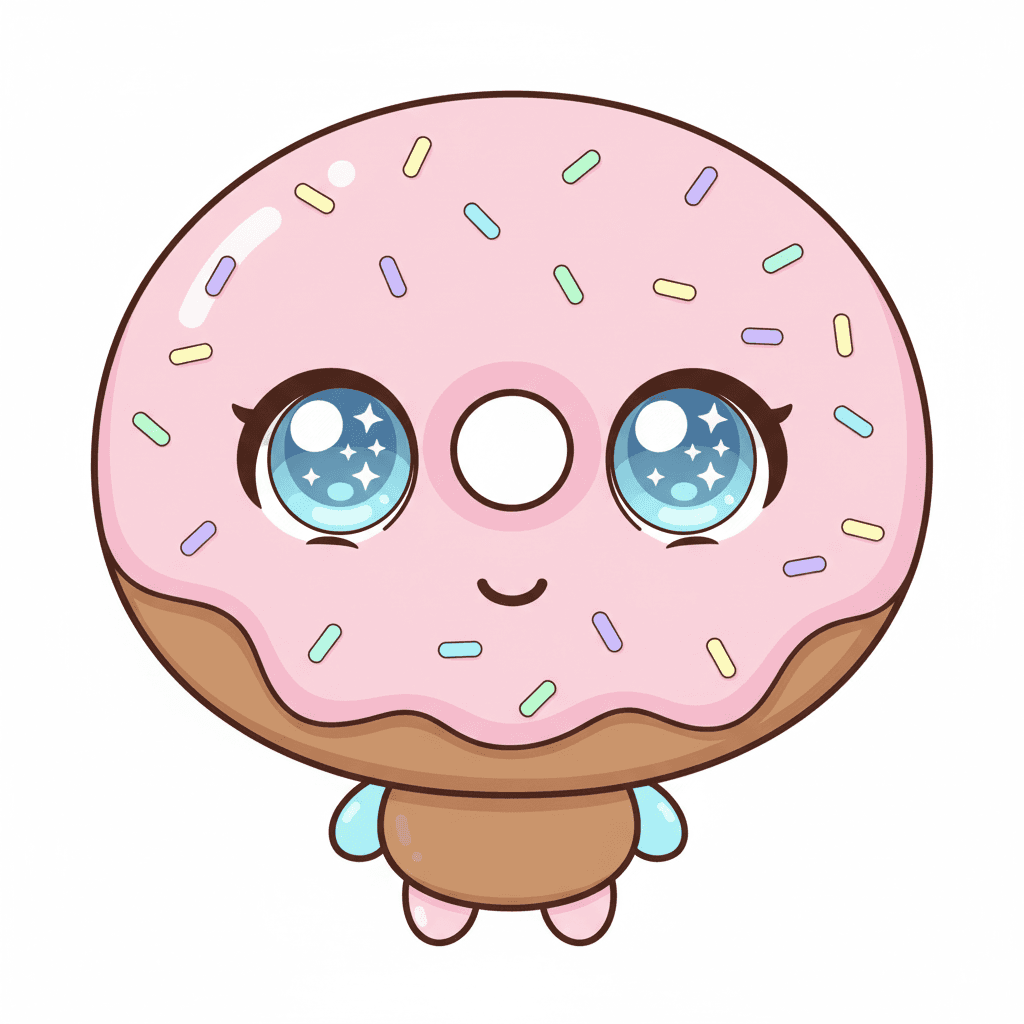
Photos of colorful donut examples
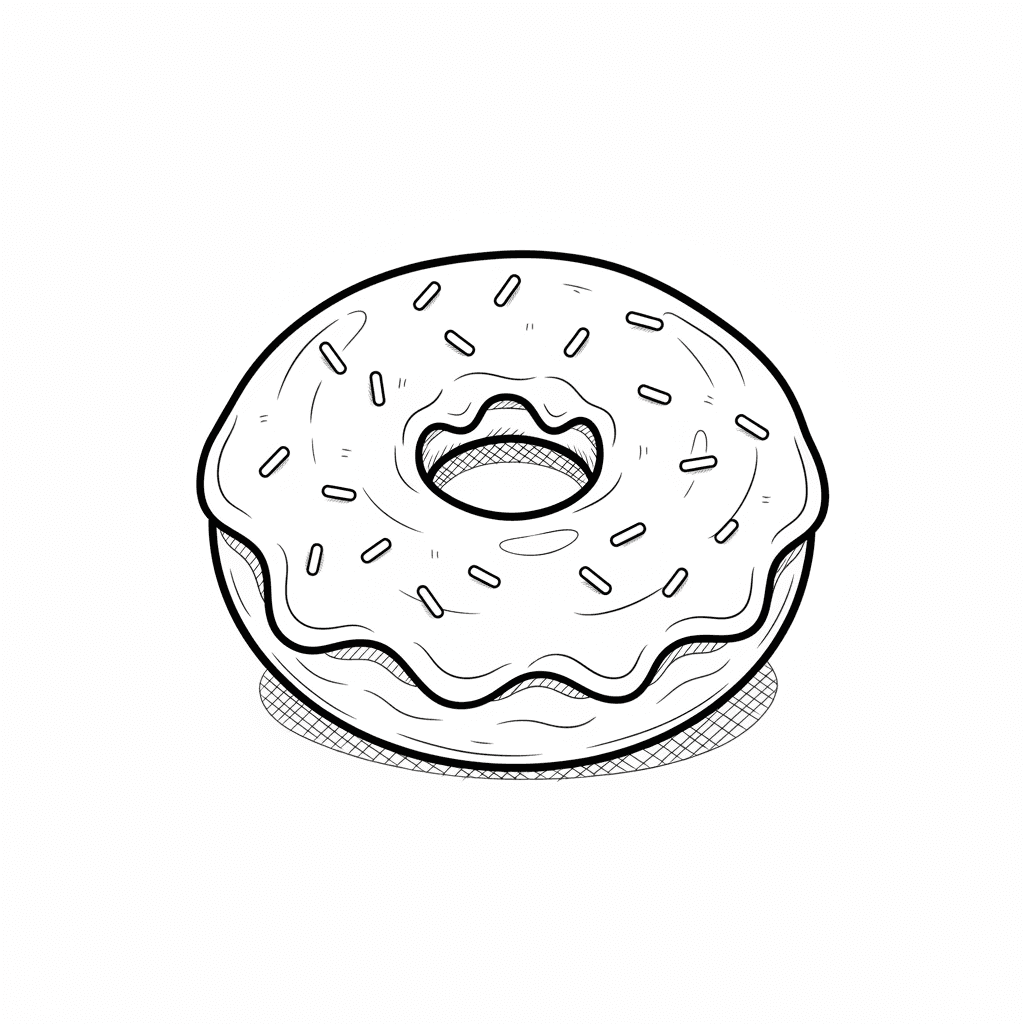


Step-by-step guide to draw a colorful donut
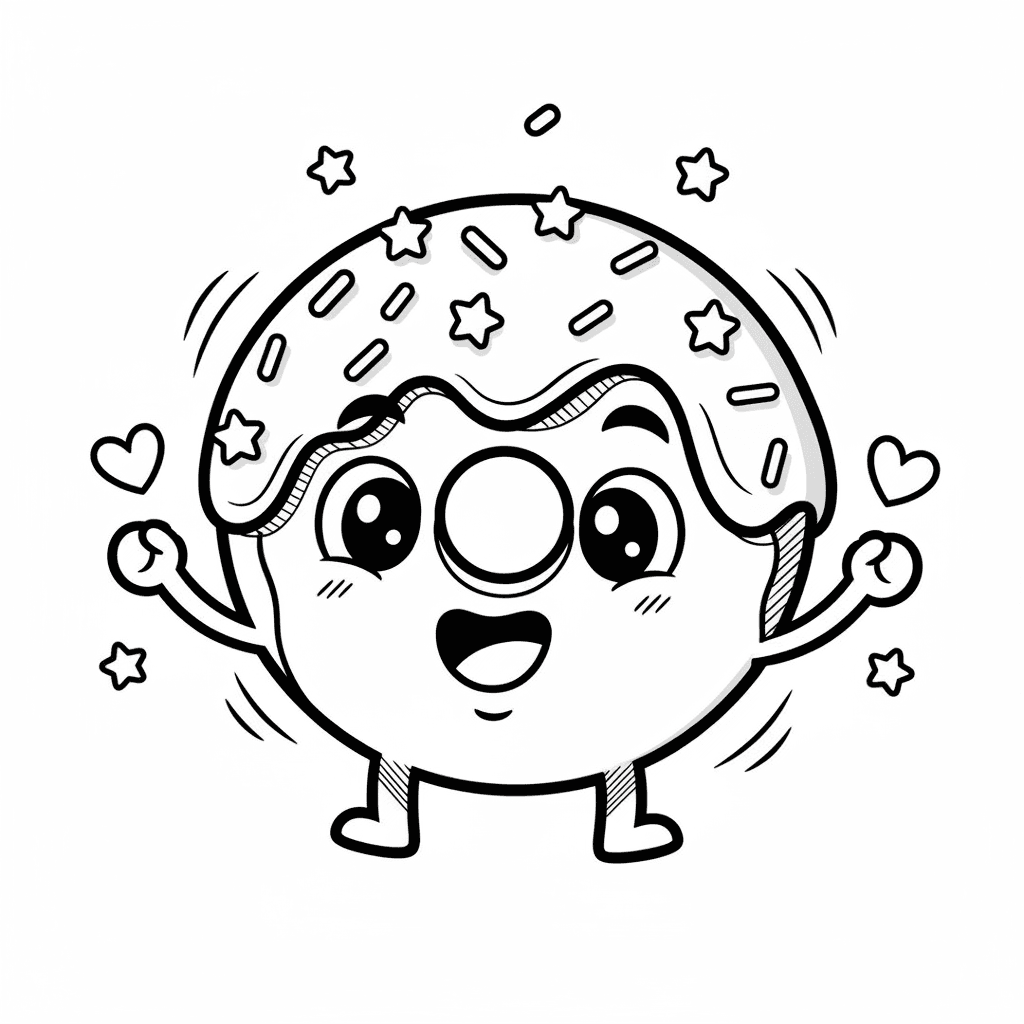
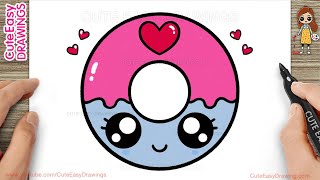
How to Draw a Cute Donut Simple & Easy for Kids
Step 1
Place the round object on the paper and trace around it to make the donut's outer circle.
Step 2
Move the round object inside the first circle and trace a smaller circle to make the hole.
Step 3
Erase any extra overlapping lines so the two circles look neat and clear.
Step 4
Draw a wavy line across the top of the donut to show where the frosting sits.
Step 5
Add three or four small drip shapes hanging down from the wavy frosting line.
Step 6
Draw lots of little oblong sprinkle shapes all over the frosting area.
Step 7
Carefully outline the donut edges and frosting lines with the black marker to make them bold.
Step 8
Color the frosting with a bright color you love.
Step 9
Leave two small spots on the frosting white to act as shiny highlights.
Step 10
Color the donut base a light brown to look like baked dough.
Step 11
Add short curved pencil strokes under the frosting to create a soft shadow.
Step 12
Color each sprinkle in a different bright color to make them pop.
Step 13
Sign your name and add the date in a corner of the page.
Step 14
Share your finished donut creation on DIY.org
Help!?
What can we use if we don't have a suitable round object or a black marker?
Use a cup, jar lid, or roll of tape to trace the outer and inner circles and substitute a dark pen, fine-tip permanent marker, or thick crayon to carefully outline the donut edges and frosting.
My inner circle keeps shifting and the overlapping lines look messy—how can I fix that?
Lightly tape the round object in place or hold it firmly with your non-dominant hand while tracing the smaller inner circle, then gently erase extra overlapping lines with a clean eraser before inking with the black marker.
How can I change this activity for younger or older kids?
For toddlers, have an adult place the round object and let them color pre-drawn frosting and stick ready-made sprinkle stickers, while older kids can add short curved pencil strokes for soft shadows, varied sprinkle patterns, and more realistic shading on the donut base.
How can we make the finished donut more special or turn it into a longer project?
Add glitter glue or sequins to the sprinkle shapes, experiment with two-tone frosting colors, create a series of donuts with different toppings on the same page, sign and date each drawing, and then photograph them to share on DIY.org.
Watch videos on how to draw a colorful donut
How to Draw a Cute Donut | Easy Step by Step for Kids
4 Videos
How to Draw a Cute Donut | Easy Step by Step for Kids
How to Draw a Cute Donut Step by Step for Kids
How To Draw A Doughnut
How to Draw a Cute Donut Easy for Kids and Toddlers
Facts about drawing basics for kids
🍩 Legend says a 19th-century sea captain punched a hole in the dough so donuts would cook evenly — that's why many donuts are ring-shaped!
✏️ Most drawings start with simple shapes (circles, ovals, and lines); donuts are perfect practice because they're mostly ovals and curves.
🎨 Shading with different pencil pressures makes a flat circle look round — light on top and shadow below gives a 3D donut look.
🌈 Sprinkles come in lots of colors and nicknames — in parts of the U.S. they're called "jimmies" and elsewhere "hundreds and thousands."
🍬 Markers give bold, flat color while colored pencils let you layer and blend — try both to make your frosting pop!
How do I teach a child to draw a colorful donut step by step?
What materials do I need to draw a donut with pencils and markers?
What ages is this donut drawing activity suitable for?
What are the benefits and safety tips for kids when drawing donuts?
