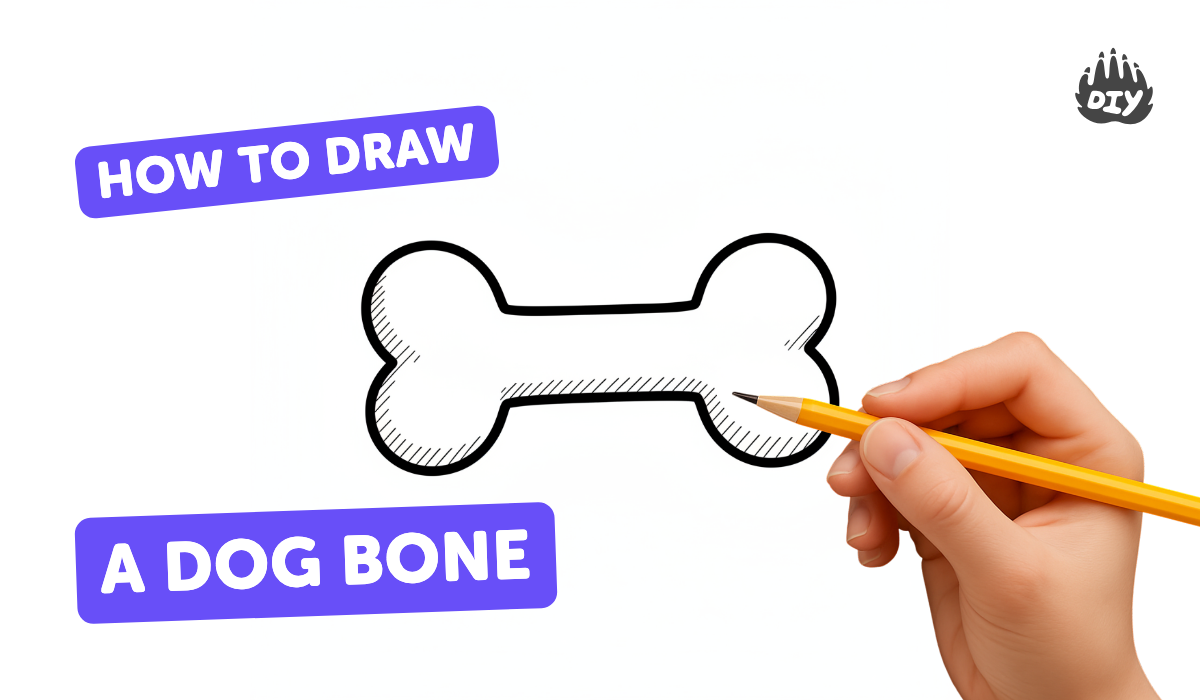
How to draw a dog bone - a free dog bone drawing guide
Draw a clear dog bone step by step using basic shapes, outlines, and shading to create a neat cartoon bone. Practice careful shading.

Drawing Apps
Photos of dog bone drawing examples


Step-by-step guide to draw a dog bone
HOW TO DRAW A SUPER EASY AND CUTE DOG WITH A BONE STEP BY STEP FOR KIDS
Step 1
Place a sheet of paper on your table in landscape orientation.
Step 2
Sharpen your pencil until the tip is nice and pointy.
Step 3
Lightly draw a long horizontal oval in the middle of the paper for the bone’s center.
Step 4
Draw two medium circles touching the left end of the oval (one above and one below) to make the left knob.
Step 5
Draw two medium circles touching the right end of the oval (one above and one below) to make the right knob.
Step 6
Trace one smooth outer curve around all the shapes to join them into one neat bone outline.
Step 7
Erase the extra guide lines inside so the bone edge looks clean and continuous.
Step 8
Draw a thin inner border that follows the outer shape to show the bone’s thickness.
Step 9
Lightly shade the lower-right side of the bone with short pencil strokes that follow the curves.
Step 10
Gently blend the shaded area with a tissue or cotton swab to make the shadow smooth.
Step 11
Use the eraser to lift a small crescent highlight on the opposite (upper-left) side of the bone.
Step 12
Darken the deepest shadow edges with firmer pencil strokes to make the bone pop.
Step 13
Sign your name on the drawing and share your finished creation on DIY.org
Help!?
What can I use if I don't have a sharp pencil, tissue, or cotton swab listed in the instructions?
Use a mechanical pencil for the fine tip called for in Step 2, and replace the tissue or cotton swab in Step 10 with a clean fingertip or a small piece of scrap paper to blend the shading.
My bone outline looks messy or the circles don't line up—how do I fix that?
If the outer curve in Step 7 or the medium circles in Steps 4–5 are uneven, lighten your guide lines in Step 2–3, reposition the circles so they touch the oval ends, then trace the outer curve slowly and erase extra guides in Step 8 with a gentle kneaded eraser.
How can I adapt this drawing for different ages or skill levels?
For younger kids, simplify Steps 3–7 by tracing a printed bone template and use a crayon instead of a sharp pencil, while older kids can follow Steps 11–12 to add advanced shading, highlights, and texture with firmer pencil strokes.
What are some ways to enhance or personalize the finished bone drawing?
After completing the inner border in Step 9 and shading in Steps 10–12, personalize the piece by adding color, patterns on the bone, a puppy or background scene, then sign your name and share the finished creation as directed in Step 13.
Watch videos on how to draw a dog bone
How to Draw a Dog Bone Simple Drawing Tutorial for Beginners
4 Videos
How to Draw a Dog Bone Simple Drawing Tutorial for Beginners
How to Draw a Dog Bone in a Few Easy Steps: Drawing Tutorial for Beginner Artists
How to draw a cute dog BONE! *SUPER EASY*
How to Draw a Dog Step by Step 🐕 Easy Drawing a Dog - Animal Drawings
Facts about basic drawing and shading
🦴 The classic cartoon dog-bone shape (two rounded knobs on a bar) is a stylized icon — real bones are more irregular and detailed.
✏️ Many artists start drawings by blocking in simple shapes (circles, ovals, rectangles) before adding details — it's like building with blocks!
🎨 Consistent light direction and gentle shading or hatching can make a flat cartoon bone look three-dimensional and neat.
🐶 The bone symbol is so tied to dogs in pictures that people worldwide instantly read it as a treat or toy.
📏 Pro illustrators often draw faint construction lines, then ink a clean outline and erase sketches to keep cartoons crisp and tidy.
How do you draw a clear cartoon dog bone step by step using basic shapes, outlines, and shading?
What materials do I need to draw a cartoon dog bone with good outlines and shading?
What ages is this dog bone drawing activity suitable for?
What are the benefits of practicing drawing and shading a cartoon dog bone?
