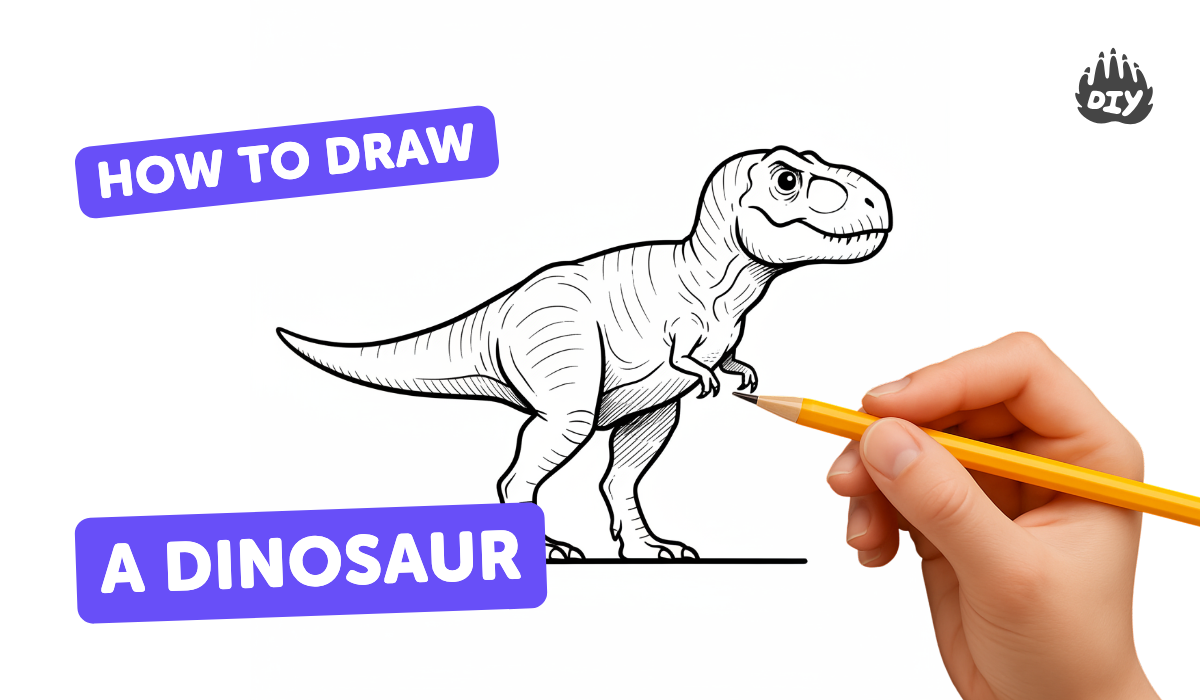
How to draw a dinosaur - a free dinosaur drawing guide
Draw a friendly dinosaur step-by-step using simple shapes, pencils, shading, and color to learn proportion, texture, composition, and imaginative details.

Drawing Apps
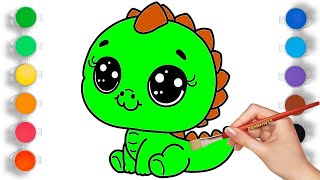
Photos of dinosaur drawing examples


Step-by-step guide to draw a friendly dinosaur
How to Draw a Dinosaur for Kids! (Easy Step-by-Step Tutorial)
Step 1
Find a flat surface and place your paper and pencil so you can draw comfortably.
Step 2
Lightly sketch a big oval for the dinosaur’s body and a smaller circle in front for the head.
Step 3
Draw a curved neck that connects the head circle to the body oval and a long curved tail from the back of the body.
Step 4
Draw two thick legs under the body and two small arms near the front using simple rounded shapes.
Step 5
Draw a round eye and a friendly curved smile on the head.
Step 6
Add a row of triangular spikes along the back and tail.
Step 7
Trace a smooth outer outline around your shapes to make one clear dinosaur form.
Step 8
Gently erase the extra guide lines so the dinosaur shape looks clean.
Step 9
Add texture by drawing short curved lines for scales and tiny lines for claws on the feet and hands.
Step 10
Shade under the belly and along one side with your pencil to show shadow and make the dinosaur look 3D.
Step 11
Lightly blend the shaded areas with a tissue or cotton swab to soften the shadows.
Step 12
Color your dinosaur using at least two colors and draw a simple ground line or a small background element.
Step 13
Share your finished friendly dinosaur on DIY.org
Help!?
What can we use instead of a tissue or cotton swab for blending the pencil shading in step 12?
If you don't have a tissue or cotton swab for step 12, lightly rub the shaded areas with a clean fingertip, a folded piece of paper towel, or the corner of a soft napkin to blend the pencil.
My drawing looks messy after erasing—how can I stop the guide lines from ruining the final dinosaur outline?
If heavy guide lines from steps 2–3 are making the final shape messy, redraw the smooth outer outline in step 7 with a darker pencil or pen first, then gently erase the lighter guide lines with a clean eraser and remember to sketch lightly at the start.
How can I change this activity for different ages so it's not too hard or too easy?
For ages 3–5 have kids use pre-drawn big ovals and chunky crayons and skip shading and spikes, for ages 6–9 follow all steps including simple spikes and light shading, and for ages 10+ add detailed scales, cross-hatching in step 11–12 and a more complex background in step 13.
What are some fun ways to enhance or personalize our finished dinosaur after step 13?
After coloring in step 13, personalize your dinosaur by adding patterns or stickers to its body, cutting and gluing a second colored outline for a 3D effect, drawing a more detailed background like trees or a volcano on the ground line, and then share your creation on DIY.org.
Watch videos on how to draw a friendly dinosaur
How to Draw Dinosaurs 🦖 | Easy Step-by-Step Drawing Tutorial for Beginners & Kids
4 Videos

How to Draw Dinosaurs 🦖 | Easy Step-by-Step Drawing Tutorial for Beginners & Kids
How to Draw a Cute Dinosaur Step by Step | Dinosaur Drawing Tutorial for Kids and Beginners
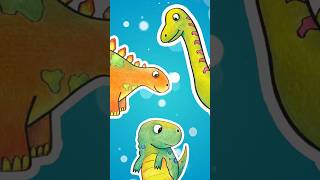
Draw ALL These Dinosaurs! 🖍️ Easy & Fun Step-by-Step for Kids!
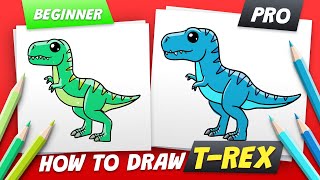
How to Draw Trex dinosaur (Draw for Kids) Beginner vs Pro - Easy Step By Step
Facts about drawing techniques for kids
🦕 Some dinosaurs were as small as chickens, while the largest sauropods grew over 30 meters long—perfect for imagining big or tiny friendly dinos!
✏️ Pencils don’t contain lead—the "lead" is actually graphite, and artists use different graphite grades for light or dark shading.
🎨 Artists use color theory—warm colors (reds, oranges) can make a dino feel closer and energetic, while cool colors (blues, greens) make it calm or distant.
🔷 Breaking a dino into simple shapes (circles for the body, ovals for legs) is a classic trick to get correct proportions quickly.
🌈 Many dinosaur looks (feathers, bright patterns) are creative choices—scientists often rely on clues, but artists add imaginative details to bring them to life.
How do I teach my child to draw a friendly dinosaur step by step?
What materials do we need to draw a dinosaur with pencils and color?
What ages is drawing a dinosaur with simple shapes suitable for?
What are the benefits and safe variations of a dinosaur drawing activity?
