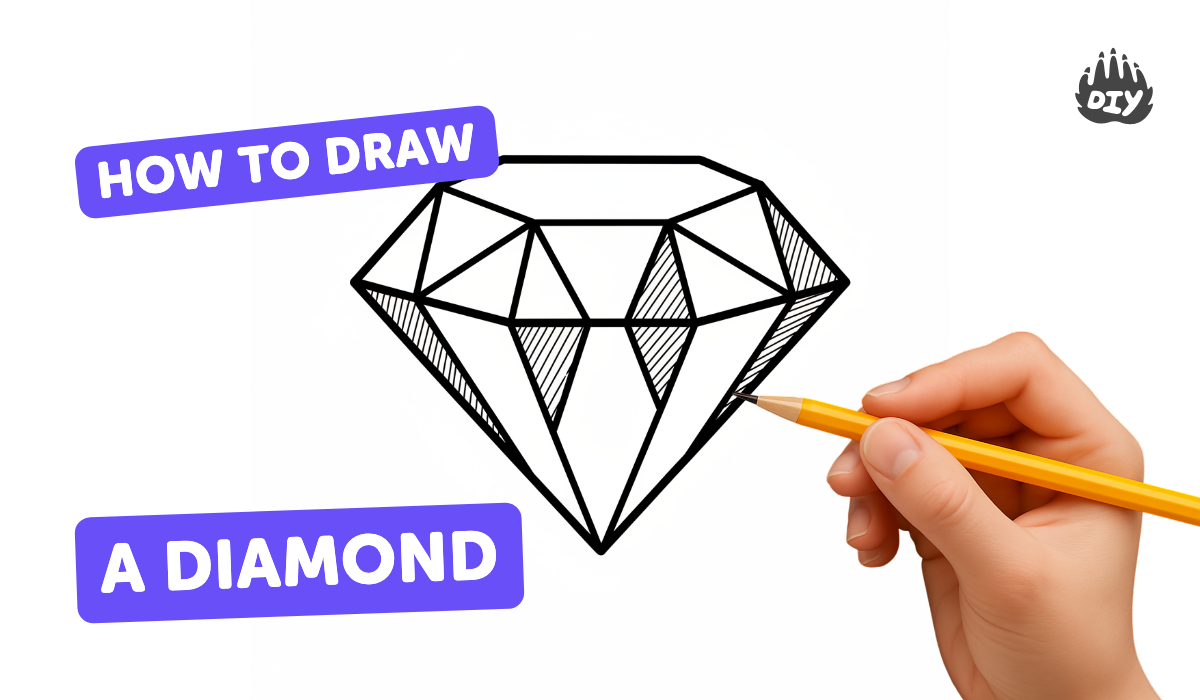
How to draw a diamond - a free diamond drawing guide
Draw a sparkling diamond step-by-step using simple shapes, rulers, and shading techniques to practice symmetry, angles, and light reflection on paper.

Drawing Apps
Photos of sparkling diamond drawings


Step-by-step guide to draw a sparkling diamond
How to Draw a Diamond for Kids | Easy Step-by-Step Tutorial | Wie Man Einen Diamanten Zeichnet
Step 1
Place your paper on a flat table and lay your pencil eraser and ruler next to it.
Step 2
Use the ruler to draw a light vertical centerline down the middle of your paper.
Step 3
Put a small dot near the top third of the centerline for the top tip of the diamond.
Step 4
Put a small dot near the bottom third of the centerline for the bottom tip of the diamond.
Step 5
Draw a horizontal guide line halfway between the top dot and the bottom dot across the centerline; this will be the diamond's widest point.
Step 6
Measure the same distance to the left and to the right from the centerline on the horizontal guide and mark two equal dots; these are the left and right widest points.
Step 7
Use the ruler to draw straight lines connecting the top dot to each widest-dot to form the top edges of the diamond.
Step 8
Use the ruler to draw straight lines connecting the bottom dot to each widest-dot to form the bottom edges of the diamond.
Step 9
Inside the top part of the diamond draw a short horizontal line between the two top edges to make the flat "table" facet.
Step 10
Draw straight lines from each end of the table facet down to the two widest points to create the upper crown facets.
Step 11
Mark a small dot on the centerline halfway between the horizontal guide and the bottom tip and draw straight lines from each widest-dot to this dot to form the lower pavilion facets.
Step 12
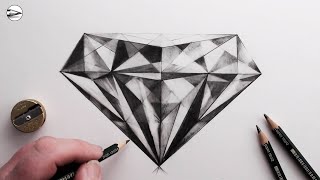
Shade the facets to show light and dark faces: make the facets that face away from your chosen light source darker and keep the facets that face the light lighter; softly blend shades with a tissue to make smooth transitions.
Step 13
Share your sparkling diamond drawing on DIY.org.
Help!?
I don't have a ruler or a pencil eraser—what can I use instead?
If you don't have a ruler, use the straight edge of a hardcover book or cereal box to draw the centerline and edges, and if you lack a pencil eraser use a soft tissue or kneaded eraser to lighten marks.
My diamond looks lopsided after I connected the dots—how do I fix it?
If your left and right widest points don't match and the diamond looks lopsided, erase those two dots and re-measure equal distances from the centerline on the horizontal guide with your ruler before redrawing the connecting lines.
How can I adapt this activity for younger or older kids?
For preschoolers, pre-draw the centerline and the four guide dots and let them connect with crayons, while older kids can use the ruler and tissue blending to practice precise measurements and smooth shading as in steps 2–12.
How can we make the diamond drawing more special or advanced?
To enhance the drawing, color each facet with colored pencils or watercolor, deepen the shaded faces from step 12 and softly blend with a tissue for more realism, then photograph it to share on DIY.org.
Watch videos on how to draw a sparkling diamond
How To Draw a DIAMOND in 3 Different Ways - Step by Step Tutorial (EASY, MEDIUM, HARD)
4 Videos
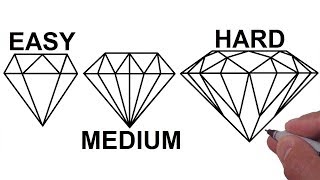
How To Draw a DIAMOND in 3 Different Ways - Step by Step Tutorial (EASY, MEDIUM, HARD)
How to Draw a Diamond: Narrated Step-by-Step
How to Draw a Diamond 💎 Step-by-Step | Fun Art Tutorial

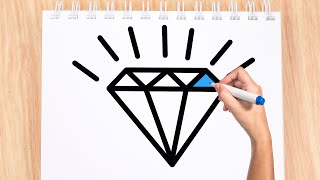
How to Draw a Diamond ✨ Easy Step-by-Step Drawing Tutorial for Beginners
Facts about drawing and shading
💎 Diamonds are the hardest natural material on Earth — their crystal structure makes them super tough!
✏️ Drawing a diamond often starts with simple shapes: a kite or two triangles and a square — easy building blocks to sketch first.
📐 Symmetry matters: many diamond cuts use mirror symmetry so light bounces evenly and creates sparkle.
🔆 Specular reflection is why diamonds sparkle — smooth facets reflect bright highlights that your shading can mimic.
🪞 The brilliance of diamonds comes from how light is reflected and refracted inside, so adding tiny white highlights makes drawings pop.
How do I draw a sparkling diamond step by step using simple shapes, rulers, and shading techniques?
What materials do I need to draw a diamond with simple shapes and shading?
What ages is drawing a sparkling diamond suitable for?
What are the benefits, safety tips, and variations for a diamond drawing activity?
