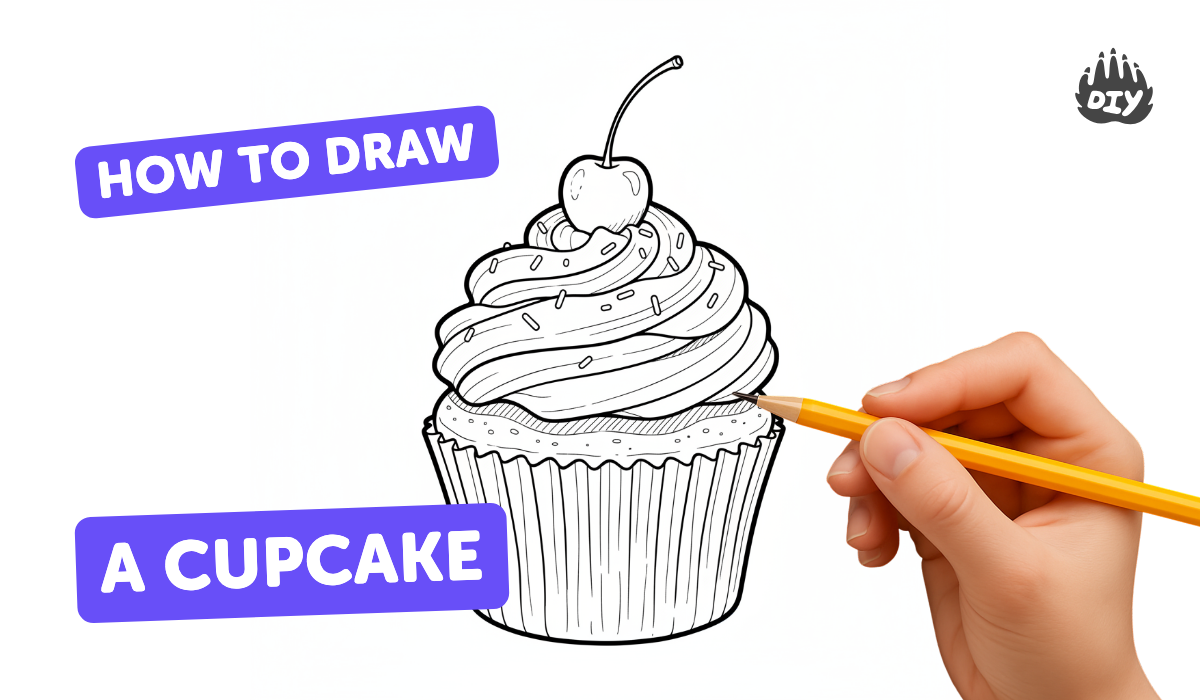
How to draw a cupcake - a free cupcake drawing guide
Draw a cheerful cupcake step by step using simple shapes, outlines, and shading; practice proportions, decorations, and color techniques to boost drawing skills.

Drawing Apps
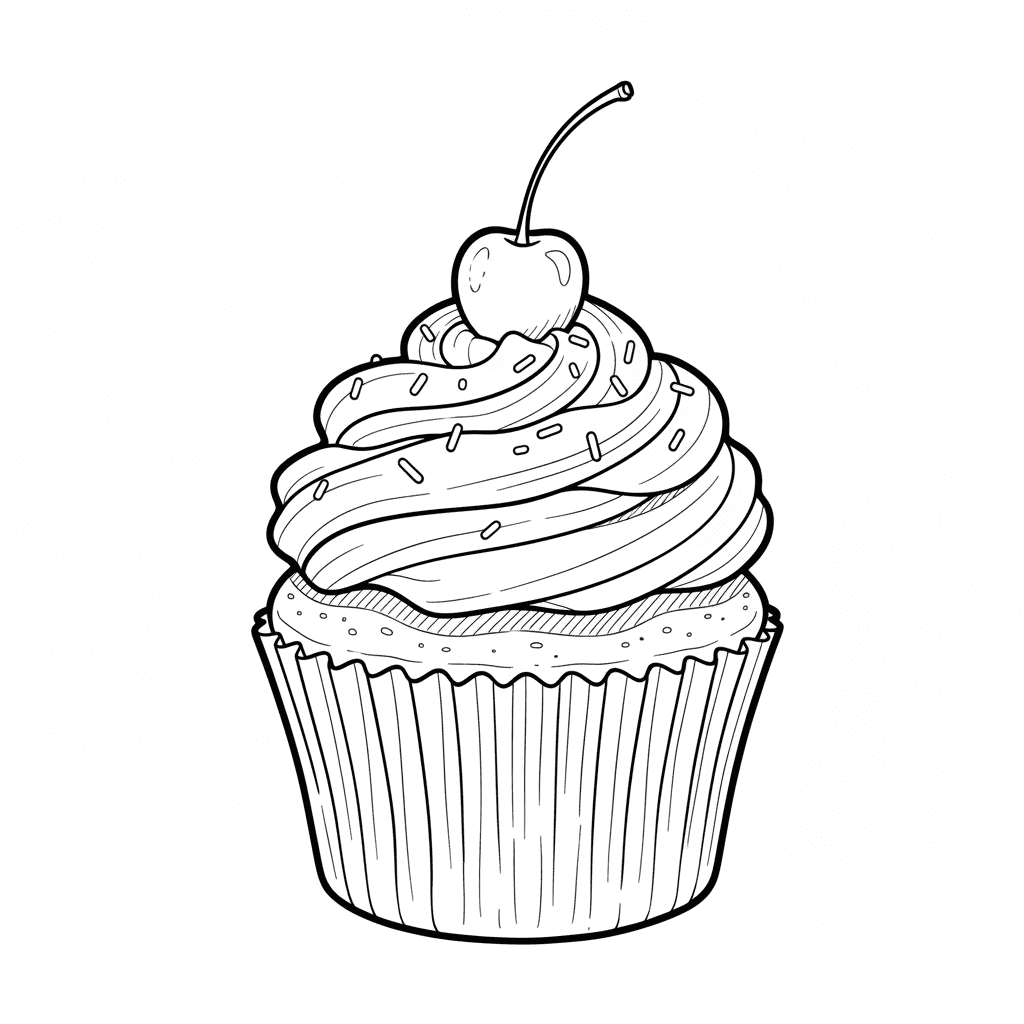
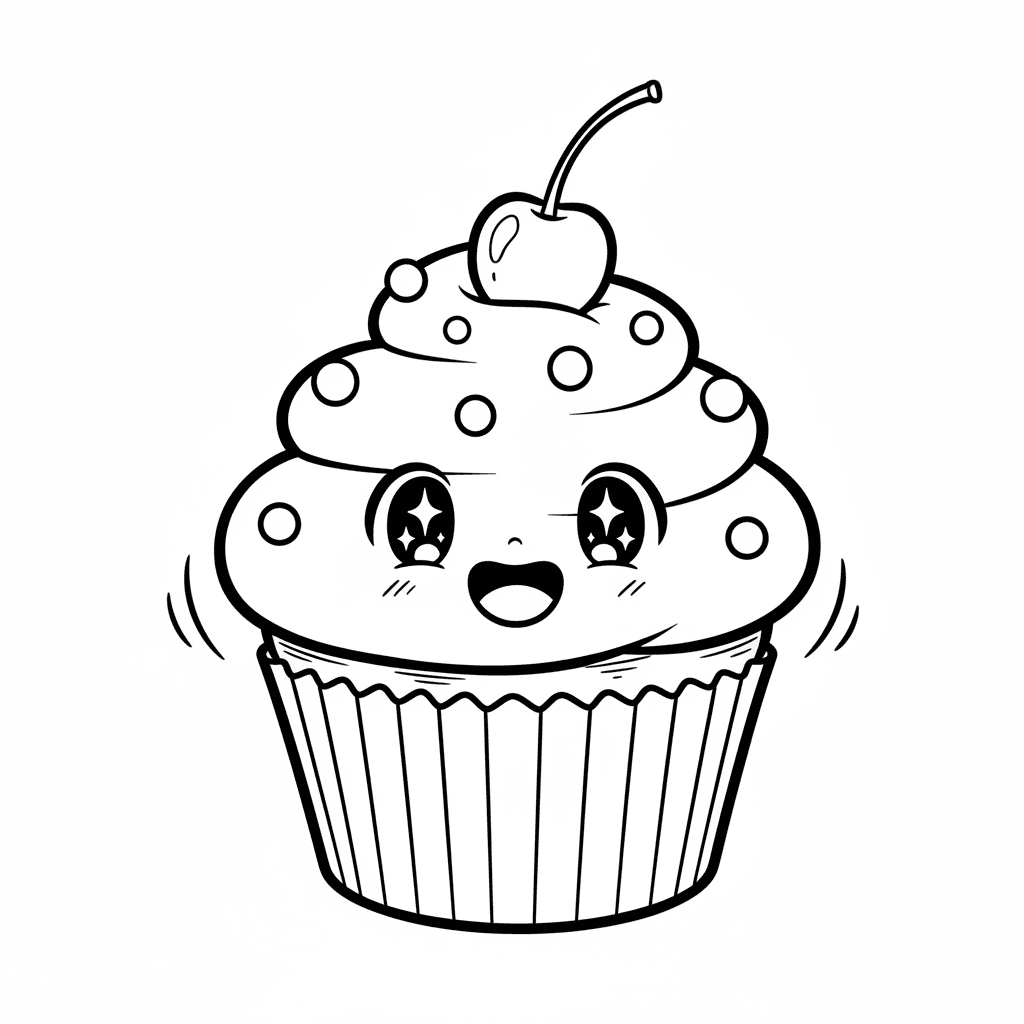
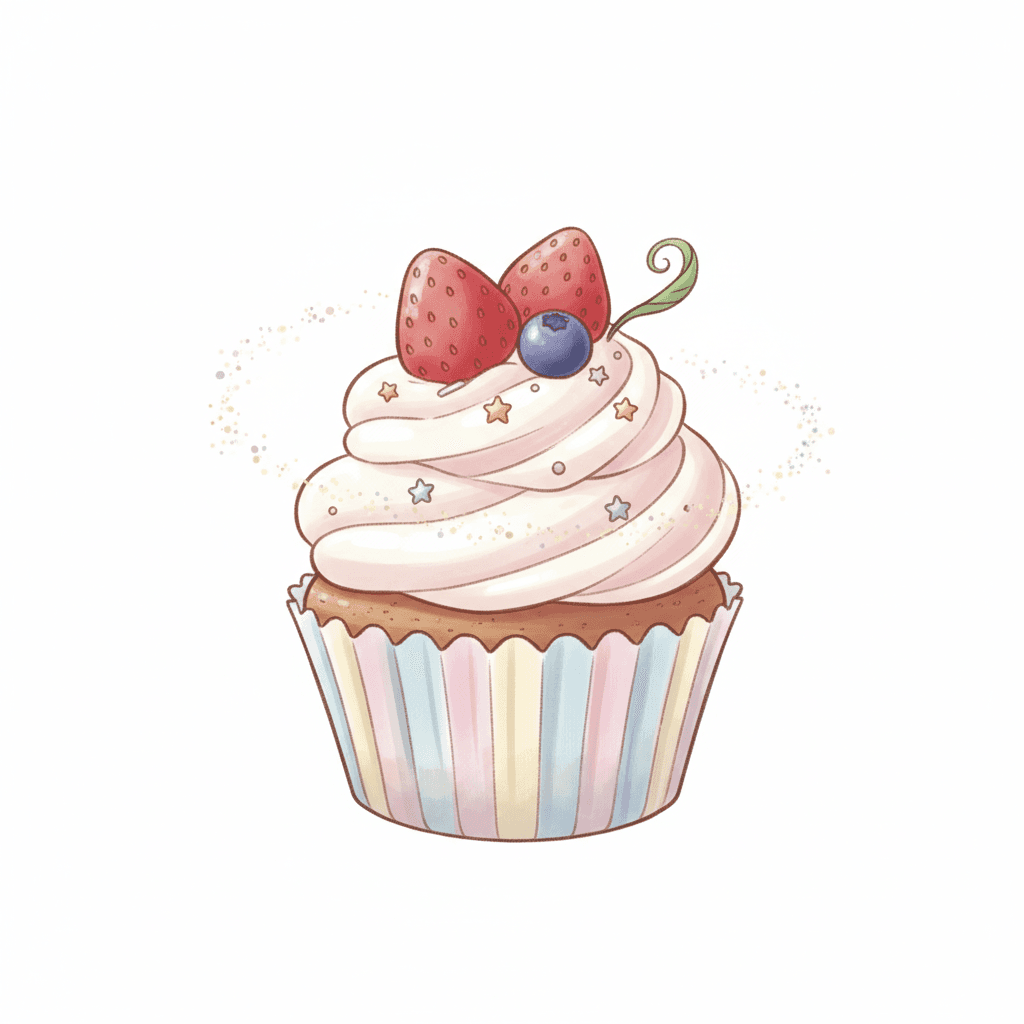
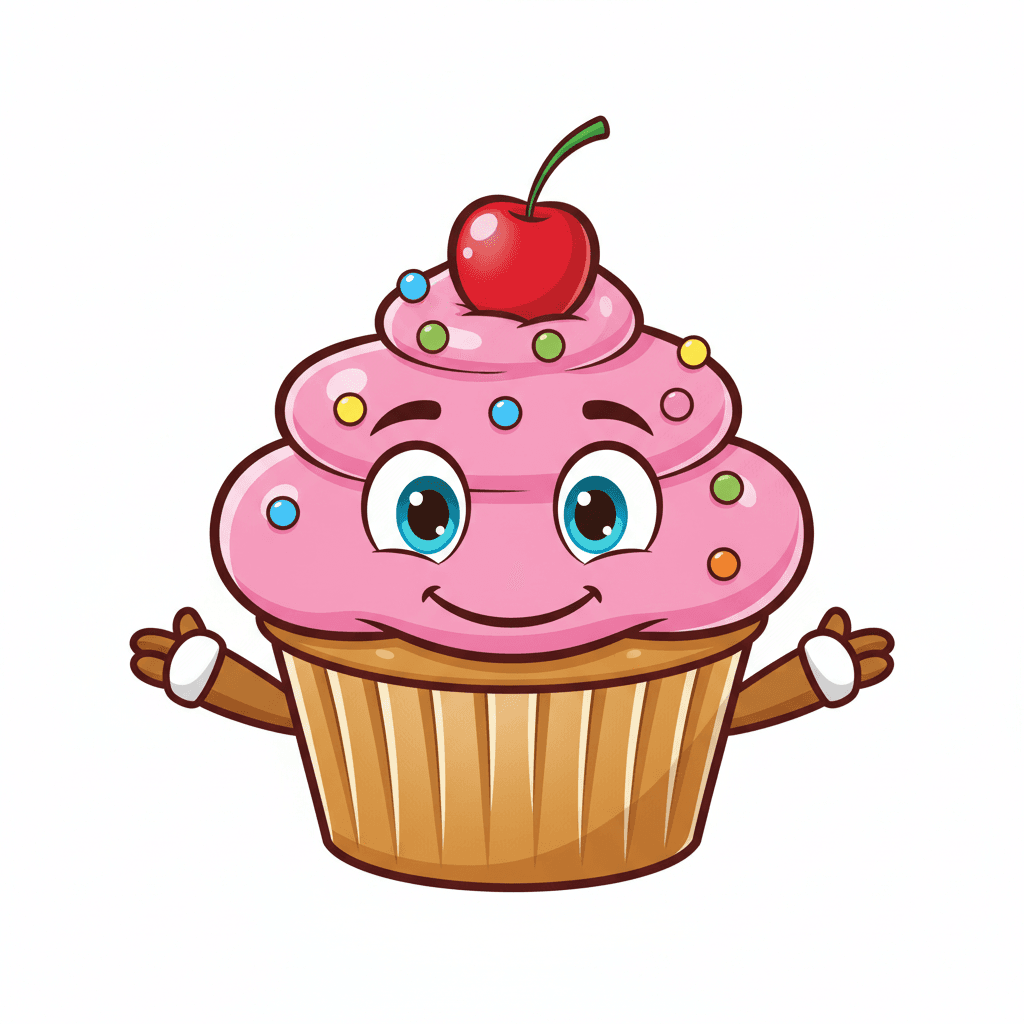
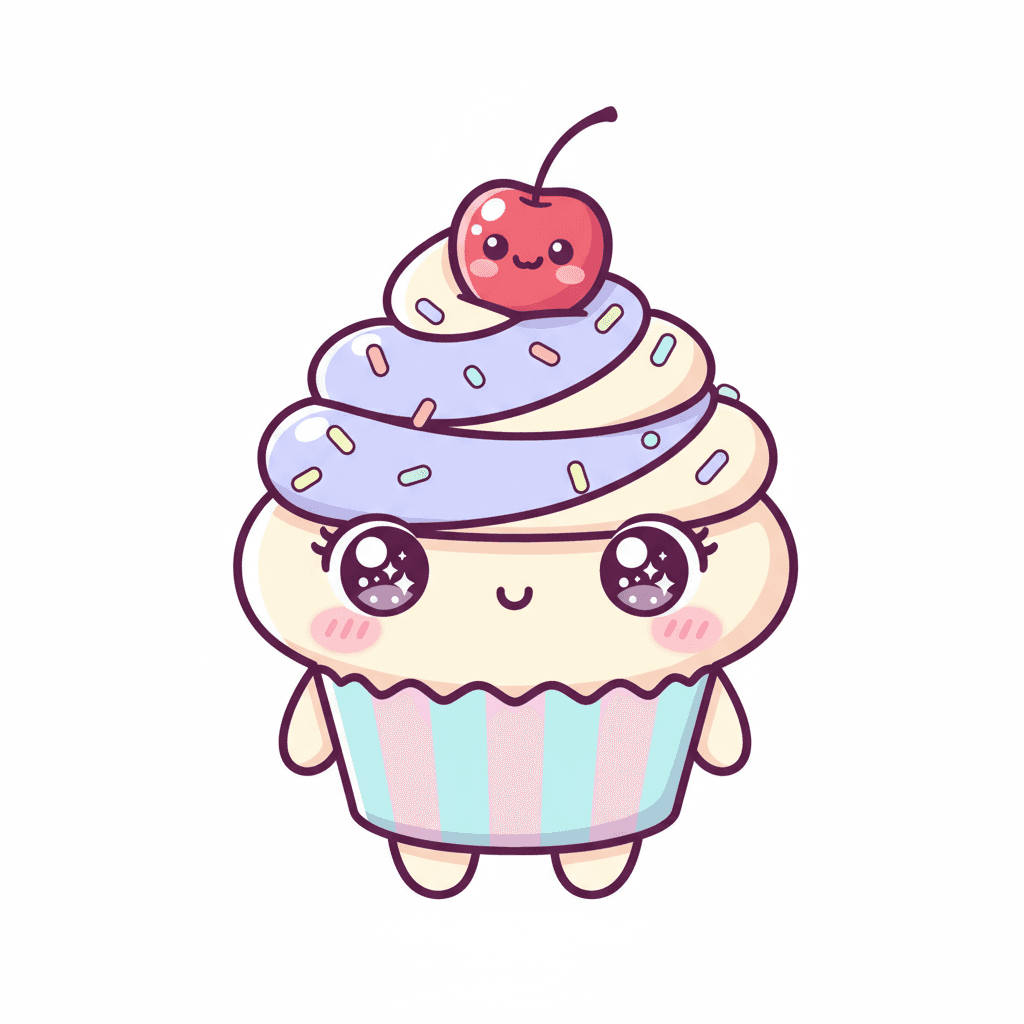
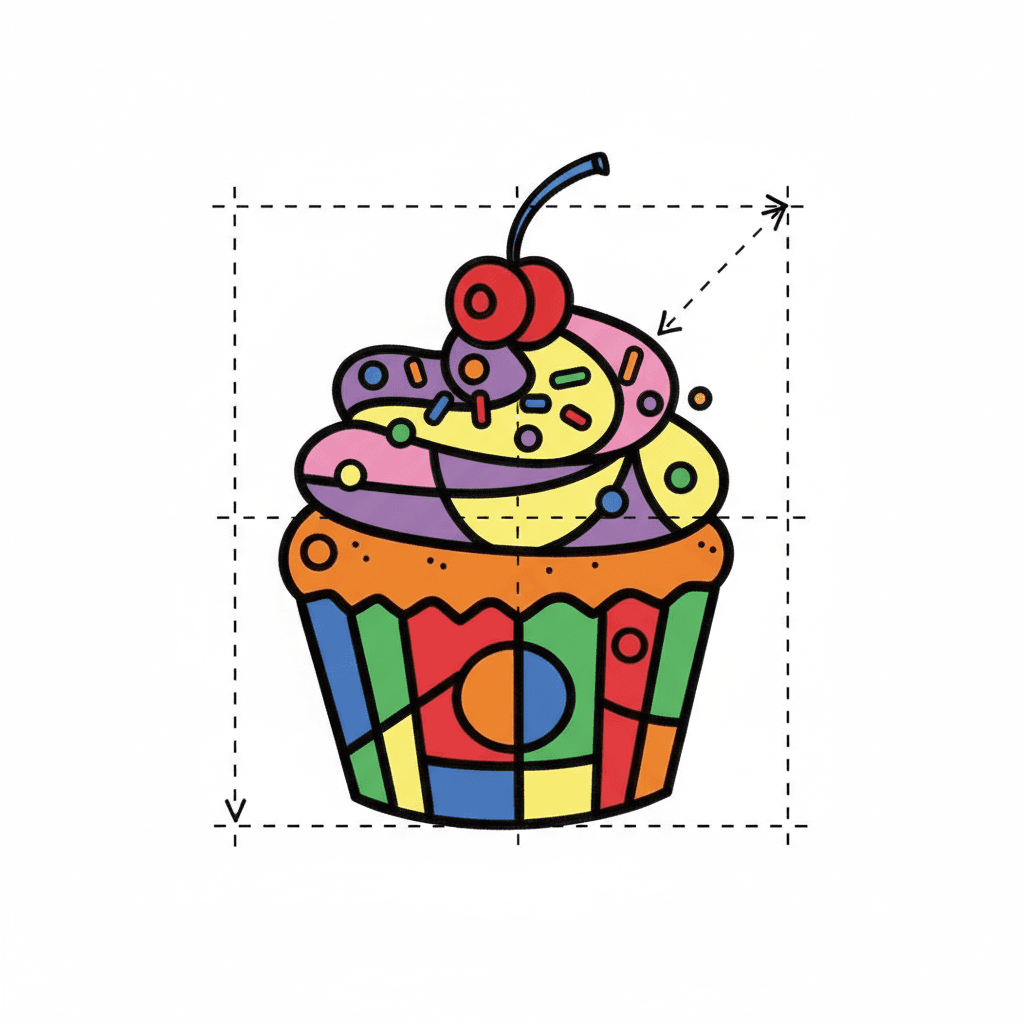
Photos of cupcake drawing examples
Step-by-step guide to draw a cupcake
How to Draw a Cute Cupcake Easy Step-by-Step for Kids!
Step 1
Gather your materials and sit at a flat table with good light.
Step 2
Draw a light horizontal guideline across the middle of your paper to mark the surface where the cupcake sits.
Step 3
Sketch a centered trapezoid on the guideline about one third of the page width for the cupcake wrapper.
Step 4
Draw evenly spaced vertical curved lines inside the trapezoid to create the wrapper ridges.
Step 5
Draw a large rounded dome on top of the wrapper for the frosting using a wavy scalloped line around the edge.
Step 6
Add decorations by drawing small sprinkles as ovals or rectangles and a circle on top for a cherry.
Step 7
Carefully erase any extra guideline marks that cross the cupcake so the drawing looks clean.
Step 8
Trace over the final cupcake outline with your black pen or press darker with your pencil to make the lines bold.
Step 9
Add light pencil shading under the frosting edge and along one side of the wrapper using short strokes to show shadow.
Step 10
Apply base colors to the wrapper and frosting using light even pressure across each area.
Step 11
Add darker tones to the shaded areas and blend gently into the base colors to deepen the shadows.
Step 12
Use your eraser to lift a tiny spot of color on the frosting to create a shiny highlight.
Step 13
Write your name or initials in a small corner as the artist signature.
Step 14
Share your finished cheerful cupcake drawing on DIY.org
Help!?
What can I use instead of a black pen, colored pencils, or blending tools if I don't have them?
If you don't have a black pen, follow the instruction to press darker with your pencil or use a fine-tip marker for 'Trace over the final cupcake outline', and swap colored pencils and blending tools for crayons, markers, or watered-down paint with a cotton swab to 'Apply base colors' and 'blend gently into the base colors'.
My frosting looks flat or my guideline won't erase cleanly—what should I try?
Make sure your initial horizontal guideline and trapezoid are drawn lightly as in the first steps, erase extra guideline marks carefully with a soft kneaded eraser as instructed, and add the short-stroke shading under the frosting edge and along one side of the wrapper to give the frosting more depth.
How can I adapt this cupcake drawing for different age groups?
For younger children simplify by using a semicircle for the frosting and a rectangle for the wrapper and skip detailed shading, while older kids can follow the 'Add darker tones' and 'Use your eraser to lift a tiny spot' steps to practice blending, highlights, and more precise sprinkles.
How can we personalize or extend the cupcake drawing once it's finished?
After adding decorations and signing your name, extend the activity by drawing a background table, creating a row of cupcakes with different frosting styles, adding glitter or stickers to the drawn sprinkles, and then share your finished cheerful cupcake drawing on DIY.org as suggested.
Watch videos on how to draw a cupcake
How to Draw a Cute Cupcake - Easy Step by Step for Kids and Toddlers
4 Videos
How to Draw a Cute Cupcake - Easy Step by Step for Kids and Toddlers
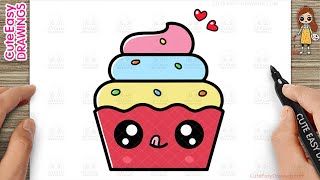
How to Draw a Cute Cupcake Easy Step-By-Step Drawing and Coloring for Kids and Toddlers
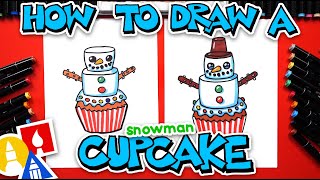
How To Draw A Cupcake Snowman
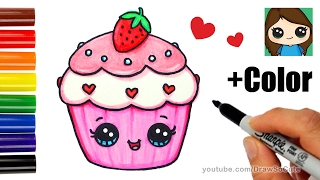
How to Draw + Color a Cupcake Easy - Valentine's Sweet
Facts about drawing techniques for kids
🎂 The word "cupcake" first appeared in 19th-century cookbooks and originally meant cakes baked in cups or made by the cupful.
🎨 Drawing often helps kids improve hand–eye coordination and notice tiny details in the world.
🍬 Tiny sugar sprinkles are known by fun names like "jimmies" in some places and "hundreds and thousands" in others.
🖌️ Simple shading—adding light and dark—can turn flat shapes into round, three-dimensional-looking cupcakes.
🌈 Using contrasting colors (for example pink frosting with green sprinkles) makes decorations pop and feel extra lively.
How do you draw a cheerful cupcake step by step?
What materials do I need to draw a cheerful cupcake?
What ages is drawing a cheerful cupcake suitable for?
What are the benefits and fun variations of drawing cupcakes?
