How to draw a corgi - a free corgi drawing guide
Draw a corgi step by step using pencil, eraser, and colored pencils, practicing basic shapes, proportions, facial features, and simple shading techniques.

Drawing Apps
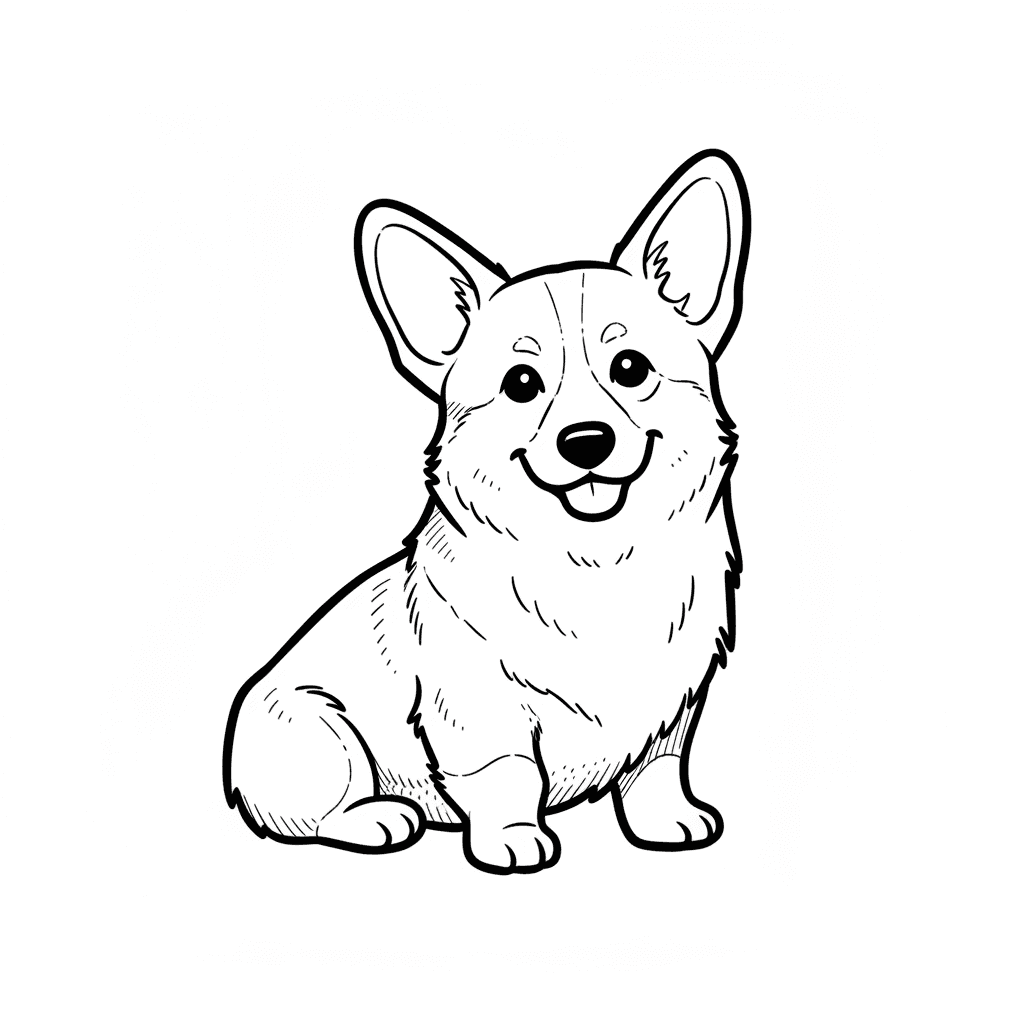
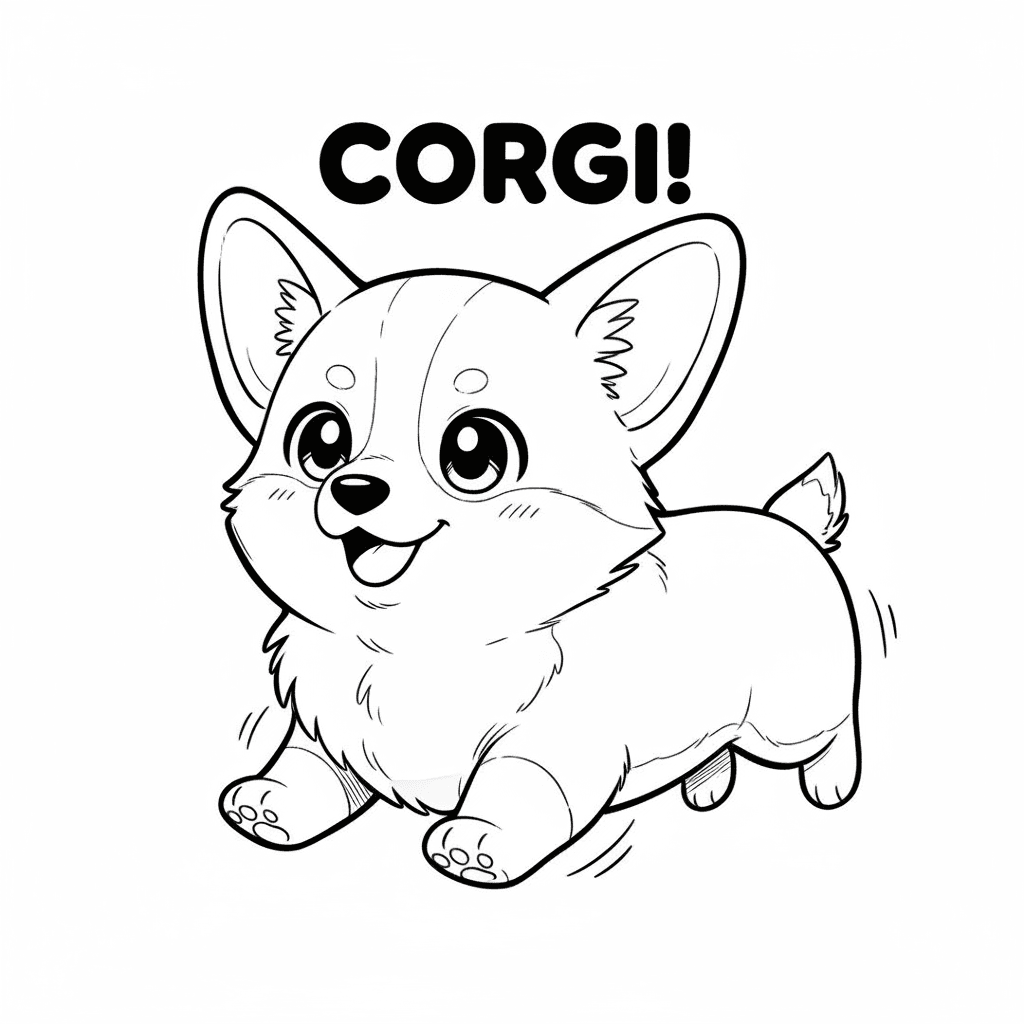
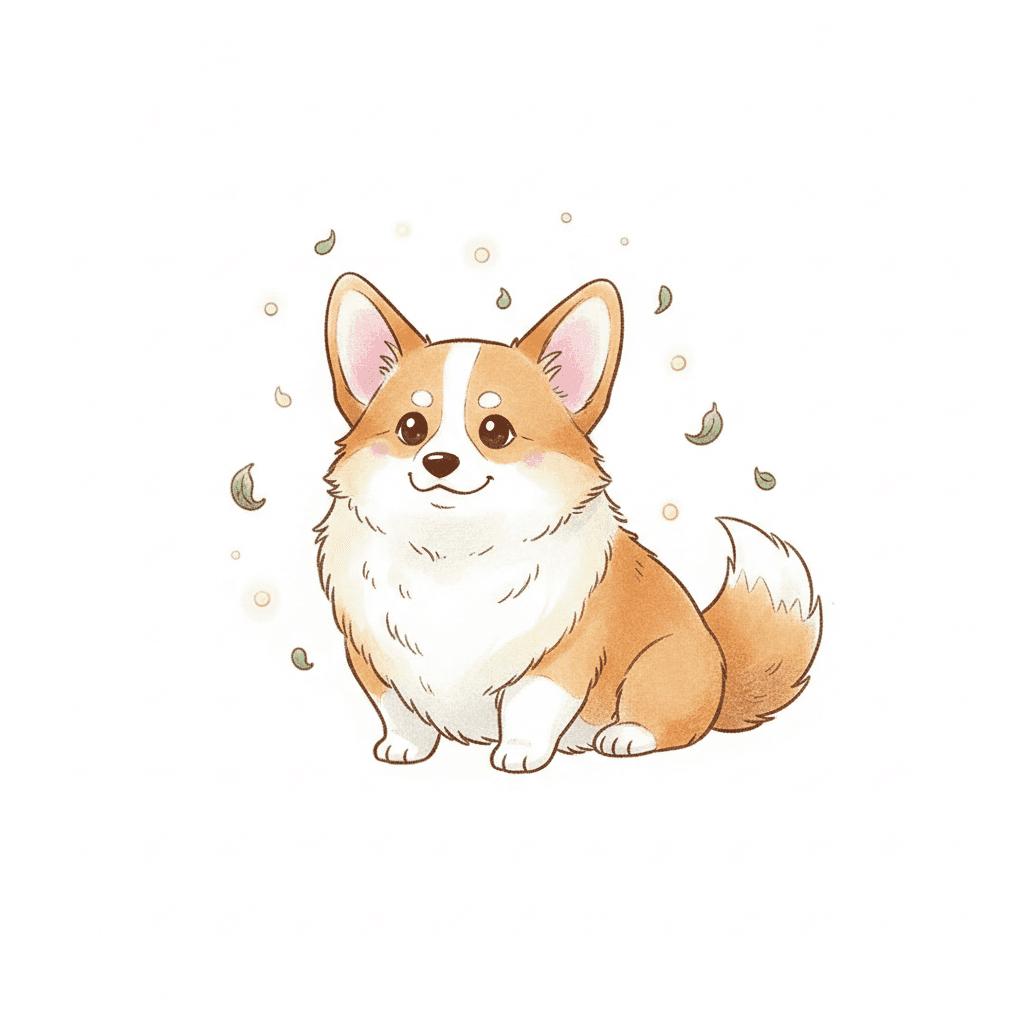
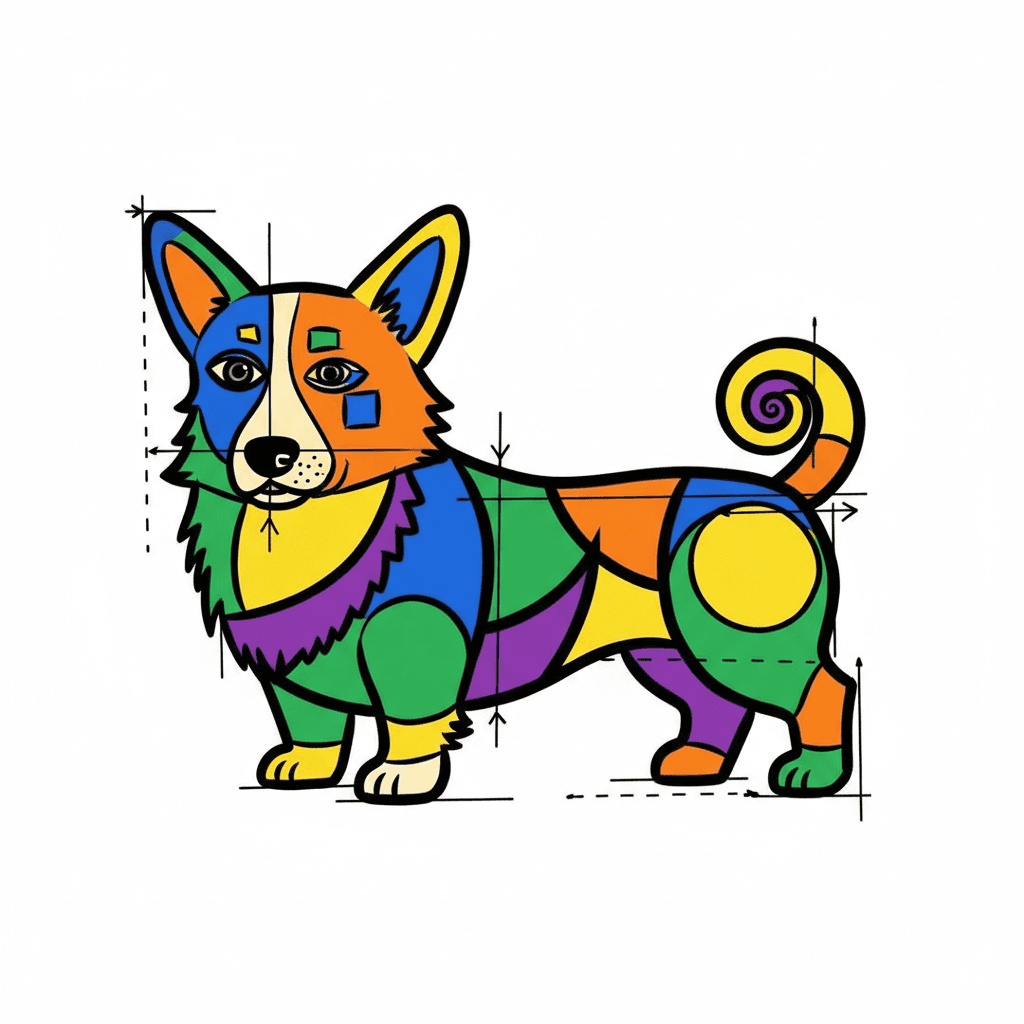
Photos of corgi drawing examples


Step-by-step guide to draw a corgi
How to draw A CORGI PUPPY | EASY! Art and doodles for kids
Step 1
Gather your pencil eraser colored pencils and a clean sheet of paper and find a comfy spot to draw.
Step 2
Draw a large horizontal oval in the middle of the paper for the corgi’s body.
Step 3
Draw a smaller circle overlapping the front of the oval for the corgi’s head.
Step 4
Lightly draw one vertical center line and one horizontal eye line across the head to help place the face.
Step 5
Draw two upright triangle ears on top of the head with slightly rounded tips.
Step 6
Draw a small rounded oval for the muzzle at the front of the head.
Step 7
Draw two round eyes on the horizontal eye line spaced evenly from the center.
Step 8
Draw a small rounded triangle nose at the front tip of the muzzle.
Step 9
Draw a short curved line under the nose for the mouth.
Step 10
Draw two short front legs under the chest as thick straight shapes with little rounded paws.
Step 11
Draw two short back legs near the rear of the body with small rounded paws.
Step 12
Draw a short fluffy tail at the back of the body.
Step 13
Lightly erase the guide lines and smooth or darken the final outline of your corgi.
Step 14
Shade under the belly and inside the ears and color your corgi adding a white chest and muzzle patch if you like.
Step 15
Take a picture of your finished corgi and share it on DIY.org.
Help!?
What can I use if I don't have colored pencils or a proper eraser?
Use crayons or washable markers to color your corgi and swap the eraser for a soft kneaded eraser or a clean rubber eraser (or gently lift light guide lines with a tissue) while you work on the pencil sketch.
My corgi's head and body look off—how do I fix proportions or messy guide lines?
Keep the large horizontal oval for the body and the smaller overlapping circle for the head very light, double-check placement using the vertical center and horizontal eye guide lines, then erase and adjust those guides before darkening the final outline to avoid smudges.
How can I adapt this drawing activity for different ages?
For younger kids, have them trace a plate for the big oval and use crayons to color, for school-age kids follow each pencil-and-eraser step, and for older kids add detailed fur shading under the belly and inside the ears and refine the white chest and muzzle patch with colored-pencil blending.
What are some ways to extend or personalize the finished corgi drawing?
Personalize it by adding a patterned collar, a simple background like grass and sky, drawing more corgi friends using the same oval-and-circle steps, and practice shading under the belly and inside the ears before taking a picture to share on DIY.org.
Watch videos on how to draw a corgi
How To Draw A Corgi - DRAW ALONG WITH US!
4 Videos
How To Draw A Corgi - DRAW ALONG WITH US!

"How to Draw a Cute Corgi Dog | Easy Drawing for Kids"

How to Draw a Cute Corgi Puppy 🐶 Easy and Fun Step-by-Step Drawing for Kids and Toddlers

How To Draw A Cute Corgi 🐕 Easy for Step-by-Step!
Facts about drawing for kids
👑 Queen Elizabeth II famously owned more than 30 corgis over her lifetime — she really loved them!
🐾 The word “corgi” comes from Welsh words meaning “dwarf dog” (cor = dwarf, gi = dog).
✏️ Artists often start animal drawings with simple shapes—circles, ovals, and triangles—to get proportions right.
🖍️ Colored pencils can be layered and blended to create soft, fluffy fur textures for your corgi drawing.
🧽 A kneaded eraser can be shaped into a tiny point to lift color and make bright highlights like shiny eyes.
How do I teach my child to draw a corgi step by step?
What materials do I need to draw a corgi with my child?
What ages is drawing a corgi suitable for?
What are the benefits of teaching kids to draw a corgi?
