How to draw a clock - a free clock drawing guide
Draw an analog clock face with numbers, hour and minute hands, and tick marks; practice measuring angles and telling time as you create.


Drawing Apps
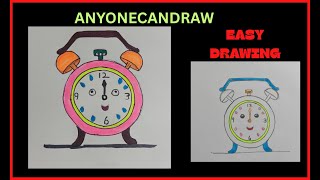
Photos of analog clock drawings and examples


Step-by-step guide to draw an analog clock and practice measuring angles
How to Draw a Clock for Kids | Easy Clock Drawing and Coloring Step by Step
Step 1
Fold the paper in half and press a firm crease.
Step 2
Fold the paper the other way and press a second crease.
Step 3
Open the paper and make a small dot where the two creases cross to mark the center.
Step 4
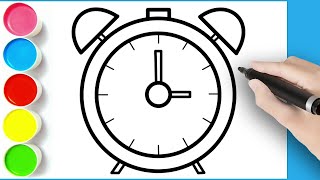
Place a round object or compass with its center on the dot and trace a neat circle with your pencil.
Step 5
Put the protractor center on the center dot and mark a small dot every 30 degrees around the circle until you have 12 dots.
Step 6
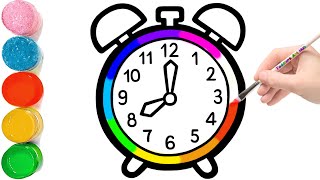
Write the numbers 12 then 1 through 11 at each marked dot around the circle so 12 is at the top.
Step 7
Draw a longer tick mark at each numbered position pointing inward toward the center.
Step 8
Draw four small equal tick marks between each hour tick to show the minutes.
Step 9
Choose a time you want your clock to show and say the time out loud.
Step 10
Use the ruler to draw a long minute hand from the center to the correct minute tick for your chosen time.
Step 11
Use the ruler to draw a shorter hour hand from the center pointing to the correct spot between hour numbers for your chosen time.
Step 12
Place the protractor on the center and measure the angle between the hour hand and the minute hand and write that angle next to the hands.
Step 13
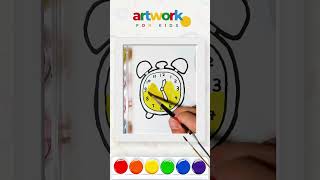
Color the clock face numbers ticks and hands with your coloring materials to finish your design.
Step 14
Take a photo and share your finished clock and the angles you measured on DIY.org.
Help!?
What can we use instead of a compass or protractor if we don't have one?
If you don't have a compass or protractor, trace a round plate or lid for the circle (step 4) and use a printable protractor or a smartphone angle app to mark every 30° for the 12 dots (step 5).
My hour numbers or dots look uneven or the protractor keeps slipping—what should I try?
If the center dot or hour dots are off or the protractor slips, refold the paper using the firm creases from steps 1–3 to re-find the center, press the creases firmly, and tape the protractor lightly when marking each 30° dot (step 5) so the 12 dots line up.
How can I change this activity for younger or older kids?
For younger kids, pre-trace the circle and pre-mark or use number stickers for steps 4–6 and have them draw big tick marks and color (steps 7, 8, 13), while older kids can calculate exact angles for step 12 and make movable hands with a split pin after drawing ruler-measured hands (steps 10–11).
How can we extend or personalize the finished clock?
To personalize and extend the activity, decorate the face and hands with your coloring materials (step 13), attach the hour and minute hands with a brad so they move, measure and record different angles (step 12), and then photograph and share your clocks on DIY.org (step 15).
Watch videos on how to draw an analog clock and tell time
Clock || drawing tutorial for children #drawingtutorial #drawingforkids
4 Videos
Clock || drawing tutorial for children #drawingtutorial #drawingforkids
How to Draw a Cute Clock ⏰ | Easy & Fun Art Tutorial for Kids!
How To Draw An Alarm Clock | Easy Drawing for Kids
How to Draw a Clock - Easy Drawings for Beginners
Facts about telling time and basic geometry
⏰ A clock face has 12 numbers and each adjacent number is 30° apart (360° ÷ 12).
📐 The minute hand moves 6° every minute (360° ÷ 60); the hour hand moves 0.5° per minute.
🕰️ Mechanical clocks began appearing in Europe around the 14th century — long before wristwatches!
🧭 You can use a protractor to measure angles on your drawn clock — 90° is a right angle, 180° is straight.
🕑 When the minute hand points to 12 it's “o'clock,” and when it points to 6 it's “half past” — quick reading tips.
How do I draw an analog clock to practice telling time and measuring angles?
What materials do I need to draw an analog clock with my child?
What ages is drawing and measuring angles on a clock suitable for?
What are the benefits of drawing clocks and measuring angles?
