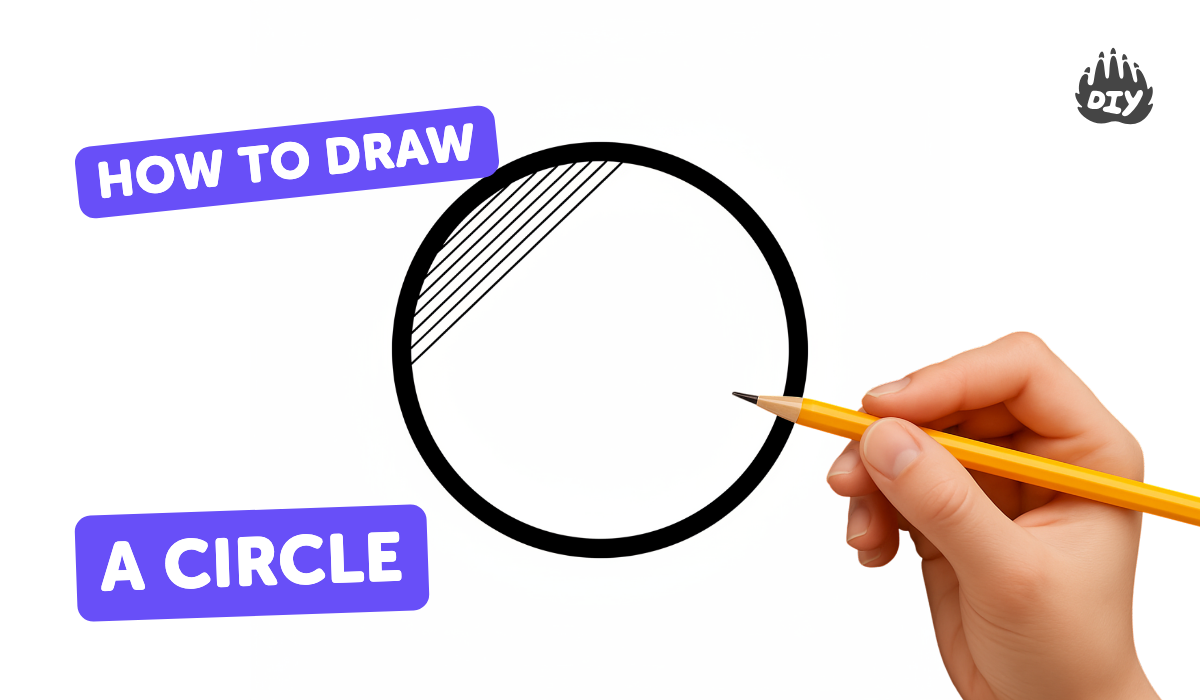
How to draw a circle - a free circle drawing guide
Learn to draw perfect circles using a compass, string and pencil, or by tracing objects while practicing steady hand control and finding centers.

Drawing Apps
Photos of circle drawing examples


Step-by-step guide to draw a circle
Let's Learn About the CIRCLE SHAPE *Math for Kids*
Step 1
Lay out your materials on a clear table so everything is easy to grab.
Step 2
Place your paper flat on the table and smooth out any wrinkles.
Step 3
Find and mark the center of the paper using a ruler or by folding and creasing then make a small pencil dot.
Step 4
Use the ruler to measure and remember the distance from the center to the edge you want (this is the radius).
Step 5
Set the compass to the radius you measured using the ruler.
Step 6
Put the compass point on the center dot and slowly rotate the compass to draw a neat circle.
Step 7
Cut a piece of string to the same radius length you measured.
Step 8
Tie one end of the string around the pencil so it stays secure.
Step 9
Anchor the loose end of the string at the center dot by pushing in the pushpin or holding it firmly with your finger.
Step 10
Keep the string taut and move the pencil around the center once to draw a circle with the string method.
Step 11
Pick a round object that fits the size you want and place its middle over the center dot.
Step 12
Hold the round object steady and trace all the way around it with your pencil to make a traced circle.
Step 13
Erase any crease marks or extra light lines and darken the circle you like best.
Step 14
Share your finished circles on DIY.org.
Help!?
What can we use if we don't have a compass or a pushpin?
If you don't have a compass, use the string-tied-pencil method described in steps 8–11 to draw the circle, and if you lack a pushpin for anchoring the center in step 11 you can tape the string to the center dot or hold it firmly with your finger.
My circle came out wobbly or the pencil kept slipping—how do we fix that?
If the compass slips in step 6 or the string loosens in step 9, tighten the compass screw or knot the string extra-securely, press the pushpin fully into the center dot or secure the string with tape, and keep the string taut while you slowly rotate the pencil.
How can I adapt this activity for younger or older kids?
For younger children, skip the compass and have them trace large round objects from step 12 while an adult anchors the center, and for older kids practice precise measuring in steps 3–6 and try drawing several concentric circles using different radii.
What are some fun ways to extend or personalize the circles after drawing them?
After erasing extra marks in step 13, decorate the circles with colored pencils, create concentric rings by repeating the compass or string method at different radii, or cut out and use the circles in a collage before sharing the result on DIY.org in step 14.
Watch videos on how to draw a circle
Circle and Circumference - Geometric Figures for Kids
4 Videos
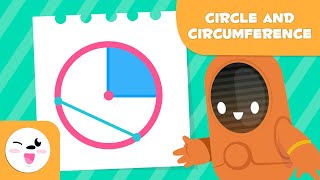
Circle and Circumference - Geometric Figures for Kids
Drawing A Walking Leaf Using Shapes - Preschool
How Do You Identify Parts of a Circle? | KS2 Maths Concept for Kids
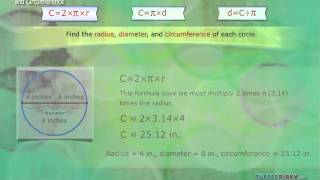
How to Measure a Circle *Radius Diameter & Circumference* Math for Kids
Facts about drawing and geometry
📐 The drawing compass has roots in ancient times — Greek mathematicians used similar tools for geometric constructions.
⭕ The special number π (pi) links every circle's circumference to its diameter and is about 3.14159.
🧵 You can make a simple homemade compass using a pencil, a short piece of string, and a pin or thumbtack to hold the center.
🎯 To find a circle's center with only a pencil and paper, draw two chords, bisect them, and their intersection is the center.
✏️ Tracing objects and practicing steady strokes builds muscle memory quickly—kids often see smoother circles after just 10 minutes of practice.
How do I teach my child to draw a perfect circle?
What materials do I need to help my child draw perfect circles?
What ages is learning to draw circles suitable for?
What are the benefits of practicing circle drawing for kids?
