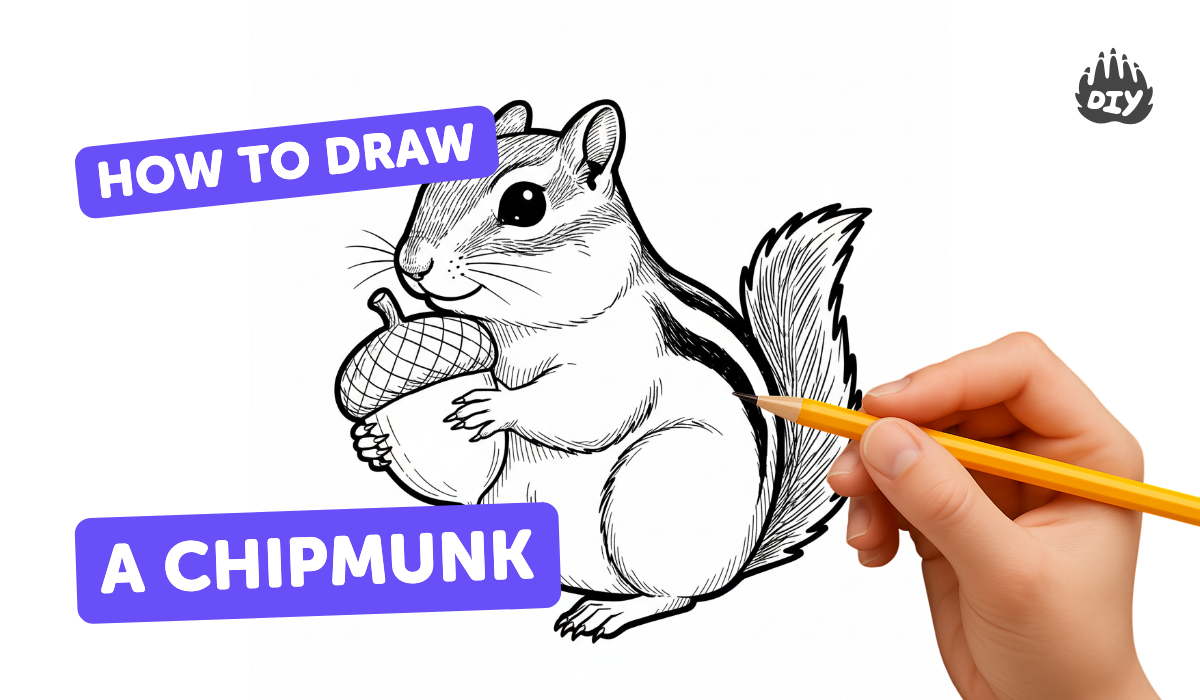
How to draw a chipmunk - a free chipmunk drawing guide
Draw a friendly chipmunk step-by-step using simple shapes, shading, and texture. Learn proportions, fur techniques, and practice observational drawing skills.

Drawing Apps
Photos of chipmunk drawing examples


Step-by-step guide to draw a chipmunk
How to Draw a Chipmunk
Step 1
Gather your materials.
Step 2
Place your paper and your chipmunk reference picture where you can see both easily.
Step 3
Lightly draw a circle near the top third of the paper for the chipmunk's head.
Step 4
Sketch a slightly larger oval that touches the bottom of the head circle for the body.
Step 5
Draw a light vertical and horizontal guideline inside the head to mark where the eyes and nose go.
Step 6
Draw two rounded ear shapes on top of the head circle.
Step 7
Draw two round eyes on the horizontal guideline and add tiny white highlights inside them.
Step 8
Draw a small oval nose at the bottom center of the head.
Step 9
Draw a short curved line under the nose to make a smiling mouth.
Step 10
Draw two puffy cheek shapes on each side of the face.
Step 11
Draw simple front and back legs under the body and add a big bushy tail off the back.
Step 12
Add thin curved stripes on the back and a short stripe on each cheek.
Step 13
Add fur texture with short pencil strokes that follow the curves of the body and tail.
Step 14
Shade lightly under the chin belly and tail using soft strokes and blend gently with a cotton swab or tissue to make the chipmunk look round.
Step 15
Take a photo or scan your finished chipmunk and share it on DIY.org.
Help!?
We don't have cotton swabs or tissues for blending—what can we use instead?
Use a clean fingertip, a folded piece of paper towel, or a tortillon/blending stump to gently blend the shading under the chin, belly, and tail.
My chipmunk's face looks crooked—how do I fix proportions or placement of the eyes and nose?
Lightly erase and reposition the head circle or body oval so the oval touches the bottom of the head circle, then redraw the vertical guideline inside the head to realign the eyes and small oval nose at the bottom center.
How can I adapt this drawing for a younger child or an older child who wants more challenge?
For younger children, pre-draw the circle, oval, and basic guidelines for them to trace and add simple eyes and ears, while older kids can add detailed fur strokes, thin curved stripes on the back and cheeks, richer shading with a cotton swab, and scan the result for sharing on DIY.org.
What are easy ways to make the chipmunk drawing more interesting or personal?
Color the chipmunk with colored pencils or watercolors, create a forest background, change the stripe pattern on the back and cheeks, or add accessories like a hat before taking the photo to upload to DIY.org.
Watch videos on how to draw a chipmunk
How to Draw a Chipmunk Step by Step
4 Videos
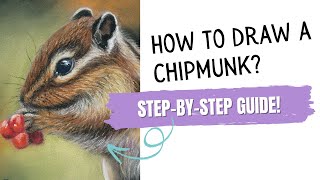
How to Draw a Chipmunk Step by Step
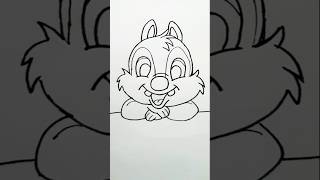
How to Draw a Cute Cartoon Chipmunk Step by Step | Easy Drawing Tutorial

How to Draw a Chipmunk in a Few Easy Steps: Drawing Tutorial for Beginner Artists
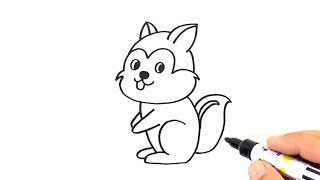
How to Draw a CHIPMUNK for kids easy drawing
Facts about animal drawing for kids
🐿️ Chipmunks are small ground squirrels famous for the dark and light stripes on their backs.
🧺 Chipmunks have expandable cheek pouches that let them carry lots of food to store for winter.
✏️ Cross-hatching is a drawing technique that artists use to build up shading and texture—great for fur!
🔵 Artists often start with simple shapes like circles and ovals to get an animal's proportions right.
👀 Practicing quick observational sketches for 10–15 minutes a day helps you notice tiny details that make drawings come alive.
How do you draw a friendly chipmunk step-by-step?
What materials do I need to draw a chipmunk?
What ages is this chipmunk drawing activity suitable for?
What are the benefits and fun variations of drawing a chipmunk?
