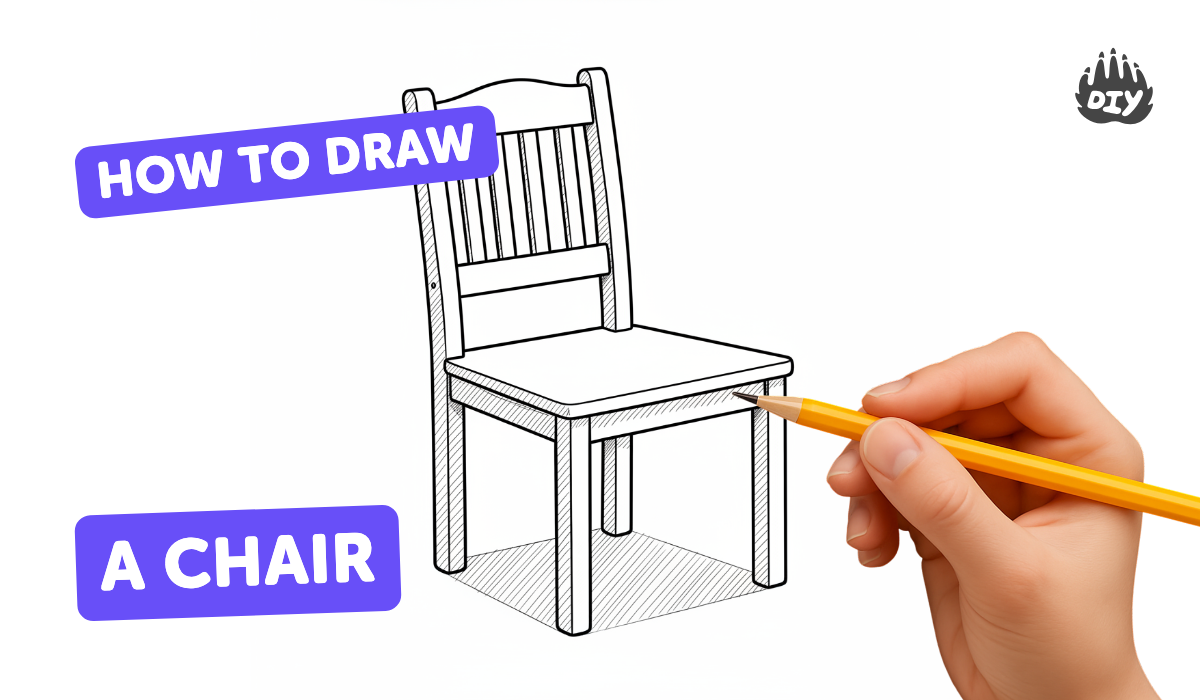
How to draw a chair - a free chair drawing guide
Learn to draw a simple chair step by step using basic shapes, correct proportions, perspective lines, and shading to create a realistic drawing.

Drawing Apps
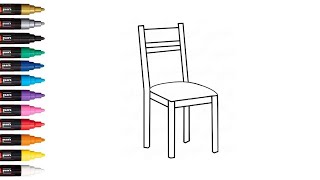
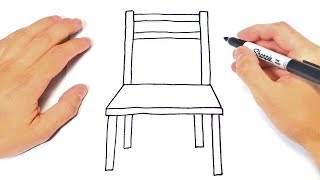
Photos of simple chair drawing examples


Step-by-step guide to draw a simple chair
Chair Drawing Tutorial for Kids | Easy Art Guide | @ArtKidsFinger
Step 1
Place your paper horizontally on the table.
Step 2
Put your pencil eraser and ruler within easy reach.
Step 3
Draw a light horizontal horizon line near the top third of the paper and put a small dot on it for a vanishing point.
Step 4
Lightly sketch a rectangle below the horizon to be the top of the chair seat.
Step 5
From each corner of the rectangle draw light straight lines back toward the vanishing point.
Step 6
Choose how deep the seat will be and draw a line across the receding lines to close the seat top.
Step 7
Draw two straight vertical lines down from the front corners of the seat to make the front legs.
Step 8
Draw two straight vertical lines down from the back corners of the seat to make the back legs.
Step 9
From the back edge of the seat draw two vertical lines upward to set the backrest height and connect them across the top.
Step 10
Erase any extra guide lines you don't need and darken the chair's main outlines.
Step 11
Add seat thickness and simple details like slats cushions or armrests with short clean strokes.
Step 12
Pick a light direction and add light to medium pencil shading on the opposite sides and under the seat.
Step 13
Gently blend the shaded areas with your finger or a blending stump for a smooth look.
Step 14
Add final surface details like wood grain or fabric texture and sign your name in a corner.
Step 15
Share your finished chair drawing on DIY.org.
Help!?
What can I use instead of a ruler or a blending stump if I don't have them?
Use the straight edge of a hardcover book or a piece of cardboard as a ruler for the seat and legs, and substitute a tissue, cotton swab, or your fingertip for a blending stump when you gently blend the shaded areas.
My chair looks skewed because the receding lines don't meet the vanishing point — how do I fix it?
Lightly erase the problematic receding lines, recheck that your small vanishing point is on the horizon line, then use a ruler to redraw straight lines from each rectangle corner directly toward that vanishing point so the seat closes cleanly with the depth line.
How can I adapt this drawing activity for younger children or older kids?
For younger children, pre-draw the horizon, vanishing point, and rectangle so they can connect receding lines and add legs with a thick pencil, while older kids can add seat thickness, slats, cushions, detailed shading with a blending stump, and texture before signing and sharing on DIY.org.
What are simple ways to extend or personalize the chair drawing after the basic steps?
After darkening the main outlines and adding seat thickness, personalize by designing armrests, cushions, slats, or unique wood grain and fabric textures, add color with colored pencils or markers, and create a mini series to sign and share on DIY.org.
Watch videos on how to draw a simple chair
How To Draw A Chair 🪑 | Easy Chair Drawing For Kids
4 Videos
How To Draw A Chair 🪑 | Easy Chair Drawing For Kids
How to draw a Chair Step by Step | Easy drawings

How to Draw a Wooden Chair for Kids | Easy Step-by-Step Drawing & Coloring
🪑 Chair Drawing | Easy Step by Step Sketch for Beginners
Facts about drawing fundamentals for kids
🪑 Ancient Egyptian chairs were often reserved for nobility—ordinary people usually sat on stools or mats.
✏️ Many artists learn depth by practicing one-point and two-point perspective to make objects like chairs look 3D.
📐 You can break most chairs down into simple shapes—rectangles for seats and backs, and cylinders or prisms for legs.
🎨 Softer pencils (2B–6B) make darker, smoother shading while harder pencils (H–2H) are best for light lines and details.
🔍 Standard chair seat height is about 16–18 inches (40–46 cm); using realistic measurements helps your drawing look believable.
How do I teach a child to draw a simple chair step by step?
What materials are needed to draw a chair with a child?
What ages is drawing a simple chair suitable for?
What are the benefits of learning to draw chairs and easy variations?
