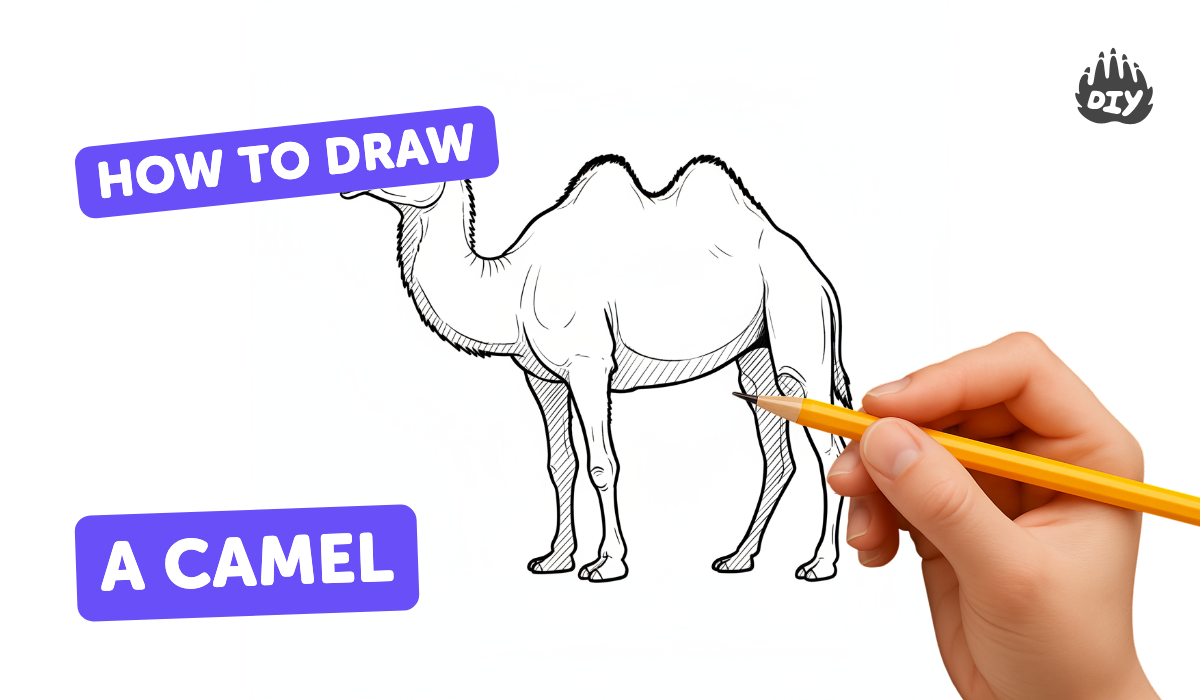
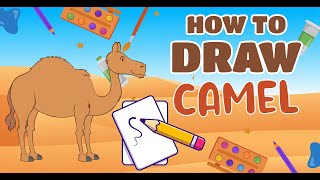
How to draw a camel - a free camel drawing guide
Learn step-by-step how to draw a camel using simple shapes, add humps, legs, facial features, then shade and color it.

Drawing Apps
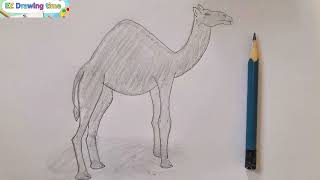
Photos of camel drawing examples


Step-by-step guide to draw a camel
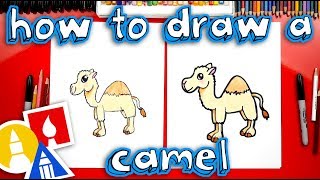
How to Draw a Camel for Kids Step by Step | Easy Camel Drawing for Kids | Camel Drawing Tutorial
Step 1
Draw a large oval in the middle of your paper for the camel’s body.
Step 2
Draw a smaller circle to the upper right of the body for the camel’s head.
Step 3
Draw two curved lines from the head down to the body to make the neck.
Step 4
Draw two rounded humps on the camel’s back sitting on top of the body.
Step 5
Draw four long straight legs under the body ending with small oval feet.
Step 6
Draw a short curved tail with a little tuft at the end on the back of the body.
Step 7
Draw two small ears on top of the camel’s head.
Step 8
Draw the camel’s eyes nostrils and a smiling mouth on the head to make its face.
Step 9
Add a few short lines on the knees and around the humps for texture and fur detail.
Step 10
Carefully trace your favorite lines with a black marker or darker pencil to make the camel stand out.
Step 11
Erase any extra pencil guidelines so only your clean camel drawing remains.
Step 12
Shade and colour your camel using brown tones and other colours you like to finish the picture.
Step 13
Share your finished creation on DIY.org
Help!?
What can we use if we don't have a black marker, brown pencils, or an eraser?
If you don't have the black marker mentioned in 'Carefully trace your favorite lines with a black marker or darker pencil,' use a darker crayon or fine-tip washable marker to trace, substitute brown tones with orange or tan crayons or markers for 'Shade and colour your camel,' and use a clean tissue or the blunt edge of a ruler to gently lift light pencil marks if you lack an eraser.
My camel looks lopsided or the legs are the wrong length — how do I fix it?
If proportions are off after drawing the large oval body, smaller circle head, and long straight legs, redraw very light construction lines (mark the oval center and a faint baseline where the legs meet the body), resize the head or shorten the leg lines before you 'Carefully trace' and then erase the guidelines.
How can I change this activity for younger or older kids?
For ages 3–5, pre-draw the large oval, head circle, and humps for them to trace and let them use chunky crayons for 'Shade and colour'; for 6–8 have them follow each step themselves and add the short fur lines on knees and humps; for 9+ encourage more detail by adding texture, shading, and darker marker tracing before erasing guidelines.
What are some ways to improve or personalize the camel drawing once it's finished?
After you 'Shade and colour your camel using brown tones,' personalize it by adding a desert background, patterned or decorated humps, a baby camel beside it, or mixed-media elements like fabric for the tuft, then photograph your artwork to 'Share your finished creation on DIY.org'.
Watch videos on how to draw a camel
How To Draw A Cartoon Camel
4 Videos
How To Draw A Cartoon Camel
Easy Camel Drawing Tutorial Step by Step for Kids & Beginners | Animals Drawing
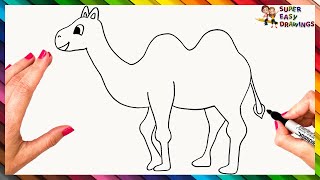
How To Draw A Camel Step By Step 🐫 Camel Drawing Easy
How to Draw a Camel | Easy Kids Drawing | Kids Art Tutorial
Facts about drawing animals for kids
🐪 Camels come in two main kinds: dromedary (one hump) and Bactrian (two humps) — a fun detail to pick for your drawing!
🌵 A camel's hump stores fat, not water — its shape can help show age and health in your sketch.
🖊️ Artists often start with simple shapes (circles, ovals, rectangles) — use them to build the camel's body step-by-step.
👣 Camels have wide, padded feet for walking on sand — draw long legs and flat feet to capture their stance.
👀 Camels have long eyelashes and a split upper lip — small facial details that make your camel look alive.
How do I teach my child to draw a camel step by step?
What materials do I need to draw a camel with my child?
What ages is this camel drawing activity suitable for?
What are the benefits of teaching kids to draw a camel?
