How to draw a cactus - a free cactus drawing guide
Draw a simple cactus on paper step-by-step using pencil, eraser, and color while practicing shapes, shading, and tiny spines confidently.

Drawing Apps
Photos of cactus drawing examples


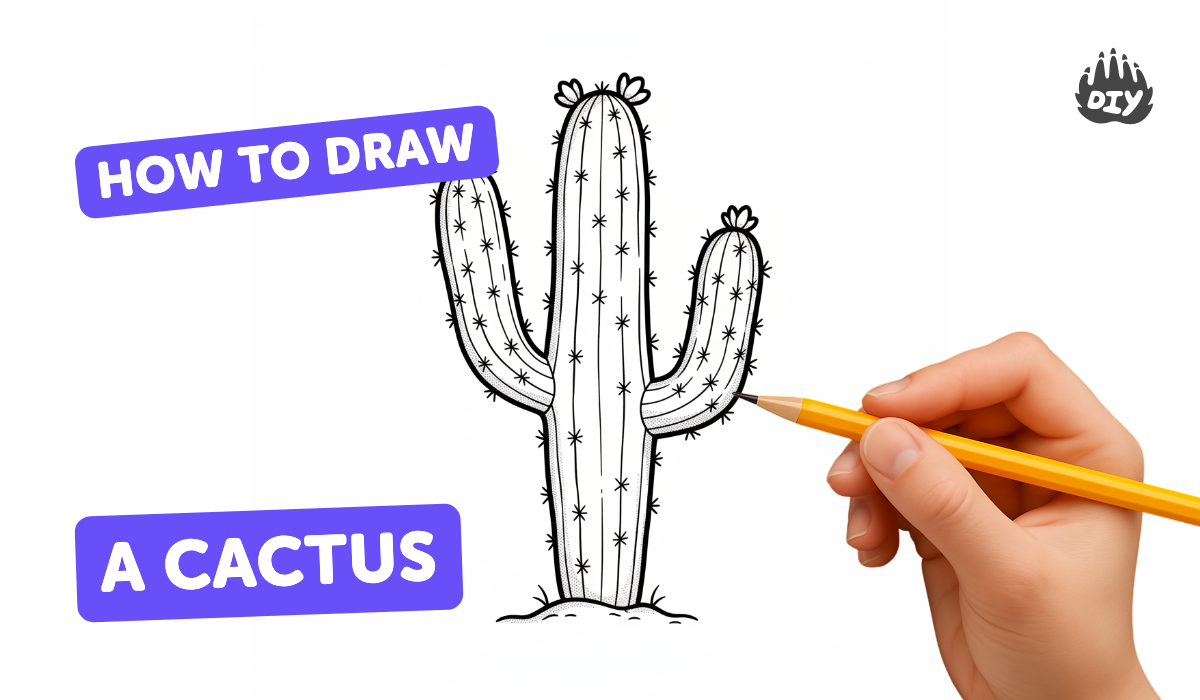
Step-by-step guide to draw a cactus
Easy Cactus Drawing for Kids | Step-by-Step Fun Tutorial
Step 1
Put your paper and all materials on a flat surface so you are ready to draw.
Step 2
Lightly draw a horizontal line about one third up from the bottom to mark the tabletop.
Step 3
Draw a shallow horizontal oval on the line to make the rim of the pot.
Step 4
Draw a trapezoid under the oval to form the body of the pot.
Step 5
Sketch a tall rounded rectangle or pill shape sitting on the pot rim for the cactus main body.
Step 6
Add one or two curved arm shapes on the sides of the main body to make cactus arms.
Step 7
Draw light gentle curved vertical lines on the cactus to show the segmented ribs.
Step 8
Add tiny short straight or V shaped lines across the ribs to make the cactus spines.
Step 9
Erase extra sketch lines and the tabletop guideline so your cactus and pot look clean.
Step 10
Shade the outer edges of each cactus segment with the side of your pencil to make it look rounded.
Step 11
Color the cactus and the pot using your coloring materials.
Step 12
Trace over your favorite lines with a darker pencil or marker to make the drawing pop.
Step 13
Share your finished cactus drawing on DIY.org.
Help!?
What can we use if we don't have the darker pencil/marker or coloring materials mentioned in the instructions?
If you don't have a darker pencil or marker to trace, use a dark ballpoint pen or a sharpened crayon to trace your favorite lines, and substitute crayons or washable paint for the coloring materials when filling in the cactus and pot.
My cactus looks lopsided or the pot rim oval is uneven—how can we fix that?
Lightly redraw the shallow horizontal oval on the tabletop guideline and erase extra sketch lines with a gentle kneaded eraser, then adjust the trapezoid pot under the rim so the pill-shaped cactus sits centered before tracing your favorite lines.
How can I adapt this drawing activity for different ages or skill levels?
For younger children simplify to a single pill-shaped cactus and a big oval pot using thick crayons, while older kids can add curved arms, the light curved ribs, V-shaped spines, shading with the side of a pencil, and tracing with a fine marker for detail.
How can we make the cactus drawing more interesting or personal after completing the basic steps?
Add a small flower on a cactus arm, decorate the pot with patterns before coloring, deepen the rounded look by shading outer edges of each segment with the side of your pencil, then trace favorite lines and share the finished cactus drawing on DIY.org.
Watch videos on how to draw a cactus
How to draw a CACTUS 🌵🎨 | Drawing for kids | CRAFTS by Lingokids
4 Videos
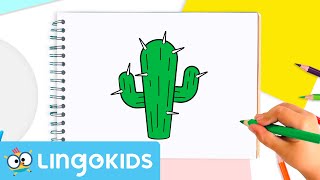
How to draw a CACTUS 🌵🎨 | Drawing for kids | CRAFTS by Lingokids

How to Draw a Cute Cactus for Kids!
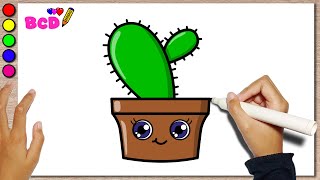
HOW to DRAW Cute Cactus for Kids Step by Step Simple and Easy

How to Draw a Cactus Simple & Easy For Kids
Facts about drawing basics for kids
🌵 Cacti are native to the Americas — they range from Patagonia up through parts of North America.
💧 Many cacti store water in their thick stems so they can survive long dry spells without rain.
🕰️ Saguaro cacti can live 150–200 years and often don’t grow their first arm until they’re decades old.
✏️ A simple drawing trick: start with ovals and cylinders, then add light shading to make a cactus look round and 3D.
🌸 Lots of cacti make big, colorful flowers that sometimes open for only a short time—some bloom for just one night.
How do I teach my child to draw a simple cactus step-by-step?
What materials do I need to draw a cactus with my child?
What ages is this cactus drawing activity suitable for?
What are the benefits of drawing a cactus with my child?
