How to draw a bubble - a free bubble drawing guide
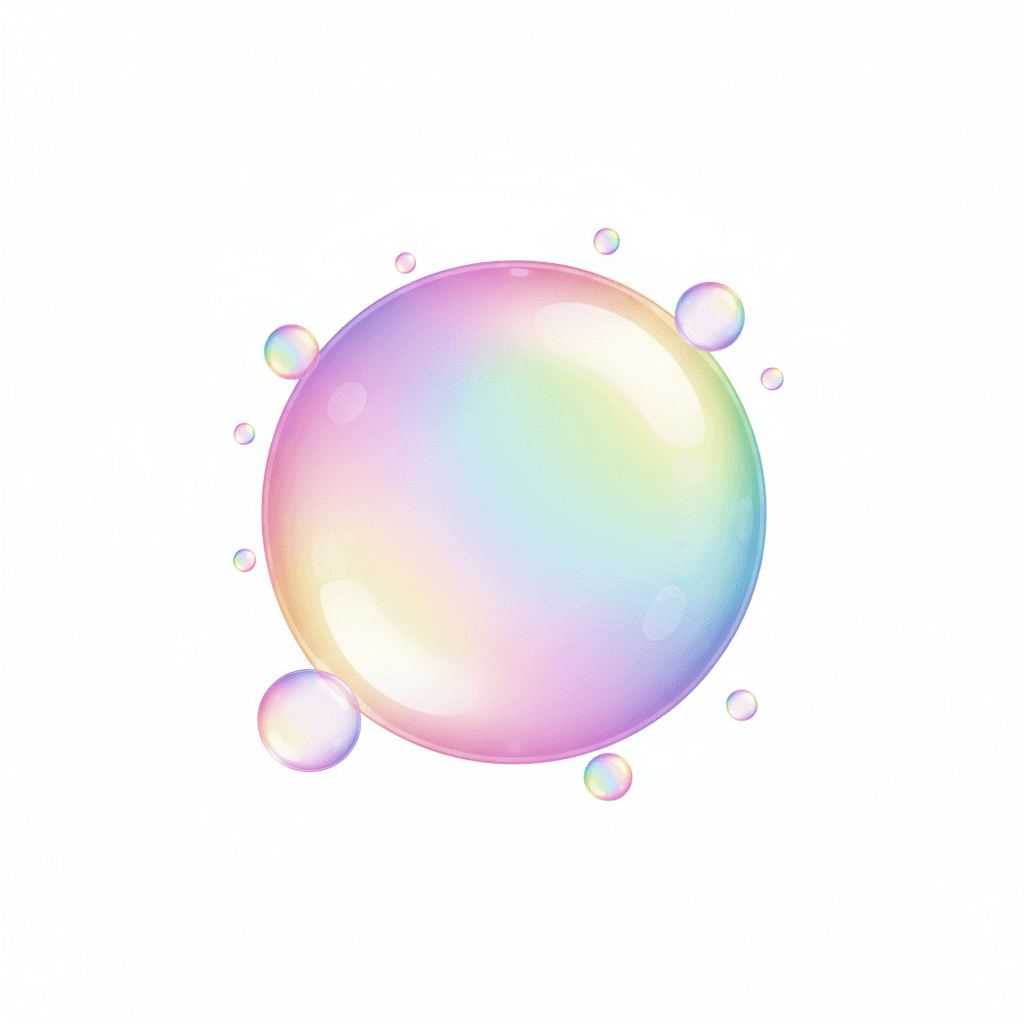
Draw a realistic soap bubble using pencil, shading, and colored pencils to practice circles, light reflection, and smooth blending technique.


Drawing Apps
Photos of realistic soap bubble drawings
Step-by-step guide to draw a realistic soap bubble
How to draw Bubbles(For beginners)
Step 1
Pick a circular object that fits the size of bubble you want to draw.
Step 2
Put the circular object on your paper so it sits where you want the bubble.
Step 3
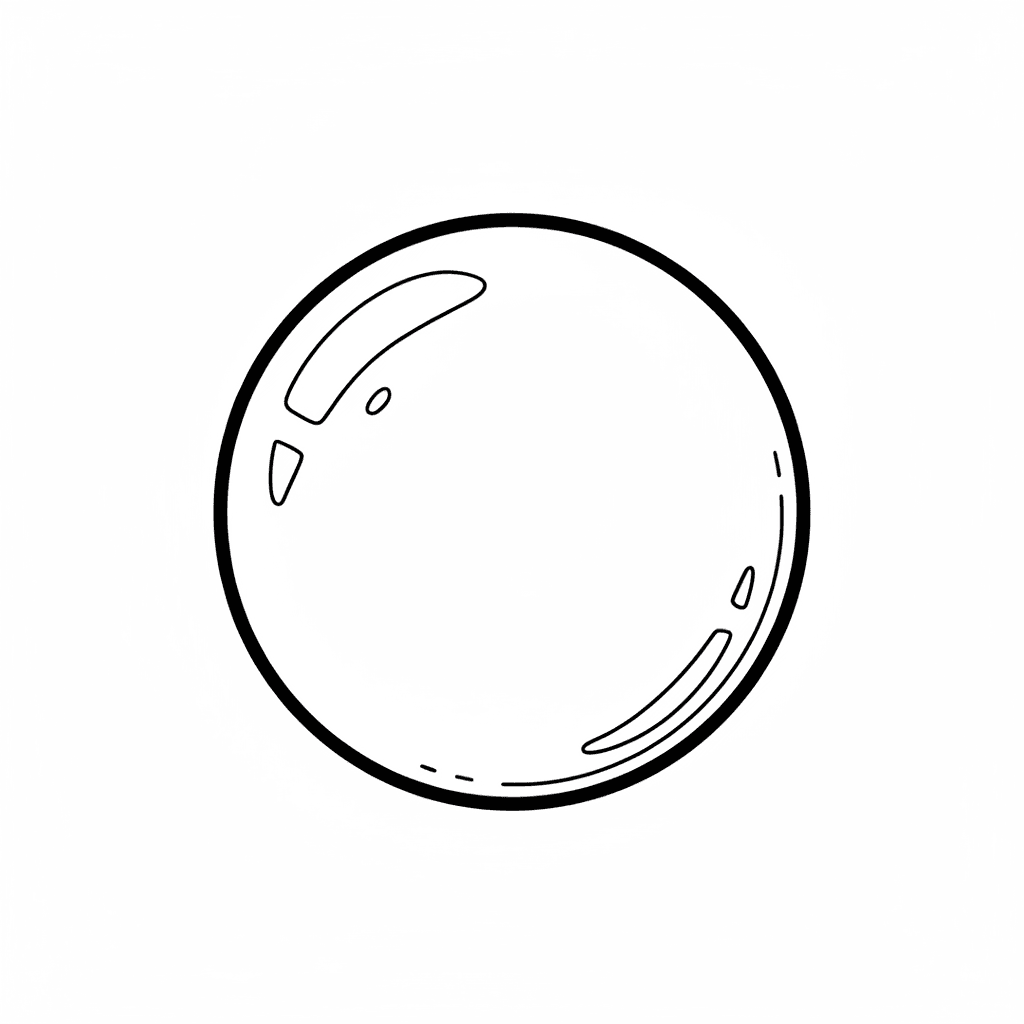
Lightly trace around the object with your pencil to make a faint circle.
Step 4
Decide which direction the light is coming from and mark a tiny dot outside the circle to show that direction.
Step 5
Lightly draw a small oval or crescent on the circle side nearest the dot to mark the bubble’s main highlight.
Step 6
Shade the side opposite the highlight with light even pencil strokes to create a smooth gradient.
Step 7
Darken the very edge of the far side a bit more to make a thin rim that gives the bubble depth.
Step 8
Use a tissue or cotton swab to gently blend the pencil shading so it looks smooth and soft.
Step 9
Lightly draw thin colored bands along the inside edge of the circle with colored pencils to create rainbow reflections.
Step 10
Soften the colored bands by gently layering with light pencil strokes or a clean tissue so the colors melt into the shading.
Step 11
Use your eraser to lift a tiny bit of graphite inside the highlight shape to make the bright shiny spot pop.
Step 12
Draw a faint soft shadow just beneath the bubble to show it sits on the surface.
Step 13
Blend the shadow gently with your tissue so it looks soft and realistic.
Step 14
Take a photo or scan your finished bubble and share your creation on DIY.org.
Help!?
I don't have tissues or cotton swabs for blending; what can I use instead?
Use a clean piece of soft cotton (like an old T-shirt), a folded coffee filter, or a blending stump to gently blend the pencil shading in place of a tissue or cotton swab when smoothing the gradient.
My bubble shading looks streaky or uneven — how can I fix it?
Redo the shading with light, even pencil strokes on the side opposite the highlight as the instructions say, then blend gently with your tissue substitute and use a kneaded eraser to lift any dark streaks for a smooth gradient.
How can I adapt this activity for different age groups?
For preschoolers pre-trace the circle and let them color the bubble with chunky crayons, for school-age kids follow the shading and thin colored-band steps with colored pencils and a tissue for blending, and for teens add multiple faint colored reflections, use softer pencils (2B–4B) and a tortillon for refined gradients.
How can we extend or personalize the bubble drawing after finishing?
Draw several overlapping bubbles using different-sized circular objects, vary the highlight positions and thin colored bands from the instructions, add soft shadows beneath each bubble, and then photograph or scan the scene before sharing on DIY.org.
Watch videos on how to draw a realistic soap bubble
How to Draw Bubbles Step by Step Simple for Kids
4 Videos
How to Draw Bubbles Step by Step Simple for Kids
How to draw Bubbles Real Easy
How To Draw Funny Bubbles And Wand

Easy Bubble Drawing Ideas | How to Draw Water Bubbles Sketch Step by Step for Beginners
Facts about drawing and shading techniques
🫧 Soap bubbles are almost all air — the shiny film is thousands of times thinner than a human hair.
🌈 The rainbow swirls on a bubble are iridescence: light waves interfere in the thin soap film to make shifting colors.
✏️ The bright white spot on a drawn bubble is the highlight — it shows where light reflects directly and helps make the bubble look round.
🎨 Colored pencils blend smoothly by layering light strokes and using a blending stump or a white pencil to soften edges.
🧪 A little glycerin or corn syrup in bubble solution makes bubbles stronger and longer-lasting, perfect for practice and giant bubbles.
How do I teach my child to draw a realistic soap bubble step-by-step?
What materials do I need to draw a realistic soap bubble with my child?
What ages is drawing realistic soap bubbles suitable for?
What are the benefits of drawing realistic soap bubbles for kids?
