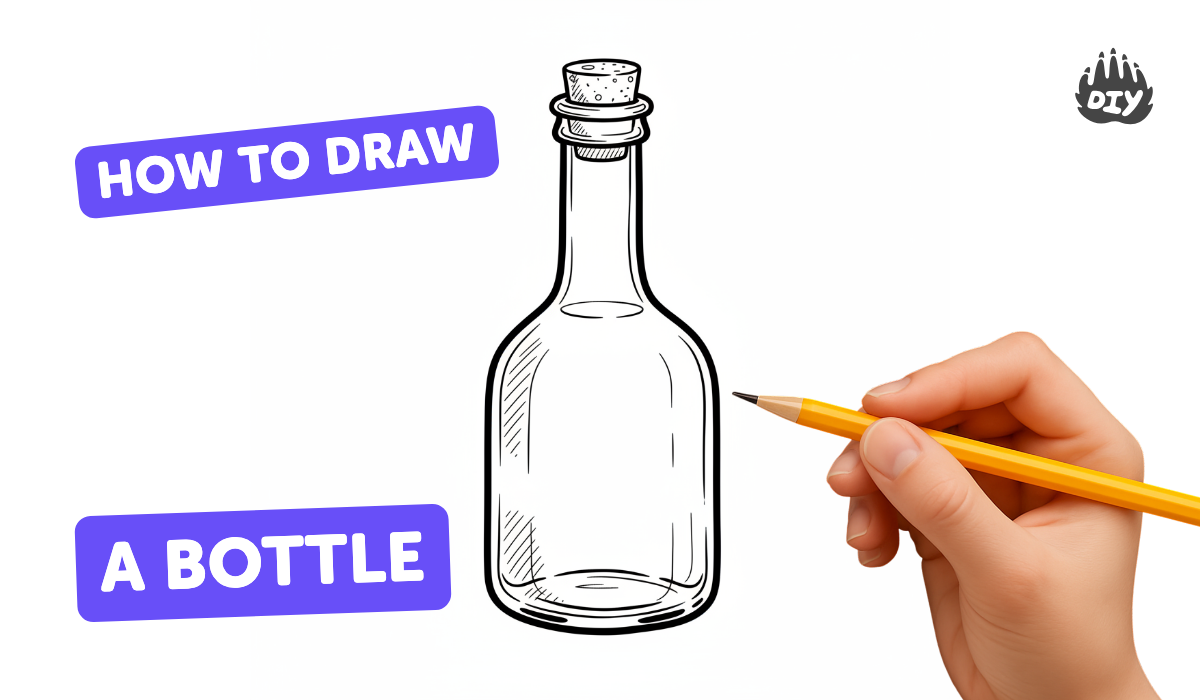
How to draw a bottle - a free bottle drawing guide
Learn to draw a bottle step by step with pencil, eraser, ruler, and coloring tools while practicing shapes, proportions, and shading.

Drawing Apps
Photos of bottle drawing examples


Step-by-step guide to draw a bottle
How To Draw A Bottle Of Glue And Scissors
Step 1
Put your paper in a portrait (vertical) position.
Step 2
Draw a light vertical center guide line down the middle of the paper using your pencil and ruler.
Step 3
Measure and make a small pencil mark near the top and another near the bottom to set how tall your bottle will be.
Step 4
Draw two light vertical lines one on each side of the center guide to set the bottle's width.
Step 5
Draw a small oval at the top between the vertical lines to make the bottle opening.
Step 6
Draw two short vertical lines down from the oval to create the bottle neck.
Step 7
Draw two gentle curved lines from the neck outward and down to meet the vertical sides to form the bottle shoulders.
Step 8
Connect the vertical sides at the bottom with a shallow curve to create a rounded base.
Step 9
Erase the center guide and any extra construction marks lightly with your eraser.
Step 10
Draw a label or design on the front of the bottle by sketching a rectangle or fun shape.
Step 11
Add shading with light pencil strokes on one side of the bottle to show roundness and leave a thin highlight line for light.
Step 12
Color your bottle with your coloring materials and use darker colors where you shaded.
Step 13
Share your finished bottle drawing on DIY.org.
Help!?
What can I use if I don't have a ruler or eraser for drawing the center guide and cleaning up marks?
Use a straight edge like the edge of a hardcover book or a credit card to draw the center guide and vertical side lines, and lift stray pencil marks with a folded tissue or a clean fingertip if you don't have an eraser.
My bottle looks uneven—what step likely went wrong and how do I fix it?
If the bottle is uneven, remeasure and redraw the light vertical center guide and the two side lines with a ruler so both sides are equal, then lightly erase the incorrect shoulder or base curves and reconnect them symmetrically.
How can I adapt this bottle drawing for younger or older children?
For younger kids pre-draw the center guide, top and bottom marks, and side lines for them to trace and let them add a simple sticker label, while older children can refine the oval opening, practice gentle curved shoulders, and add shading with light pencil strokes and a thin highlight line for realism.
What are some ways to extend or personalize the bottle drawing activity after finishing the basic steps?
Extend the activity by designing custom labels or patterns, drawing liquid with a curved meniscus line inside the bottle, increasing contrast in the shaded side and thin highlight for glass effect, or turning the drawing into a collage using colored paper before sharing on DIY.org.
Watch videos on how to draw a bottle
Fun & Easy Drawing Tutorial For Beginners
4 Videos
Fun & Easy Drawing Tutorial For Beginners
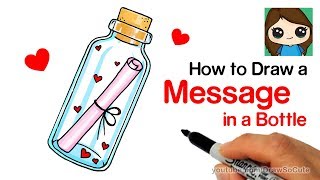
How to Draw a Message of Love in a Bottle Easy
Easy Drawing And Painting Tutorials For Beginners
EASY DRAWING TIPS: How to teach someone to draw? 🖌️🎨
Facts about drawing for kids
🧴 Glass bottles have been made for more than 2,000 years—Romans produced early glass containers!
✏️ Artists use H pencils for light, precise lines and B pencils for soft, dark shading.
📏 Simple grids or a ruler trick help you keep a bottle's height and width in good proportion.
🎨 To make glass look shiny, leave tiny white highlights instead of coloring every spot.
🌗 Shading usually has five parts: highlight, midtone, core shadow, reflected light, and cast shadow.
How do you draw a bottle step by step?
What materials do I need to draw a bottle with my child?
What ages is learning to draw a bottle suitable for?
What are the benefits and variations of drawing bottles?
