How to draw a blue whale - a free blue whale drawing guide
Draw a friendly blue whale using simple shapes, color with crayons or markers, add water spout details, and learn proportions and shading.

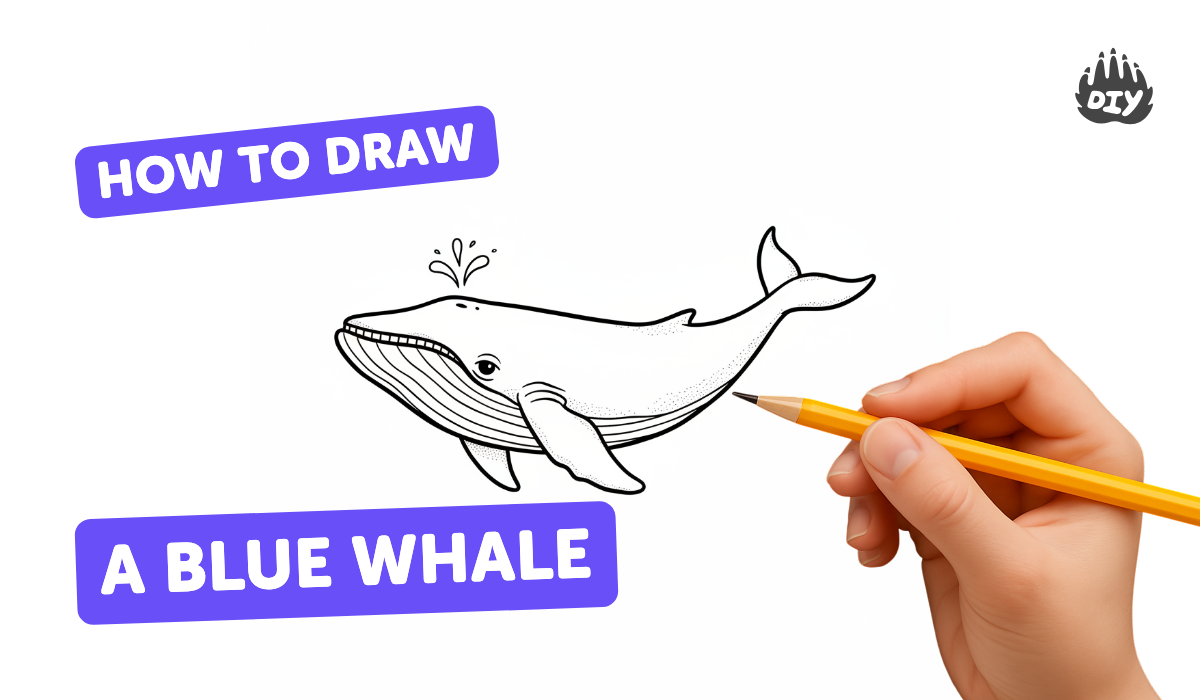
Step-by-step guide to draw a blue whale
How to Draw a Blue Whale | Step by Step Tutorial for Kids 🐋
Step 1
Find a comfy spot and lay out your paper and materials.
Step 2
Lightly draw a big horizontal oval in the middle of the paper for the whale’s body.
Step 3
At the right end of the oval draw a wide V-shaped tail with rounded tips.
Step 4
On the left end of the oval draw a gentle curved line for the whale’s forehead and mouth area.
Step 5
Draw a small circle near the forehead for the eye.
Step 6
Make a tiny dot or short curved line on top of the head for the blowhole.
Step 7
Draw a short rounded fin near the middle-lower side of the body.
Step 8
Add a small curved fin on top of the whale’s back.
Step 9
Lightly draw a faint horizontal curve along the lower belly to mark where the belly color will go.
Step 10
Trace your whale’s final outline with the black marker or a darker blue to make it bold.
Step 11
Color the main body with a medium blue using even strokes.
Step 12
Shade the top of the body tail and fin edges with dark blue to show depth.
Step 13
Color the belly with white or very light blue and add a tiny white highlight on the eye.
Step 14
Above the blowhole draw a few curved lines and little teardrop shapes to make a water spout and color them light blue.
Step 15
Take a picture of your friendly blue whale and share your finished creation on DIY.org.
Help!?
What can we use if we don't have a black marker or the exact blue colors listed?
If you don't have a black marker, trace your whale's final outline with a dark blue crayon, graphite pencil, or ballpoint pen and substitute navy or royal crayons/paints for the medium and dark blues and a white pencil or chalk for the belly.
My whale's oval or V-shaped tail looks off and the blowhole is hard to place—how can I fix these tricky steps?
Lightly sketch the big horizontal oval and wide V-shaped tail with an eraser-friendly pencil and adjust until balanced, use a small coin to guide the eye circle and mark the blowhole with a tiny dot before inking, and apply the dark blue shading with short layered strokes to avoid over-darkening.
How can I change the activity for different ages so it's not too easy or too hard?
For toddlers, pre-draw the big horizontal oval and tail and let them color with chunky crayons and stick-on eyes, for school-age kids follow all steps including shading the top with dark blue, and for teens add textured skin lines, more accurate proportions, and watercolor washes.
What are simple ways to extend or personalize the blue whale drawing after finishing the basic steps?
Add a background of waves and sea plants, paint patterns or a name on the belly, glue tissue-paper or glitter to the light-blue water spout, and photograph the finished creation to share on DIY.org as the instructions suggest.
Watch videos on how to draw a blue whale
Draw a Blue Whale in 5 Simple Steps
4 Videos
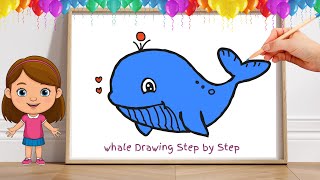
Draw a Blue Whale in 5 Simple Steps
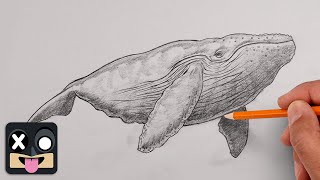
How To Draw a Blue Whale | Step by Step Sketch Course

How to Draw a Cute Blue Whale Easy Step by Step - Cómo dibujar una ballena azul kawaii fácil

How to Draw a Blue Whale + Fun Facts! 🐋✏️ Easy Ocean Animal Drawing for Kids | Tinywiny Fun Kids Art
Facts about drawing and shading for kids
🐋 Blue whales are the largest animals ever — they can reach about 30 m (100 ft) long and weigh as much as 200 tonnes.
💧 A blue whale's spout can shoot water vapor up to around 9 m (30 ft) into the air and be seen from far away.
🎨 Many artists begin drawings by blocking in simple shapes (like ovals and rectangles) to get proportions right.
🖍️ Crayons were first mass-produced by Binney & Smith as the Crayola brand in 1903 — great for bold color!
🌗 Even basic shading with light and dark strokes can make a flat whale drawing look three-dimensional.
How do I draw a friendly blue whale step by step?
What materials do I need to draw a blue whale?
What ages is this blue whale drawing activity suitable for?
What are the benefits and fun variations of drawing a blue whale?
