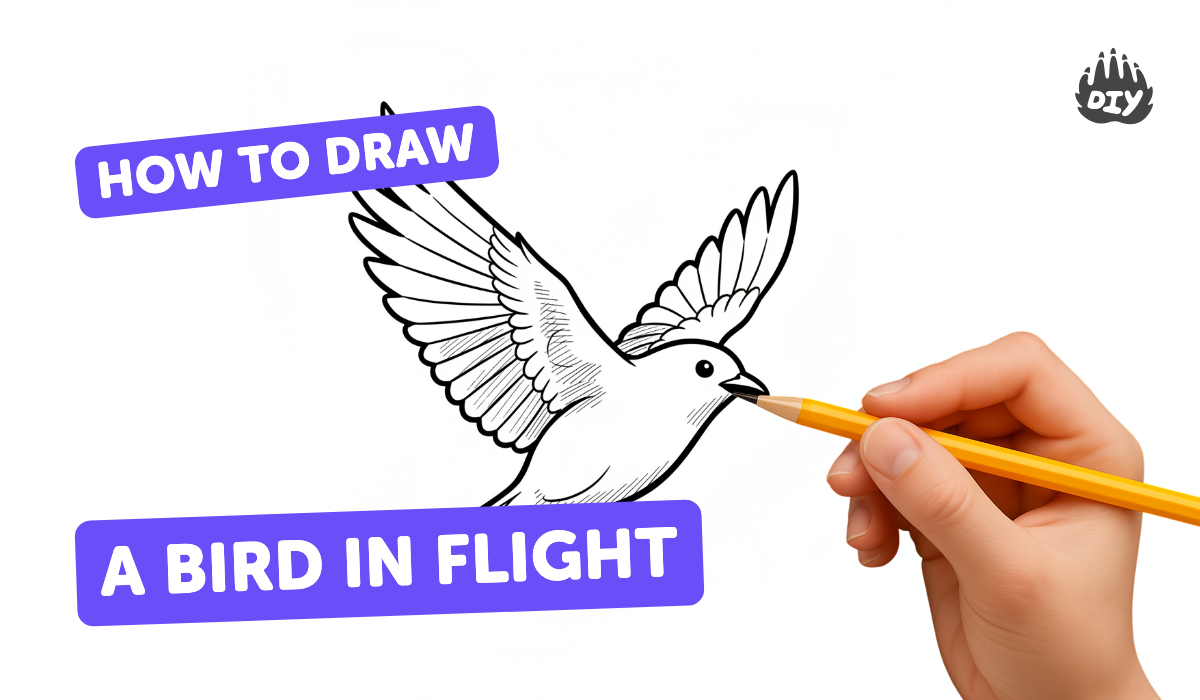
How to draw a bird flying - a free bird flying drawing guide
Draw a bird in flight step by step using paper, pencil, and crayons. Practice wing shapes, motion, perspective, and simple shading.

Drawing Apps
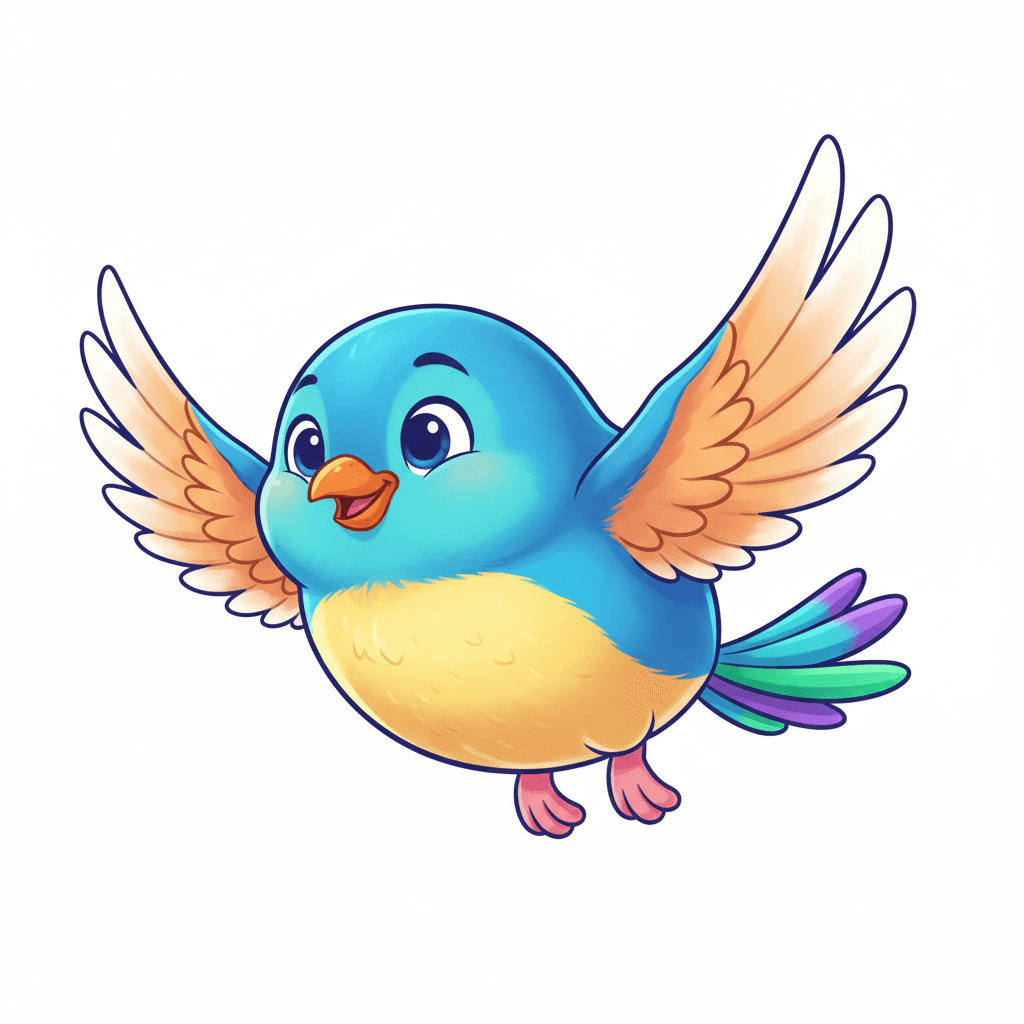
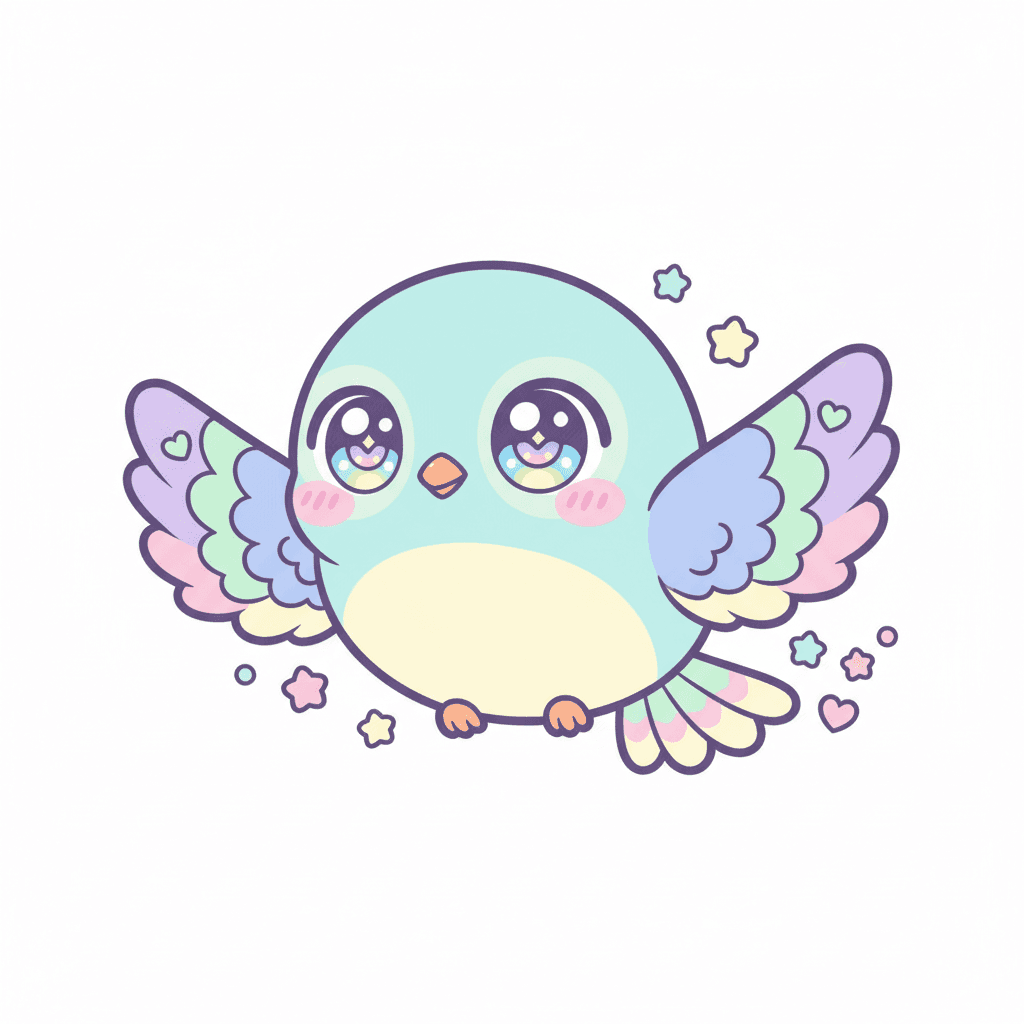
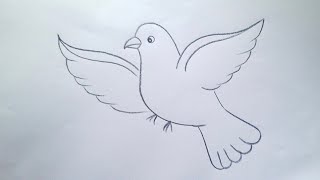
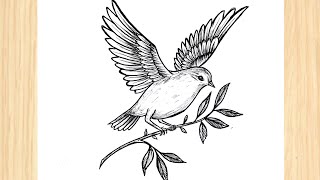
Photos of bird-in-flight drawing examples
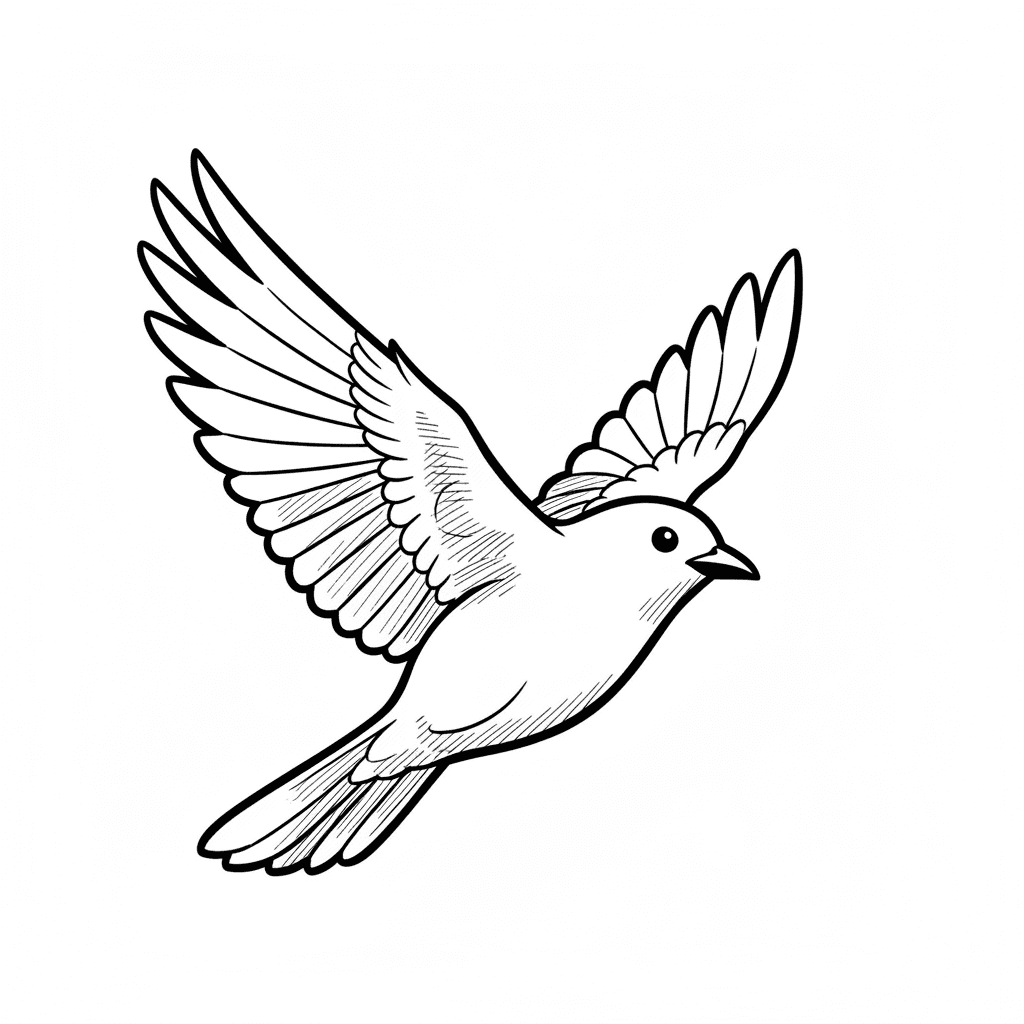
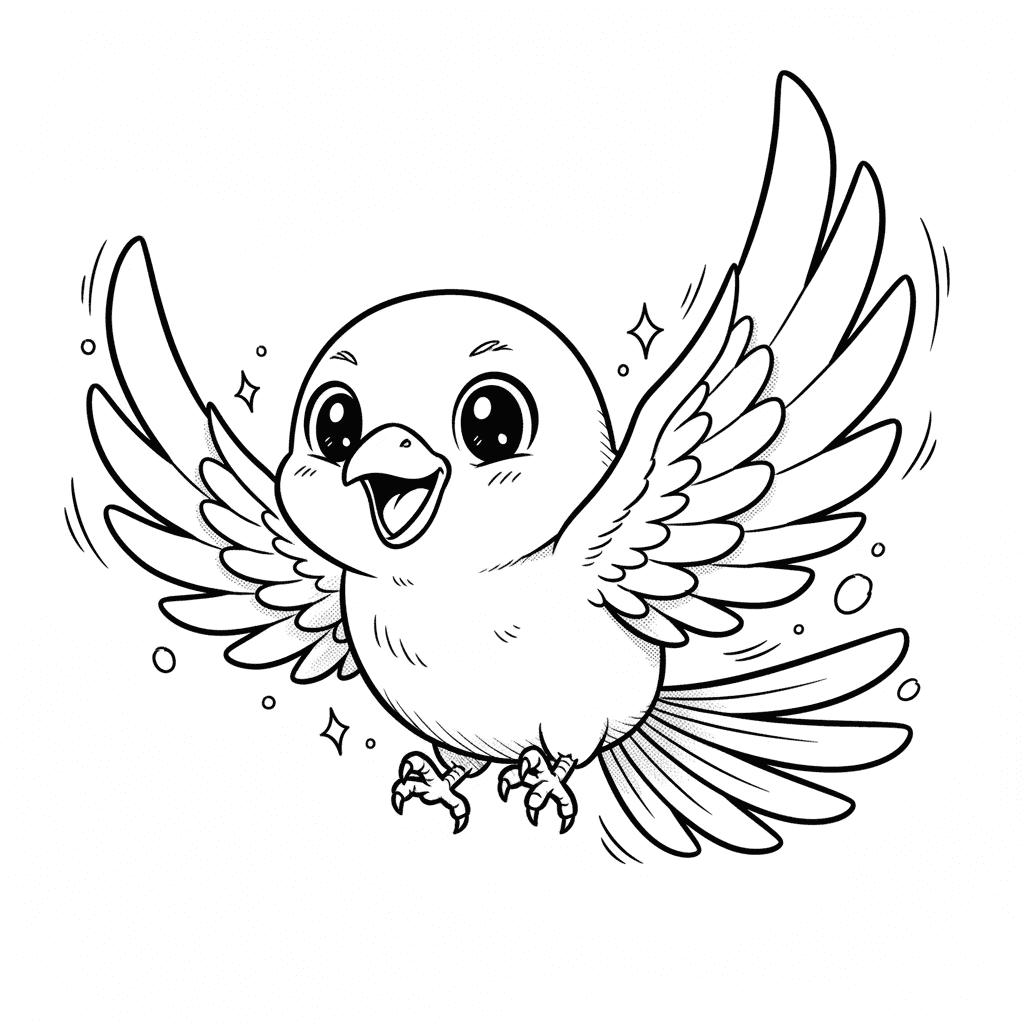
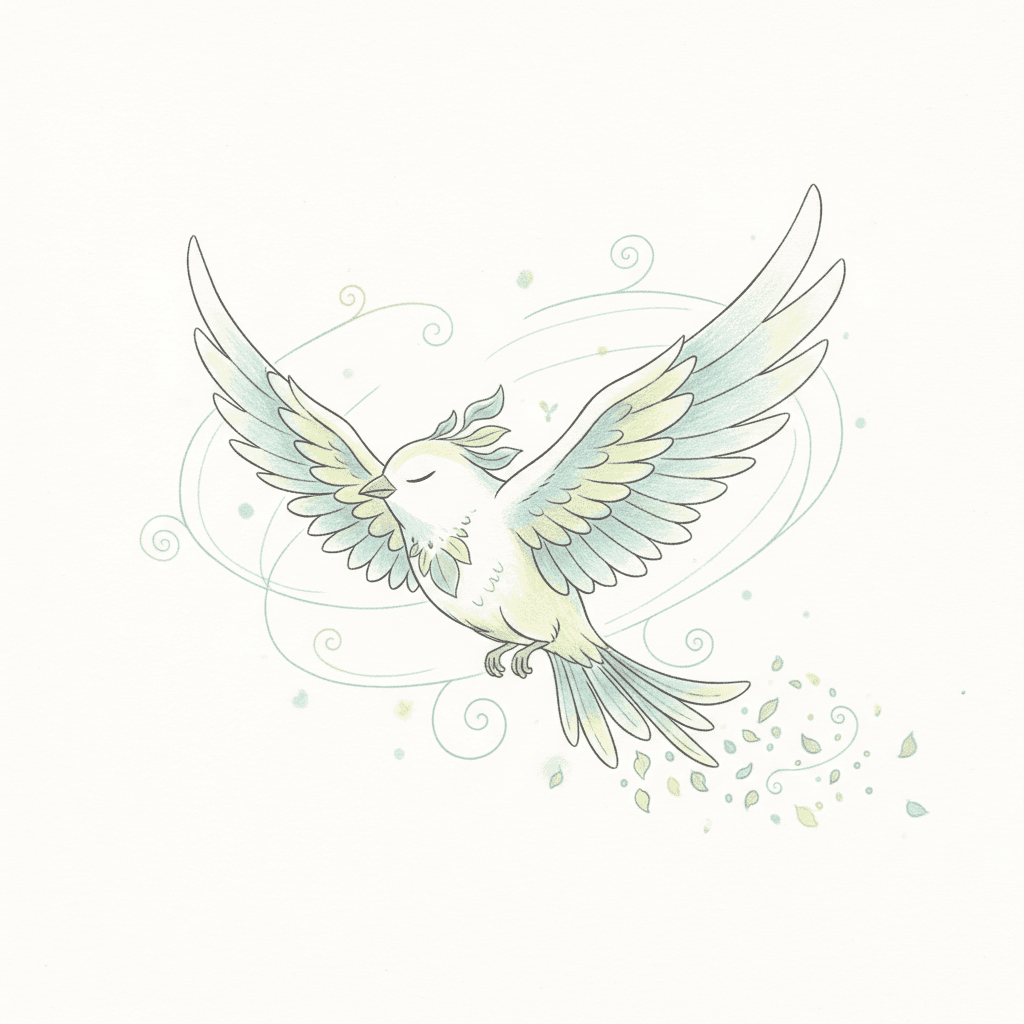
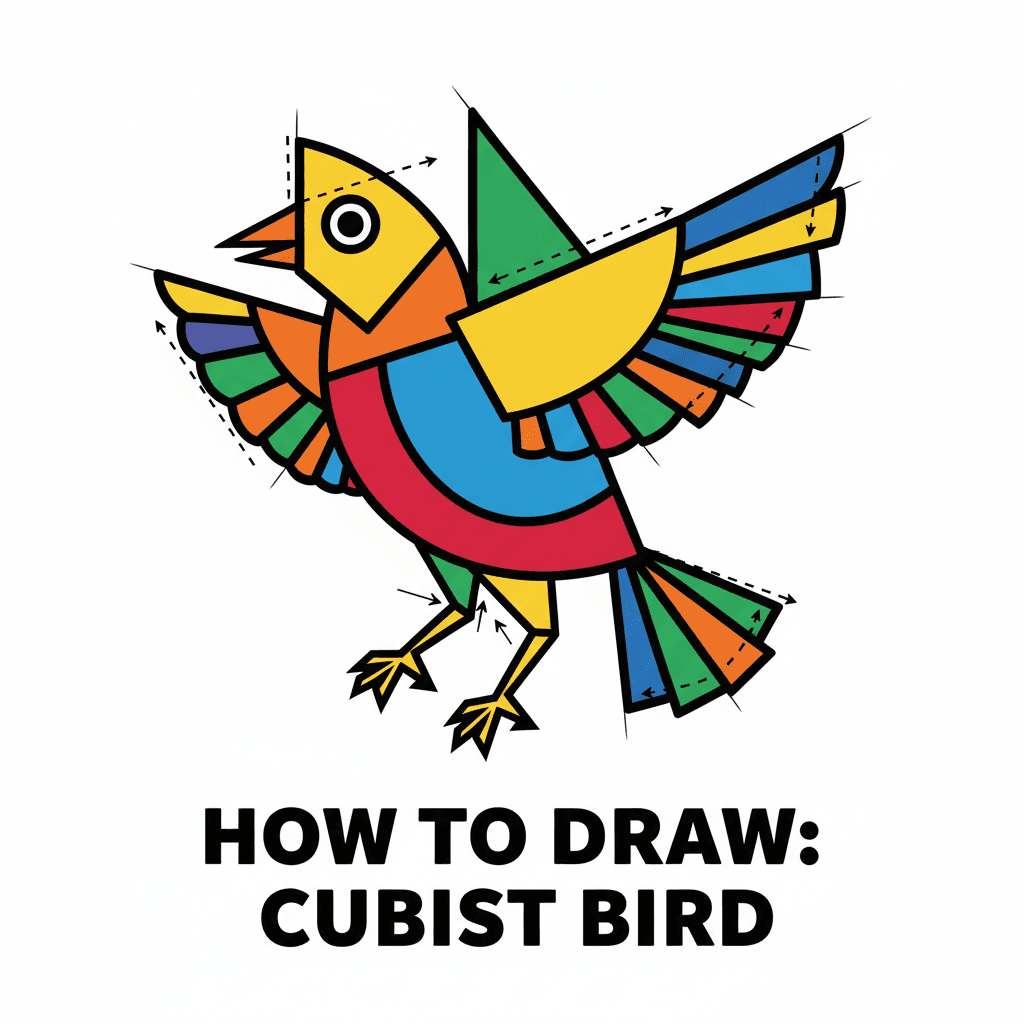
Step-by-step guide to draw a bird in flight
How to Draw a Bird Flying Step by Step for Kids
Step 1
Place your paper on a flat surface so it does not move.
Step 2
Lightly draw a small oval in the middle of the paper for the bird's body.
Step 3
Draw a small circle touching the front of the oval for the head.
Step 4
Draw a tiny triangle at the front of the head for the beak.
Step 5
Draw a long curved line upward from the top of the body for the wing's leading edge.
Step 6
Draw another curved line back toward the body to finish the top wing's outline.
Step 7
Sketch a smaller wing shape behind the body so it looks farther away.
Step 8
Draw a few short angled lines at the back of the body to make tail feathers.
Step 9
Erase any extra sketch lines you do not want to keep.
Step 10
Darken the main outlines of the head body wings and tail with firmer pencil strokes.
Step 11
Shade lightly under the belly and beneath the wings to show shadow and motion.
Step 12
Color your bird and the sky with crayons using smooth even strokes.
Step 13
Add small curved motion lines near the wing tips to show flying movement.
Step 14
Share your finished drawing on DIY.org
Help!?
What can we use instead of crayons or an eraser if we don't have them?
If you don't have crayons to "color your bird and the sky," use colored pencils, washable markers, or watercolors, and if you lack an eraser, redraw lightly or use a piece of removable tape to lift stray pencil marks.
My paper keeps moving and my wings look uneven—how can I fix that?
Tape the paper to the flat surface as the instructions say, sketch the small oval and circle with light pencil strokes as guides, adjust the long curved leading-edge line for the wing angle, then erase extra sketch lines before darkening the main outlines.
How can I change this activity for younger or older kids?
For younger children pre-draw the small oval body and circle head and have them add the tiny triangle beak and color with crayons, while older kids can refine wing curves, add smaller distant wing shapes and detailed tail feathers, and practice shading lightly under the belly before darkening outlines.
How can we make the drawing more creative or shareable?
Enhance your picture by adding a sky background, drawing multiple birds with smaller wing shapes for depth, experimenting with feather patterns and shading under the belly and motion lines near the wing tips, then photograph and share your finished drawing on DIY.org.
Watch videos on how to draw a bird in flight
Ready for Flying Bird Drawing Easy for Beginners & Kids | How to Draw Flying Bird with Pencil Sketch
4 Videos

Ready for Flying Bird Drawing Easy for Beginners & Kids | How to Draw Flying Bird with Pencil Sketch
How to Draw a Flying Bird Step by Step / Drawing a Bird / Easy Drawing Tutorials / Shorts
how to draw flying bird drawing easy step by step@DrawingTalent
Bird Drawing For Beginners | How to Draw a Flying Bird Easy | Dove Drawing
Facts about drawing birds and flight
🕊️ Albatrosses can glide for hours and travel thousands of miles without flapping their wings.
🪶 Feathers come in special shapes—primaries push air, secondaries create lift, and tails help steer.
⚖️ Wing shapes matter: long narrow wings are great for soaring, short rounded wings help quick turns.
👁️ Many birds see motion and colors better than humans, which helps them navigate while flying.
✏️ Artists use perspective and foreshortening to make wings look closer or farther away in a drawing.
How do you draw a bird flying step by step?
What materials do I need to draw a bird in flight?
What ages is this drawing activity suitable for?
What are the benefits of drawing a bird in flight?
