How to draw a bicycle - a free bicycle drawing guide
Draw a bicycle step-by-step using simple shapes and measurements; practice proportions, add wheels, frame, handlebars, seat, and color your design.

Drawing Apps
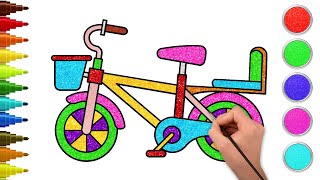
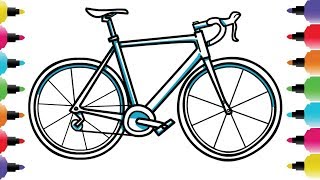
Photos of bicycle drawing examples


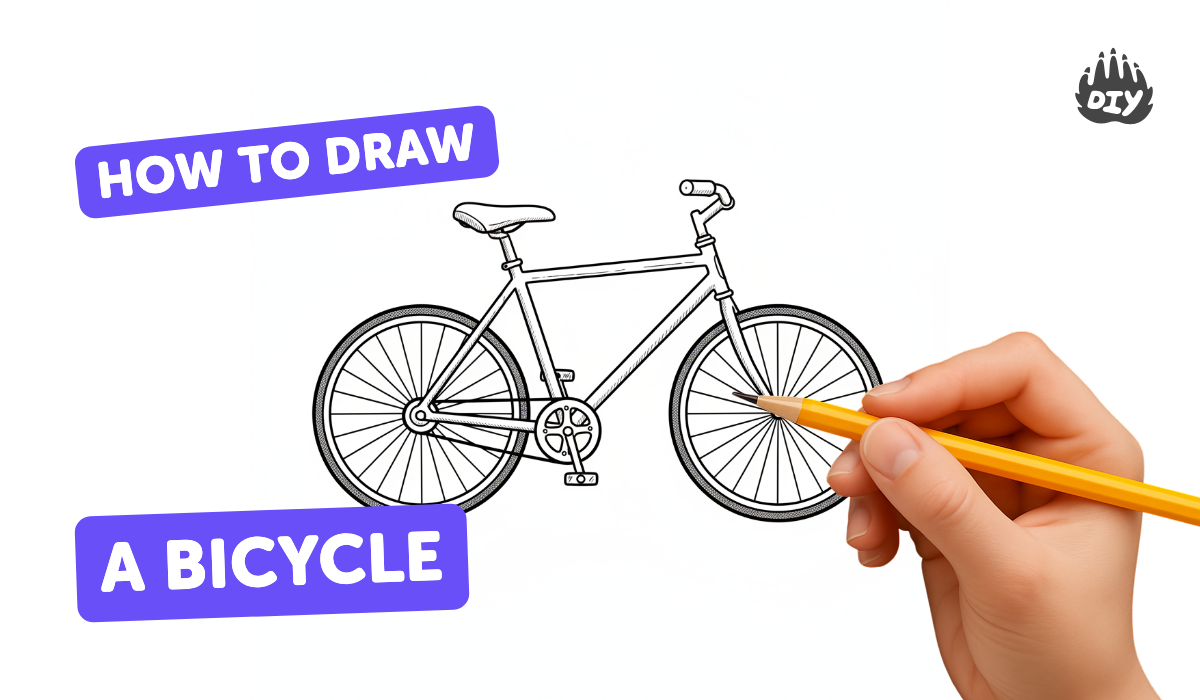
Step-by-step guide to draw a bicycle
How to draw a bike (bicycle) EASY step by step for kids, beginners 3
Step 1
Draw a straight horizontal ground line 14 cm long about 5 cm from the bottom of your paper.
Step 2
Measure and mark two dots 10 cm apart on the ground line to be the centers of the wheels.
Step 3
Use a cup or compass to draw two circles 6 cm in diameter around each dot to make the wheels.
Step 4
Draw a small circle 1 cm in diameter at the center of each wheel to make the hubs.
Step 5
Find the midpoint between the two hubs and mark a point 5 cm above it for the top of the seat tube.
Step 6
Draw a straight line from the rear hub up to the seat tube top to form the seat tube.
Step 7
Draw a straight line from the seat tube top down to the front hub to form the top tube of the frame.
Step 8
Draw a straight line connecting the rear hub to the front hub to make the chainstay or bottom tube of the frame.
Step 9
Draw a short vertical line 2 cm up from the seat tube top to create the seat post.
Step 10
Draw a small horizontal oval on top of the seat post to make the bicycle seat.
Step 11
Draw a short vertical line 2 cm up from the front hub to create the head tube.
Step 12
Draw a horizontal line 6 cm long centered on top of the head tube to make the handlebars.
Step 13
Draw small circles at both ends of the handlebar line to make the grips.
Step 14
Color your bicycle design using your colouring materials to decorate the wheels frame seat and handlebars.
Step 15
Take a photo of your finished bicycle design and share it on DIY.org.
Help!?
What can we use if we don't have a compass or a cup to draw the 6 cm wheels?
Use a 6 cm-wide jar lid, round cookie cutter, or trace any circular object about 6 cm across or tie a 3 cm string to a pencil to trace a 6 cm diameter as in the 'Use a cup or compass to draw two circles 6 cm in diameter' step.
My frame lines look crooked — how can I make the seat tube, top tube, and chainstay line up correctly?
Lightly mark the two 10 cm-apart wheel centers on the ground line, find and mark the midpoint and the 5 cm seat-tube top, then use a ruler to redraw straight lines from the rear hub to the seat-tube top, from the seat-tube top to the front hub, and along the chainstay to match the 'Draw a straight line...' steps.
How can I adapt the drawing for younger or older children?
For younger kids, use larger pre-cut 6 cm wheel templates or wheel stickers and have an adult lightly draw the ground line and hubs, while older kids can add detailed spokes, a chainring, precise 1 cm hubs, and perspective after finishing the frame and handlebars.
How can we enhance or personalize the finished bicycle before sharing the photo on DIY.org?
Decorate the frame and wheels with colored markers or patterned stickers, glue a paper basket to the handlebars, draw spokes from each 1 cm hub to the wheel rims, and try different seat-post heights before taking the photo to share on DIY.org.
Watch videos on how to draw a bicycle
✨ Learn to Draw and Color a Bicycle | Fun Art for Kids 🚴 | Chiki Art
3 Videos
✨ Learn to Draw and Color a Bicycle | Fun Art for Kids 🚴 | Chiki Art
How to draw a bicycle (bike). Easy drawing tutorial for kids

How to Draw Simple Bicycle Drawing Tutorial with Basic Lines | Easy Drawing for Kids & Beginners
Facts about drawing and proportions
🚲 The modern “safety bicycle” with two equal wheels and a chain drive became popular in the 1880s — the style most bikes still use today.
🛞 Many common bike wheels use 32 or 36 spokes — counting spokes is a fun detail to add when you draw wheels.
🎨 Most bicycle frames form one or more triangles for strength, which makes them easy to sketch using simple straight-line shapes.
📏 Artists measure proportions by holding a pencil at arm’s length to compare sizes — try this to match wheel size to frame length.
🌍 There are over one billion bicycles in the world — bikes outnumber cars in many countries!
How do I draw a bicycle step-by-step for kids?
What materials do I need to draw a bicycle with my child?
What ages is this bicycle drawing activity suitable for?
What are the benefits of teaching kids to draw bicycles?
