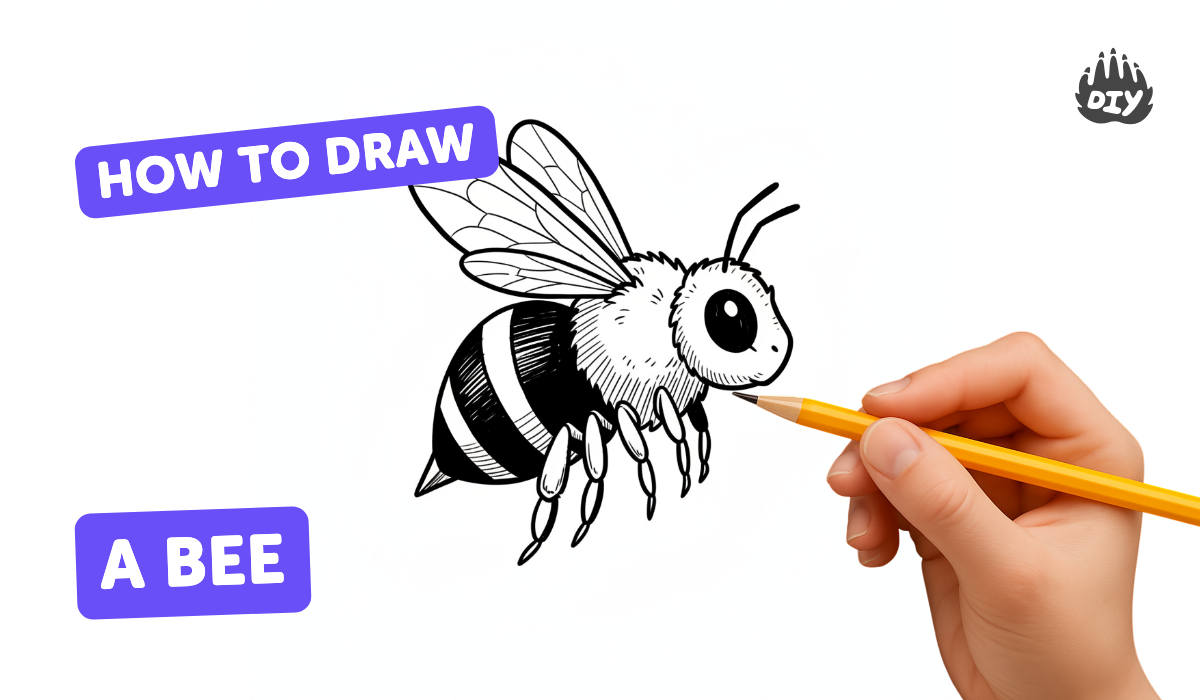
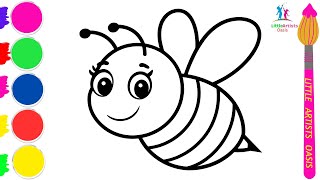
How to draw a bee - a free bee drawing guide
Follow simple step by step shapes to draw a friendly bee, add stripes, wings, antennae, and color while learning proportions and symmetry.

Drawing Apps
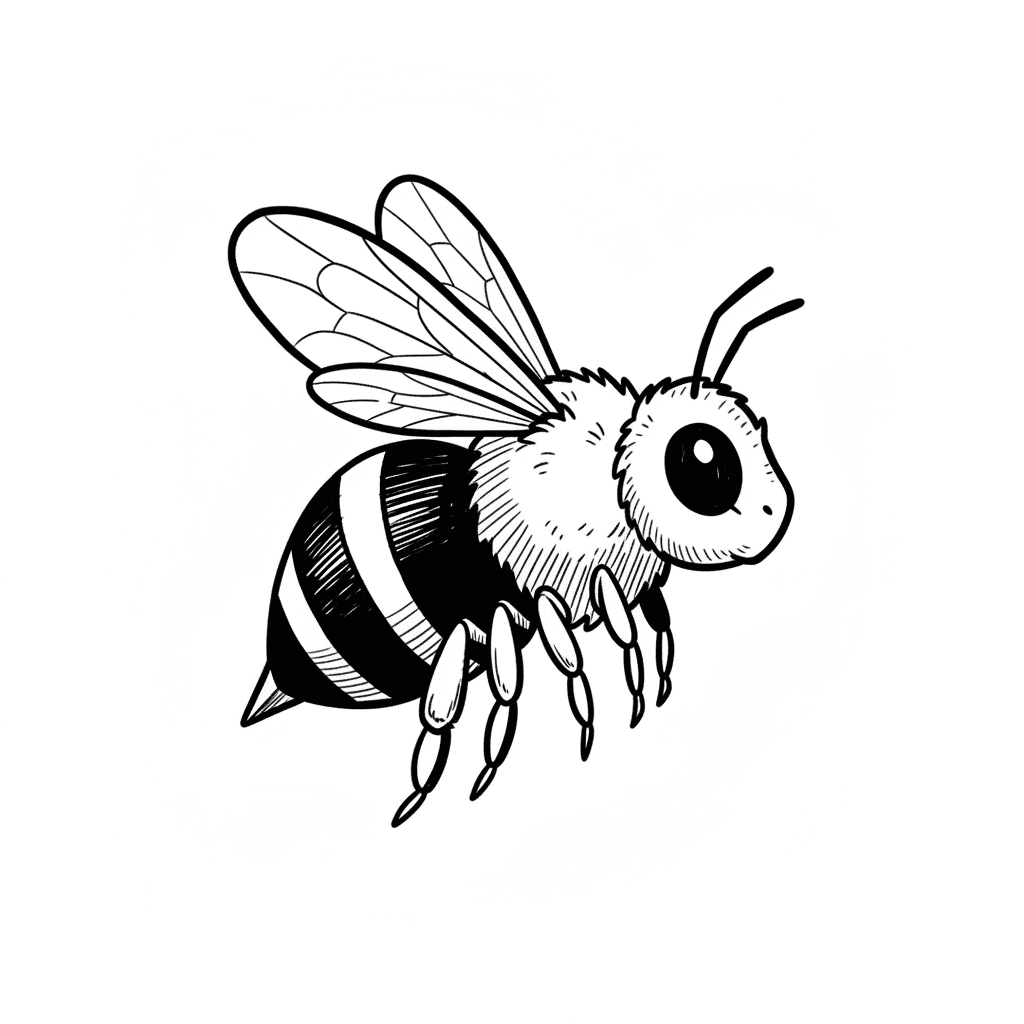
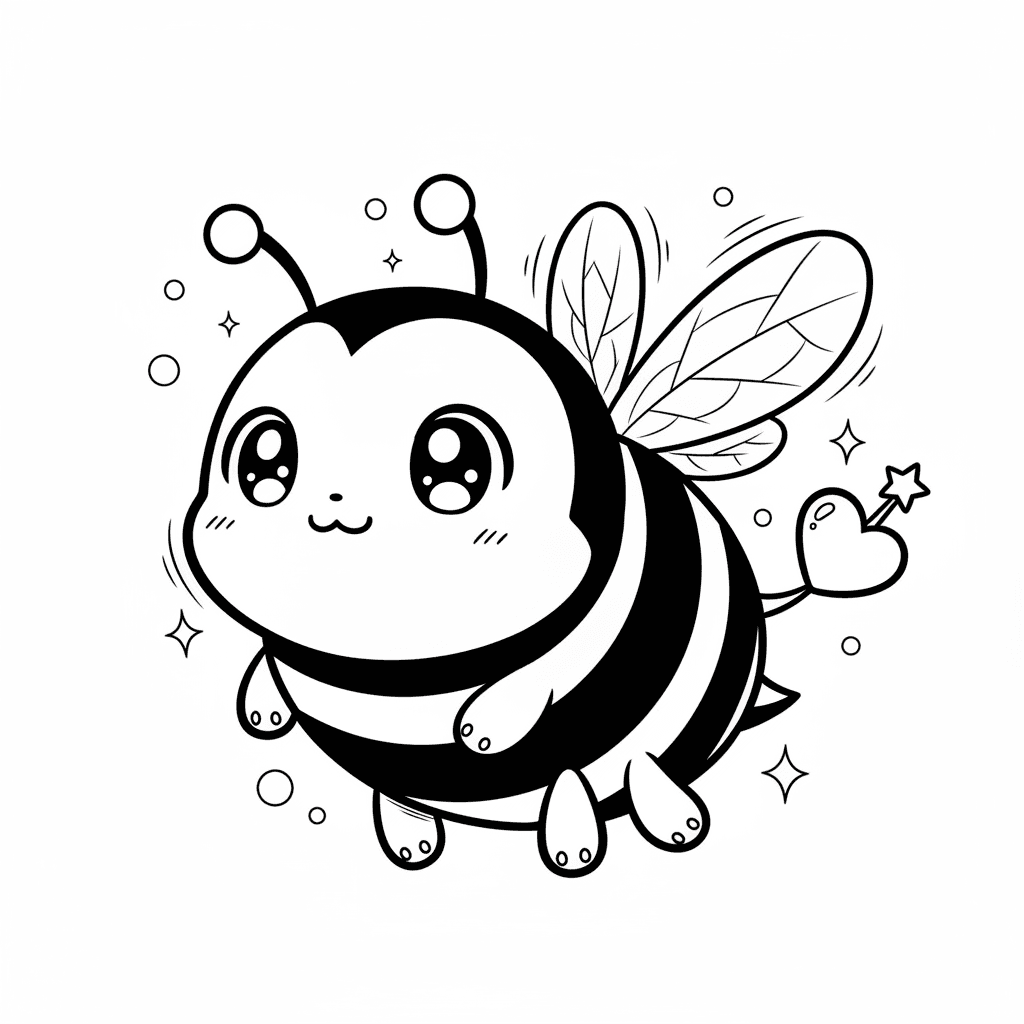
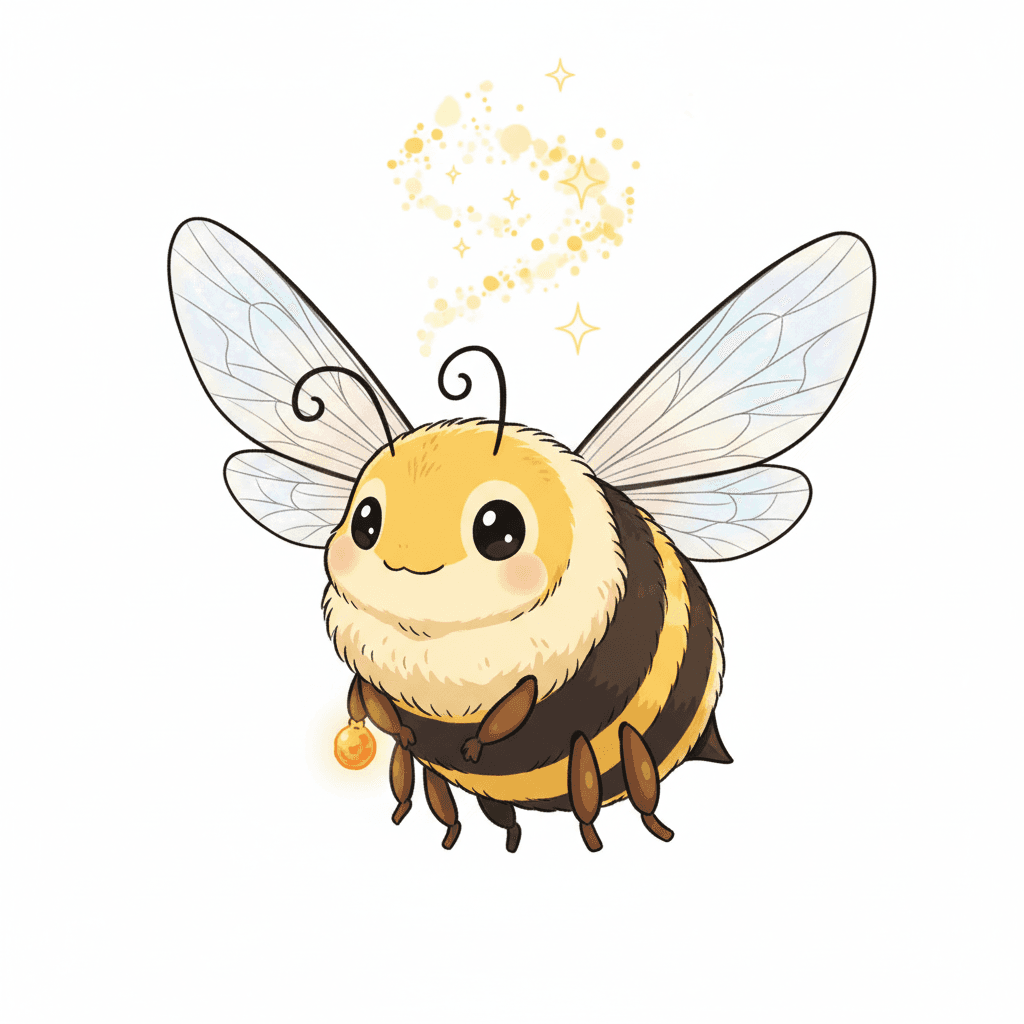
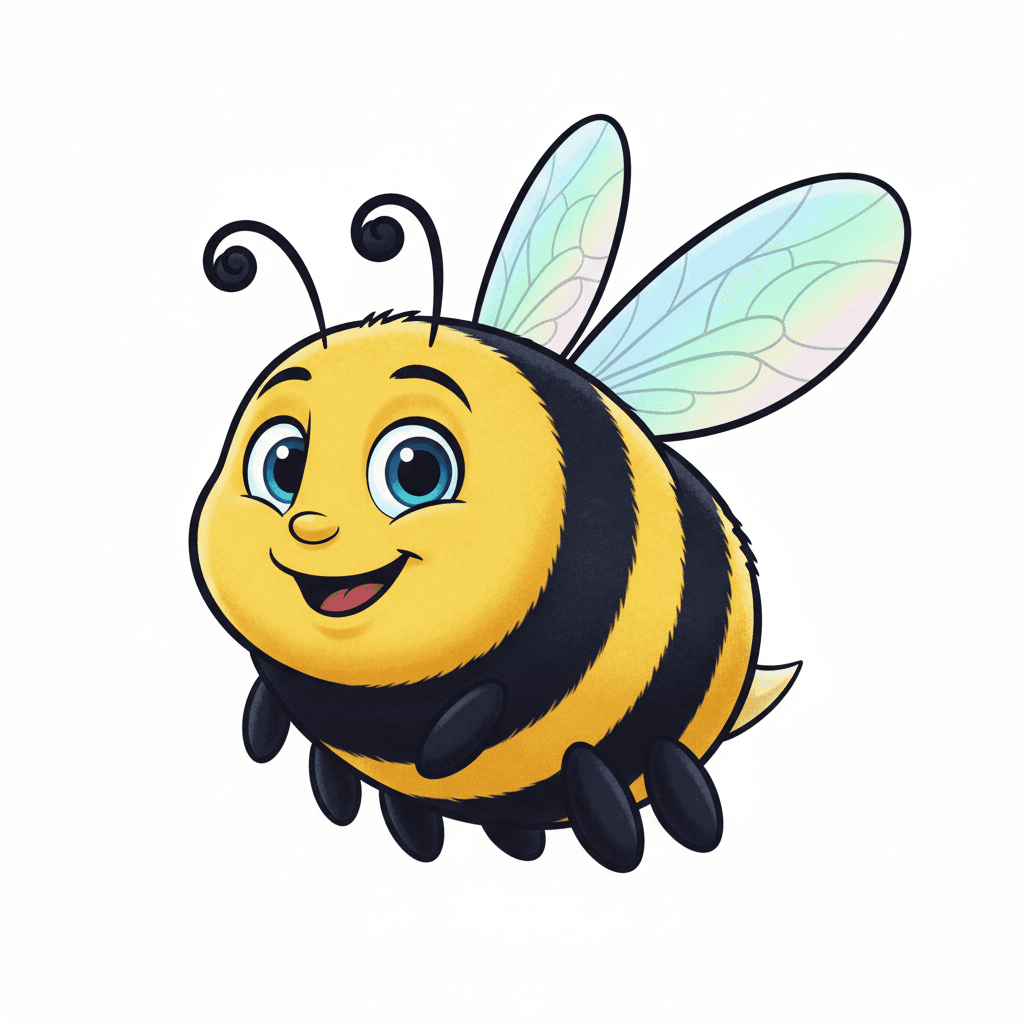
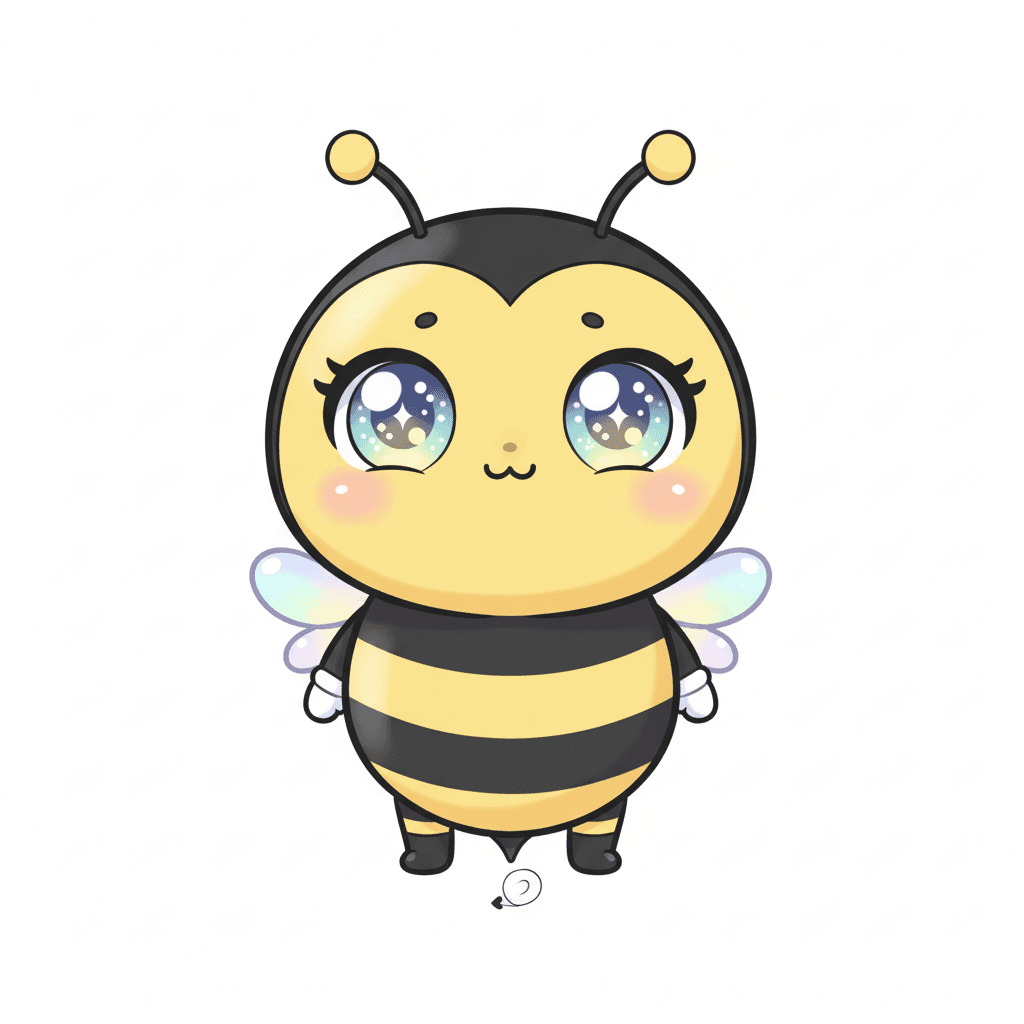
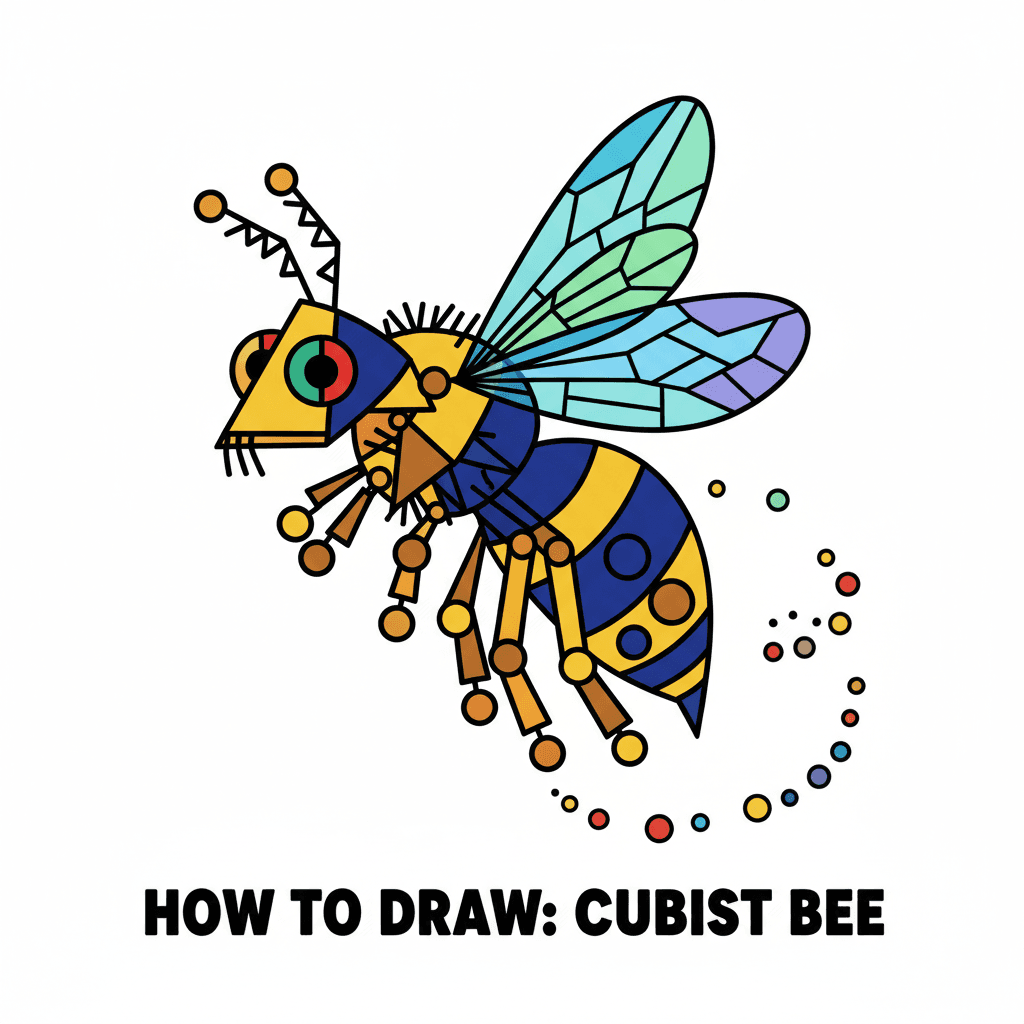
Photos of bee drawing examples
Step-by-step guide to draw a bee
How to draw a Bee 🐝Step by step Drawing for kids
Step 1
Draw a medium-sized horizontal oval in the center of the paper for the bee's body.
Step 2
Draw a small circle touching the left side of the oval for the bee's head.
Step 3
Lightly draw a short vertical guideline down the middle of the body to help make both sides even.
Step 4
Draw two teardrop-shaped wings above the body one on each side using the guideline to make them similar size.
Step 5
Draw two short curved antennae on top of the head with a tiny circle at the tip of each.
Step 6
Draw two round eyes inside the head and a small curved line for a smiling mouth.
Step 7
Draw three evenly spaced curved lines across the body from top to bottom to mark where the stripes will go.
Step 8
Trace the bee's main outlines and the stripe lines with the black marker or pen to make them bold.
Step 9
Erase any pencil guidelines and extra sketch marks gently with the eraser.
Step 10
Colour the bee: fill the stripe areas with yellow and black make the wings a light blue or pale grey and colour the head and face details.
Step 11
Share a photo of your finished friendly bee on DIY.org.
Help!?
If I don't have a black marker or light blue crayon, what can I use to trace and colour the bee?
Use a black colored pencil or crayon to trace the outlines and fill the black stripes, and substitute the light blue wings with pale grey pencil, a light blue watercolor wash, or leave them white and shade lightly with a cotton swab.
My wings or stripes look uneven—how can I fix them while I'm drawing?
Use the short vertical guideline and lightly measure or mark equal distances from the guideline to the wing tips and stripe lines on both sides before tracing with the black marker so the wings and three curved stripes stay symmetrical.
How can I adapt this bee drawing for a toddler or for an older child?
For toddlers, pre-draw the medium oval, head, and wing shapes for them to colour and add the antennae and eyes with stickers or a thick marker, while older kids can add detailed shading, textured stripes, realistic wing veins with a fine pen, and a full background scene.
What are some ways to extend or personalise the activity after colouring the bee?
Personalize the finished bee by gluing on googly eyes, adding glitter or a pale blue sheen to the wings with clear glue, cutting it out to mount on cardboard as a magnet, or creating a short story about your bee and sharing the photo on DIY.org.
Watch videos on how to draw a bee
How to Draw a Simple and Adorable Bee Step by Step #cutedrawing
4 Videos
How to Draw a Simple and Adorable Bee Step by Step #cutedrawing
Learn To Draw a BEAUTIFUL Bee with Step by Step | Easy Bee Drawing Guide for Beginners #beedrawing
How To Draw A Bee In A Tulip
How To Draw A Honey Bee Step By Step🐝 #shorts #howtodraw #forkids #honeybee #chikidoodle
Facts about drawing fundamentals for kids
🐝 Honey bees have five eyes — two large compound eyes and three tiny simple eyes called ocelli.
🌼 Bees help pollinate about one-third of the crops we eat, so they're tiny gardeners of our food.
🎨 Bee stripes act as a warning to predators (aposematism), so bold black-and-yellow looks true-to-life.
🔁 Bees are bilaterally symmetrical, so drawing one side and mirroring it helps keep proportions right.
💨 A honey bee's wings beat roughly 200 times per second, which makes their buzz super-fast.
How do I teach my child to draw a friendly bee step by step?
What materials do I need to draw a friendly bee with my child?
What ages is drawing a step-by-step bee suitable for?
What are the benefits of having my child draw a bee this way?
