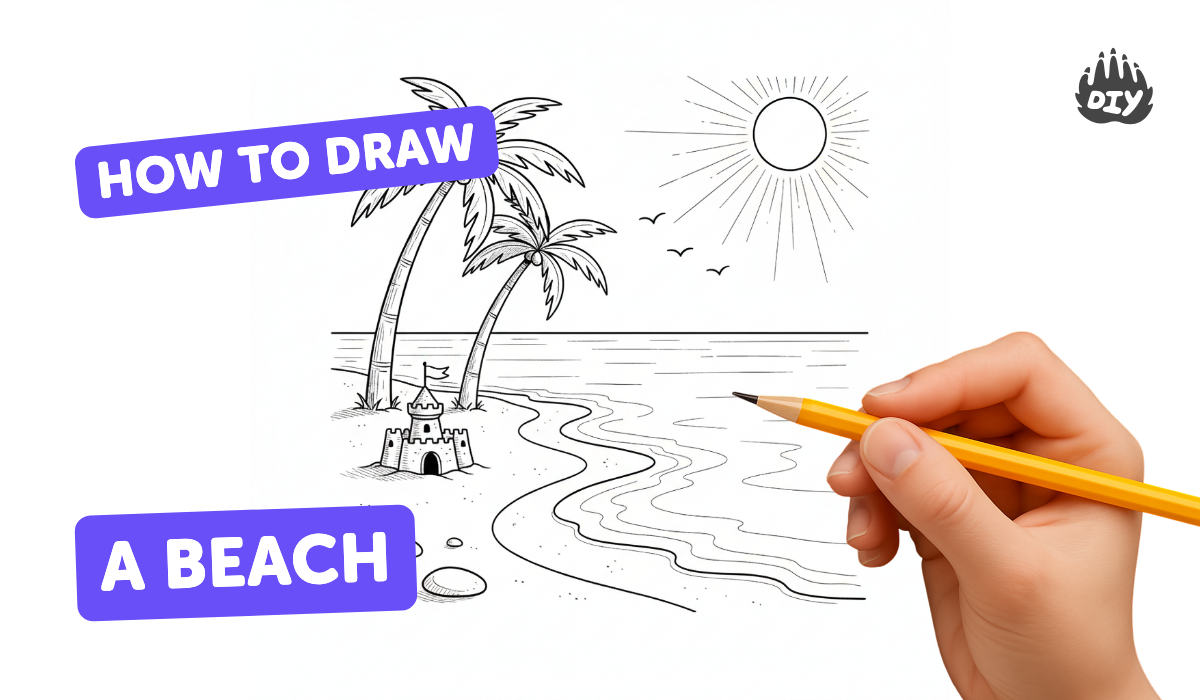
How to draw a beach - a free beach drawing guide
Draw a colourful beach scene with sand, waves, palm trees, sun, and shells; practice observation, perspective, and color blending using pencils or markers.

Drawing Apps
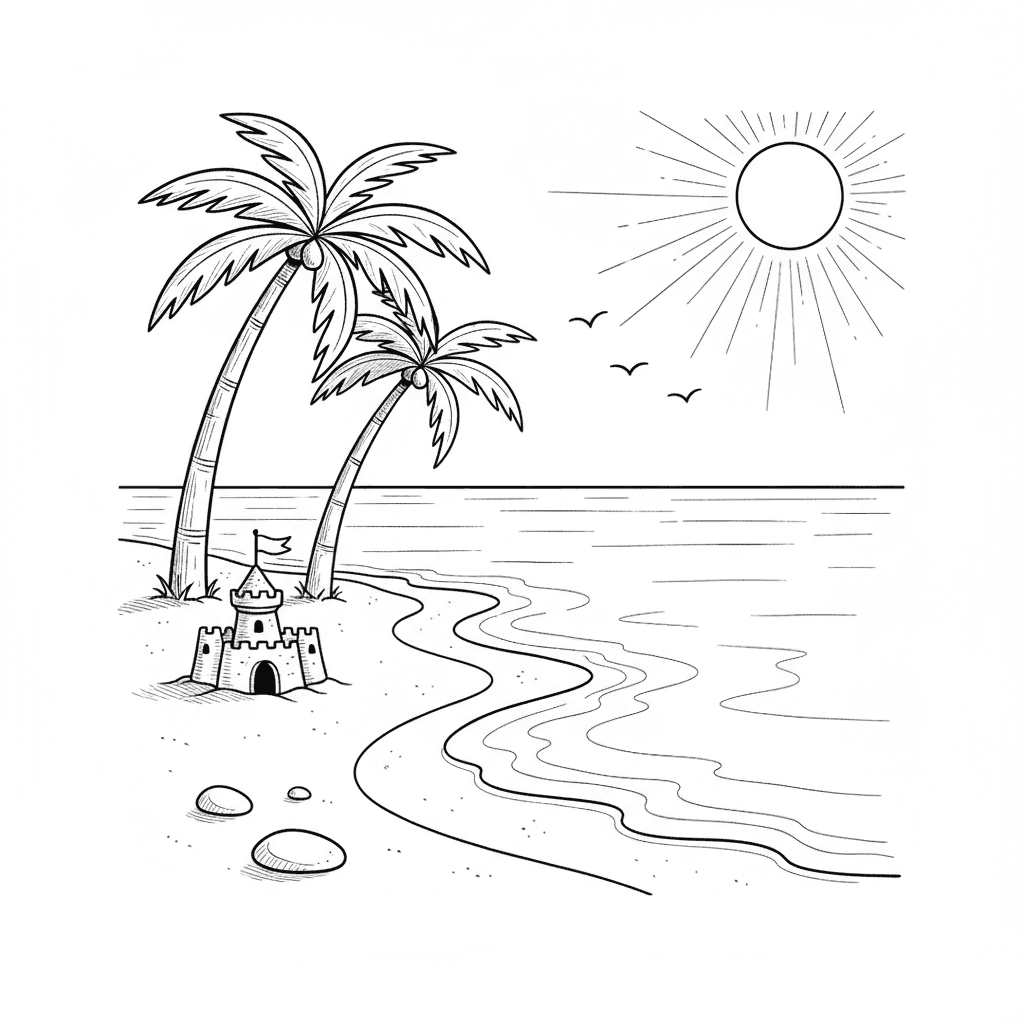
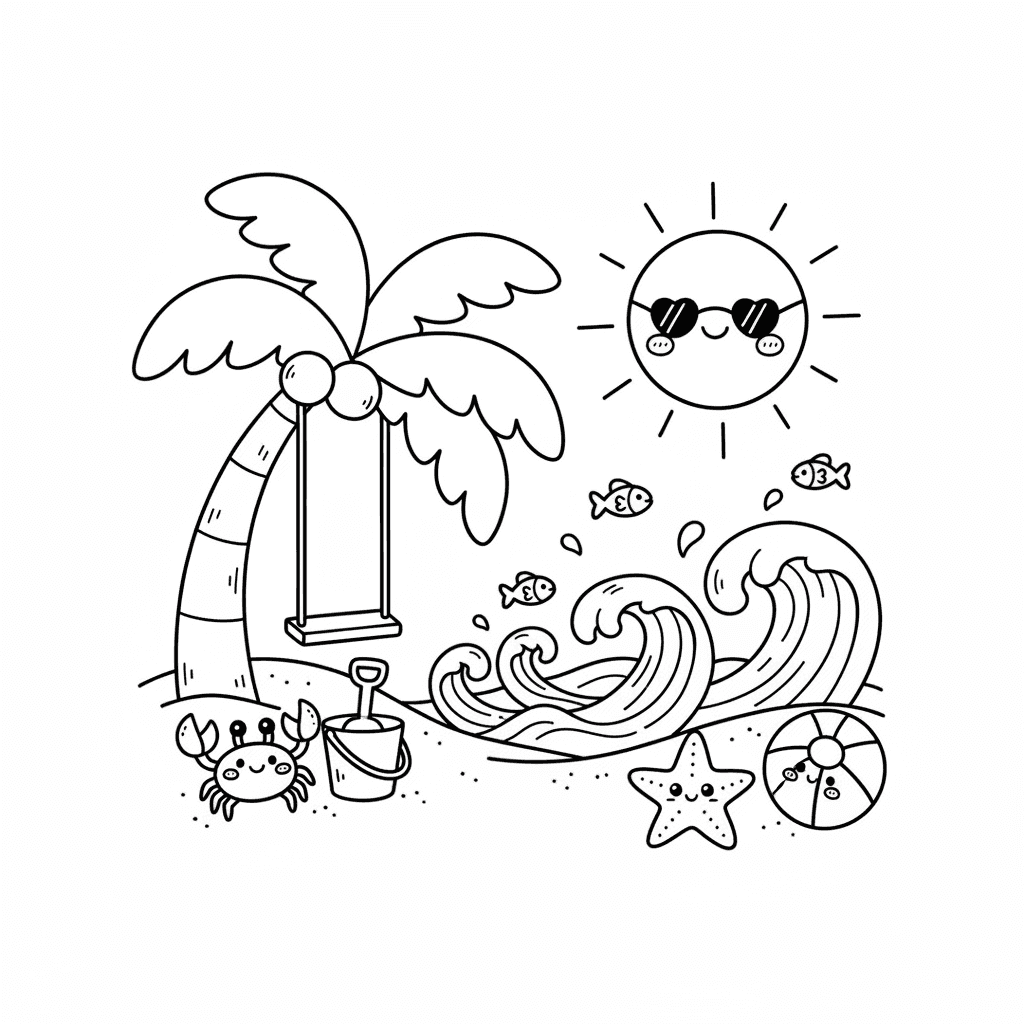
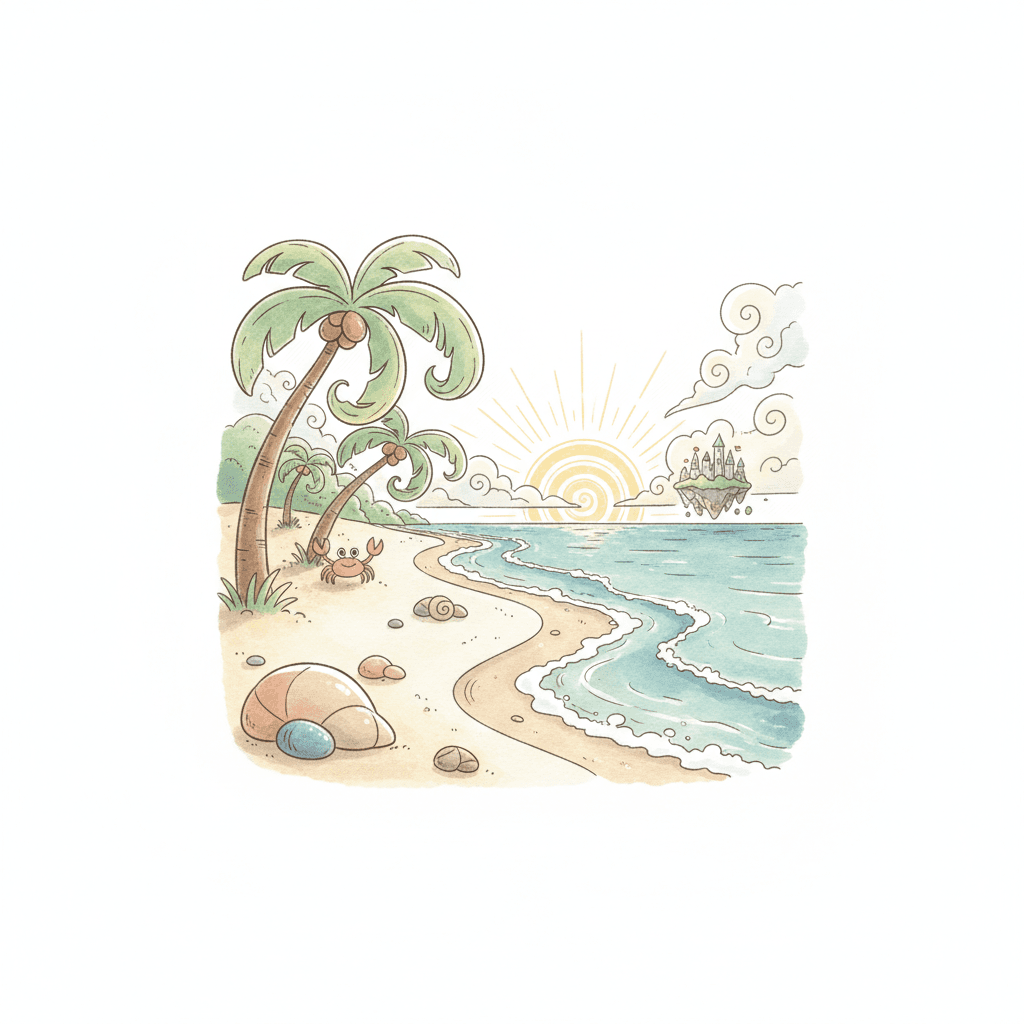
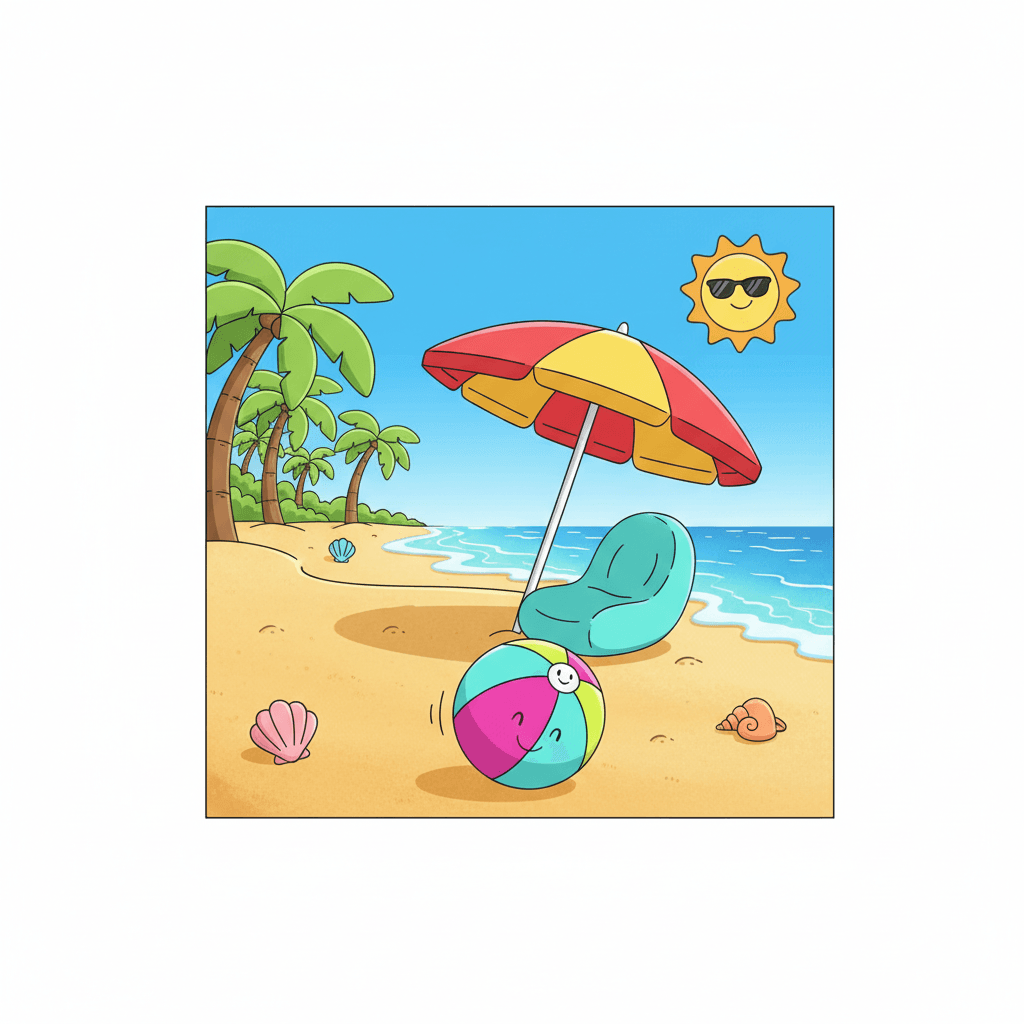
Photos of colourful beach scene examples
Step-by-step guide to draw a colourful beach scene
How To Draw A Beach Landscape
Step 1
Gather your paper pencil eraser sharpener and colouring materials and find a photo or window to look at for ideas.
Step 2
Lightly draw a horizontal horizon line about one-third from the top of the paper.
Step 3
Sketch a curvy shoreline near the bottom of the page where the sand will meet the water.
Step 4
Draw the waves by making a few curving parallel lines across the water and add foam lines on the wave tops.
Step 5
Draw one or two palm tree trunks starting in the sand and leaning slightly so they look natural.
Step 6
Add palm fronds by drawing long curved leaf shapes at the top of each trunk.
Step 7
Draw a sun in the sky as a circle and add short rays if you like.
Step 8
Draw shells and little beach details like a towel umbrella or footprints on the sand.
Step 9
Trace over the lines you want to keep with a firmer pencil or a darker marker to make your main shapes stand out.
Step 10
Gently erase extra sketch marks so only the clean outlines remain.
Step 11
Color the sand with a light base color using even strokes across the sandy area.
Step 12
Add a darker tone near the shoreline to create shadow and gently blend it into the base sand color.
Step 13
Color the sky waves palm trees and shells using lighter colors first then add darker shades to blend for depth.
Step 14
Share your finished colorful beach scene on DIY.org
Help!?
What can we use if we don't have colouring pencils, markers, or a photo reference?
Use crayons, watercolors, colored paper collage, or a printed image from a phone or magazine as substitutes so you can still follow the steps of making a light sand base, adding a darker tone near the shoreline, and using a photo or window for ideas.
My palm fronds and waves look messy—how can I fix them?
Keep your initial sketch lines very light with a well-sharpened pencil, gently erase extra sketch marks, then retrace the clean horizon, shoreline, waves, and fronds with a firmer pencil or darker marker before coloring.
How can I adapt this beach drawing activity for different ages?
For toddlers simplify to big shapes and finger-paint the sand, for younger children follow the full sequence (horizon, shoreline, waves, palm trees, shells) with crayons, and for older kids add shading near the shoreline, detailed frond textures, and more precise blending of light and dark colors.
How can we make the finished beach picture more personal or advanced?
Extend the activity by adding family characters, footprints, a towel or umbrella, or mixed media like glue and real sand on the colored sand, create a sunset gradient in the sky, then trace and erase neatly as instructed before sharing on DIY.org.
Watch videos on how to draw a colourful beach scene
Easy Beach Scenery Drawing 🏖️ | Step-by-Step for Kids & Beginners |
4 Videos

Easy Beach Scenery Drawing 🏖️ | Step-by-Step for Kids & Beginners |
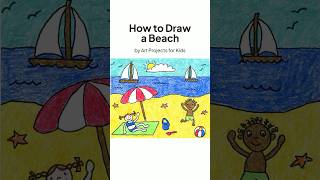
How To Draw a Beach - Easy drawing, painting and coloring for kids
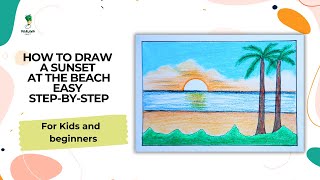
How to Draw a Sunset at the Beach | Easy Step-by-Step for Kids and Beginners
How to Draw the Beach
Facts about drawing and colour blending
🏖️ Beaches are made of tiny pieces of rock, coral, and shells — that's what sand is made of!
🌴 Palm trees grow new leaves from the top and don’t have branches like many other trees.
🐚 Seashells are the hard homes of animals like clams and snails, and each species makes its own pattern.
🎨 Layering light strokes with pencils or markers helps your eye blend colors into soft gradients.
🧭 Artists use horizon lines and vanishing points in perspective to make near objects look bigger and far ones look smaller.
How do I guide my child step-by-step to draw a colourful beach scene with sand, waves, palm trees, sun, and shells?
What materials do I need to draw a colourful beach scene with my child?
What ages is this beach drawing activity suitable for?
What are the benefits of drawing a beach scene, and are there simple variations to try?
