How to draw a ball - a free ball drawing guide
Learn to draw a realistic shaded ball by sketching a circle, adding a light source, soft shading, and highlights to create a three dimensional form.

Drawing Apps
Photos of realistic shaded ball drawings


Step-by-step guide to draw a realistic shaded ball
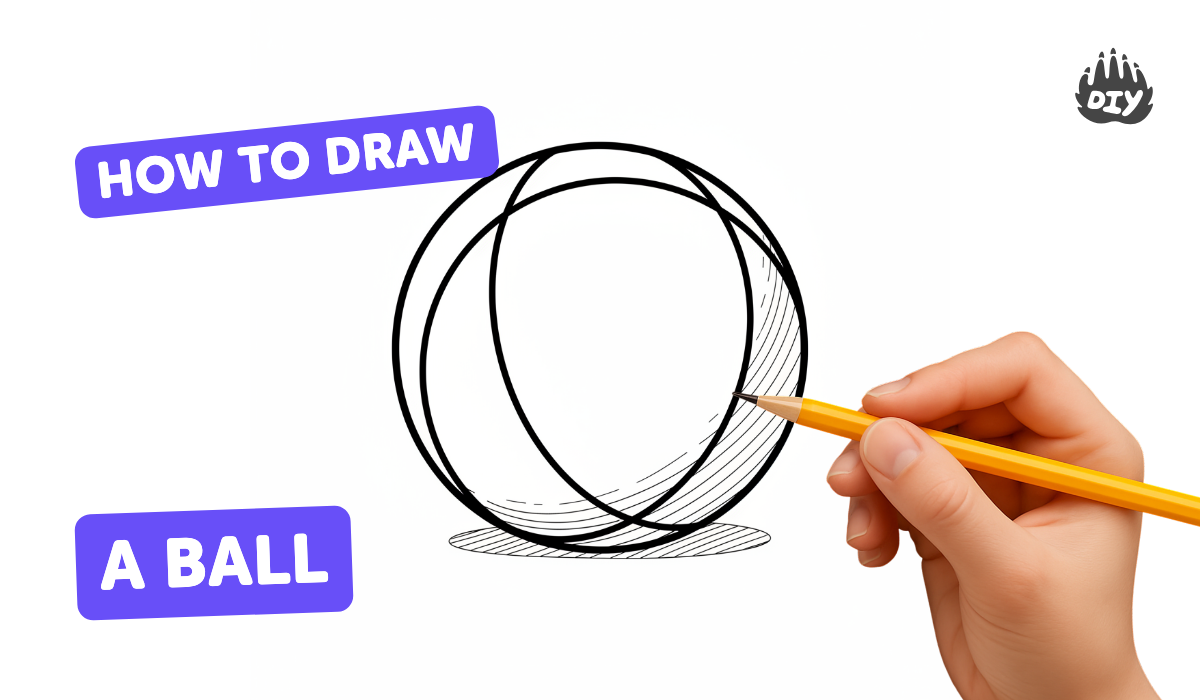
How to Draw a Ball Step by Step 🏀 | Easy Drawing for Beginners
Step 1
Gather your materials and find a flat place to draw.
Step 2
Lightly draw a neat circle near the center of your paper using your pencil.
Step 3
Draw a small sun or arrow outside the circle to show where the light is coming from.
Step 4
Sketch a small oval on the side opposite the light to mark the cast shadow on the ground.
Step 5
Shade the entire circle with light even pencil strokes using the side of the pencil lead.
Step 6
Make darker pencil strokes on the side opposite the light to form the ball’s core shadow.
Step 7
Gently blend the shaded area on the ball with a tissue or cotton swab using small circular motions.
Step 8
Add more pencil strokes to the darkest part of the shadow to deepen the tone where the ball curves away from the light.
Step 9
Use the eraser to lift a small bright spot on the light-facing side to make a highlight.
Step 10
Lightly erase a thin crescent near the dark edge of the ball to create a subtle reflected light.
Step 11
Soften the circle’s edge on the light side by very gently smudging that outer rim with the tissue.
Step 12
Shade the oval cast shadow on the paper with pencil strokes so it is darkest closest to the ball.
Step 13
Blend the cast shadow with the tissue so it fades outward from the ball.
Step 14
Sign your name on the corner of your drawing to show it’s yours.
Step 15
Share a photo or scan of your finished shaded ball on DIY.org.
Help!?
What can we use instead of a tissue, cotton swab, or a special eraser if we don't have them?
Use a clean fingertip or folded soft cloth to blend the shaded area instead of a tissue or cotton swab, and substitute a kneaded or vinyl eraser to lift the highlight during the eraser step.
My shading looks blotchy or the circle isn't smooth—how do I fix that?
Go back to light even pencil strokes using the side of the pencil lead as the instructions say, then gently blend with small circular motions using your tissue or fingertip and retrace the circle by lightly refining its edge before softening the rim on the light side.
How can I change the activity for younger children or make it more challenging for older kids?
For younger children, pre-draw a neat circle (use a cup or lid) and let them use crayons and finger blending for the basic highlight and shadow, while older kids can use multiple graphite grades to deepen the core shadow, add reflected light and refine the cast shadow as described.
What are some ways to extend or personalize the finished ball drawing?
After completing the shading and eraser highlight, personalize the ball with patterns or colored pencils, draw several balls with different light directions to practice cast shadows, and photograph the finished piece to share on DIY.org.
Watch videos on how to draw a realistic shaded ball
How to Draw Ball || Step by Step For Beginners and Toddlers ||
4 Videos

How to Draw Ball || Step by Step For Beginners and Toddlers ||
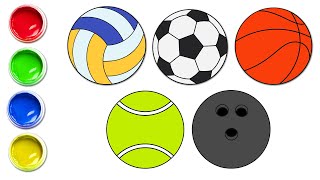
How To Draw A Ball ⚽️ | Sports Ball Drawing For Kids | Step By Step | Chiki Doodle
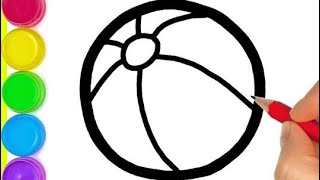
How to Draw a Ball Step by Step | Easy and Trending Ball Drawing for Beginners
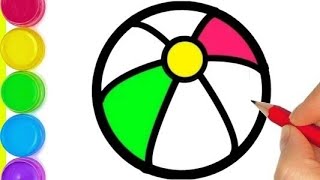
How to Draw Ball || Step by Step For Beginners and Toddlers || ball ka Drawing kaise banate hain ||
Facts about drawing and shading
🎨 Chiaroscuro is an art technique that uses strong contrasts of light and dark to make flat images look three-dimensional.
🔆 The bright shiny spot you see on a ball is a specular highlight — it points right to the light source.
🌗 The soft boundary between light and dark on a sphere is called the terminator and it makes roundness obvious.
✏️ Pencil grades matter: H pencils make lighter strokes, B pencils make darker tones — mix them for smooth shading.
🧠 Our brains rely on shading and cast shadows to read shape and depth, so good shading can turn a circle into a believable ball.
How do I teach my child to draw a realistic shaded ball?
What materials do I need to draw a shaded ball with my child?
What ages is learning to draw a shaded ball suitable for?
What are the benefits of practicing shaded balls for kids?
