Gacha Hour: Tips and Tricks w/ DIY Star JuliaClouds123
Create a star-themed Gacha character and a DIY paper star prop while learning simple posing, editing, and storytelling tips to make fun scenes.


Step-by-step guide to Gacha Hour: Tips and Tricks w/ DIY Star JuliaClouds123
Step 1
Gather all the materials from the list and clear a flat workspace.
Step 2
Choose two or three main colors for your star theme and say them out loud.
Step 3
Open your Gacha app on your device.
Step 4
Start a new character in the app.
Step 5
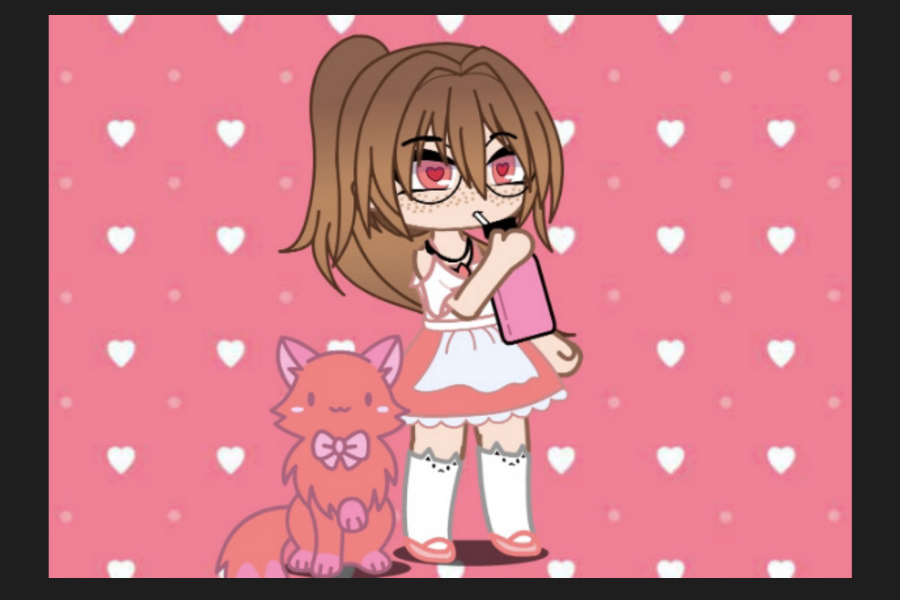
Customize the character's outfit hair and accessories to match your chosen star colors.
Step 6
Pick two poses for your character: one action pose and one close-up face pose.
Step 7
Save screenshots of both poses to your device.
Step 8
Draw a star shape on the paper using your pencil and ruler.
Step 9
Cut out the star shape carefully with scissors.
Step 10
Decorate the paper star with your colouring materials and stickers to match the character.
Step 11
Glue a thin strip of paper to the back of the star to make a handle.
Step 12
Hold the star prop next to your device screen showing a pose and take a photo of the scene.
Step 13
Open a simple photo editor and crop or brighten the photo so the scene looks clear and sparkly.
Step 14
Add a one-sentence caption that tells a tiny story about your star character.
Step 15
Share your finished creation on DIY.org
Help!?
What can we use if we don't have the Gacha app or stickers listed in the materials?
If you don't have the Gacha app, use any character-creation app or printable character images and if you lack stickers, cut shapes from coloured paper or use washi tape to decorate the paper star.
My screenshots or the photo with the star prop look blurry or have glare—how do I fix that?
For blurry screenshots or glare when holding the paper star next to your device, clean the screen, keep the camera steady, move to bright even lighting, then use the photo editor step to crop and brighten the image.
How can I adapt this activity for very young children or older kids?
For younger kids, pre-draw and pre-cut the star and help with the Gacha app and photo steps, while older kids can choose extra poses, add complex decorations like layered paper or LED stickers, and write a longer caption before sharing on DIY.org.
How can we enhance or personalize the finished star project?
To personalize or extend the project, decorate the cut-out star with glitter or LED stickers, glue a clear sleeve or small pocket to the back (instead of the thin paper handle) to hold extra character cutouts, or make several decorated stars and string them into a mobile before photographing and sharing.
Watch videos on how to Gacha Hour: Tips and Tricks w/ DIY Star JuliaClouds123
✨gacha life 2 tips & tricks✨
3 Videos
✨gacha life 2 tips & tricks✨
🔴 Gacha Life Editing Part 5 - Learn the Best Editing Tricks for Gacha Life
How To Animate In Alight Motion 💫 | Beginner Friendly Gacha Tutorial | COMPLETE GUIDE!
Facts about character design and paper crafts for kids
🌟 Gacha Life and Gacha Club let players mix hairstyles, outfits, and expressions to create thousands of unique characters.
✨ Star props really pop in photos if you add a tiny white highlight or a dab of glitter to catch the light.
✂️ Simple paper stars can be folded from strips of paper — people make jars full of them as colorful decorations!
📸 Posing tip: a slight head tilt and shifting weight to one leg makes characters look more natural and lively.
🎭 Quick storytelling trick: use three beats — setup, surprise, reaction — to make short scenes feel complete.
How do I create a star-themed Gacha character and paper star prop during Gacha Hour?
What materials do I need for Gacha Hour: DIY star Gacha character and paper star prop?
What ages is Gacha Hour: Tips and Tricks with DIY Star JuliaClouds123 suitable for?
What are the benefits of doing Gacha Hour and making star-themed scenes?
