Fashion Illustrate Sleeves
Draw and design three different sleeve styles on paper, learning proportions, folds, and shading while practicing neat lines using pencils and colored markers.


Step-by-step guide to Fashion Illustrate Sleeves
How To Draw Sleeves ♥ Fashion Sketch Tutorial | How To Draw Clothes
Step 1
Gather your materials on a flat table so everything is ready to draw.
Step 2
Pick three sleeve styles you want to design such as puff sleeve cuffed sleeve and bell sleeve.
Step 3
Lightly draw a simple arm or torso template on your paper to use for all three sleeves.
Step 4
Use the ruler to mark shoulder seam and sleeve length proportions on your template for accuracy.
Step 5
Sketch the basic sleeve shape for the first style using light pencil lines inside your marks.
Step 6
Repeat the same light sketch for the second sleeve style and then the third on the same sheet.
Step 7
Add fold lines and small creases where the fabric would bend on each sleeve to show movement.
Step 8
Firm up the final neat outlines by tracing over the best pencil lines with a steady hand.
Step 9
Shade the folds and curved areas with your pencil using light strokes to create depth.
Step 10
Use colored markers to add color and neat finishing strokes to each sleeve design.
Step 11
Take a photo of your finished sleeve illustrations and share your creation on DIY.org
Help!?
What can we use instead of a ruler or colored markers if we can't find them?
Use the straight edge of a cereal box, hardcover book, or the edge of a clipboard to mark shoulder seam and sleeve length, and substitute colored pencils or crayons for the colored markers when adding final color.
My sleeve outlines get wobbly when I trace and the fold shading looks flat—what should I do?
Rest your drawing hand on the table and retrace the best pencil lines with light, steady strokes as instructed under 'Firm up the final neat outlines,' erase stray pencil marks before shading, and use light layered pencil strokes to build depth in the fold lines.
How can we change the activity to suit younger or older kids?
For younger children, provide a simple pre-drawn arm or torso template and let them color one sleeve, while older kids should use the ruler to mark shoulder seam and sleeve length, sketch three distinct sleeves with detailed fold lines, and practice shading and marker finishing.
How can we enhance or personalize our sleeve designs after finishing them?
Glue small fabric swatches beside each sleeve for texture, experiment with blending or patterns when you use the colored markers, label each style, then take a photo of your finished sleeve illustrations to share on DIY.org as a themed series.
Watch videos on how to Fashion Illustrate Sleeves
5 Sleeve Styles ✨ Easy Fashion Illustration Tutorial
4 Videos
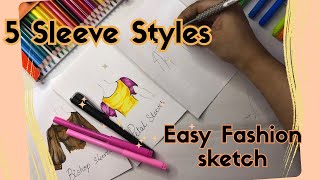
5 Sleeve Styles ✨ Easy Fashion Illustration Tutorial

Easy & Simple dress Drawing For Beginners | Fashion Sketching | How to draw Clothes Step by Step
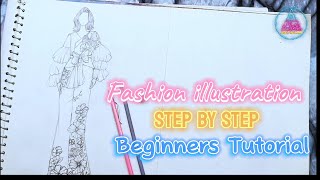
Fashion illustration | step by step beginners Tutorial | fashion drawing | fashion sketch | art
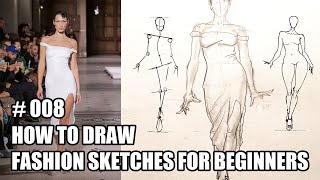
How to draw fashion sketches for beginners. Illustration tutorial. Model drawing design
Facts about fashion illustration for kids
✏️ Fashion illustrators often begin with quick pencil gesture sketches — some pros can capture a pose in under a minute!
🎨 Combining markers for flat color and pencils for texture makes sleeve folds and shading pop on paper.
🧵 There are dozens of named sleeve styles worldwide — examples include bishop, raglan, kimono, and puff sleeves.
👗 Fashion croquis use proportion rules (usually 8–10 heads tall) so sleeve length and placement look balanced on the figure.
✂️ The way fabric folds depends on stiffness: soft fabrics make many small, flowing folds while stiff fabrics create larger, angular creases.
How do I teach my child to draw and design three different sleeve styles step by step?
What materials are needed to do the Fashion Illustrate Sleeves activity?
What ages is the Fashion Illustrate Sleeves activity suitable for?
What are the benefits of the Fashion Illustrate Sleeves activity and are there safe variations?
