Drawing Hour w/ DIY Star StrawBerryWitch470
Create a DIY star straw craft and then draw a cute Strawberry Witch character during a guided drawing hour, practicing shapes, colors, and imagination.


Drawing Apps
Step-by-step guide to create a DIY star straw craft and draw a Strawberry Witch
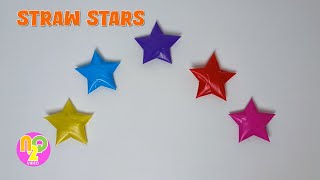
Paper Straw Stars ⭐️ 🎄⭐️
Step 1
Gather all your materials and find a flat workspace.
Step 2
Draw a star about 4 cm wide on the paper using your pencil.
Step 3
Cut out the star shape carefully with scissors.
Step 4
Colour and decorate the star with patterns and bright colours.
Step 5
Cut two tiny parallel slits near the middle of the star so a straw can fit through.
Step 6
Slide the straw through both slits so the star sits on the straw like a topper.
Step 7
Put a small dab of glue where the star meets the straw and press to stick them together.
Step 8
Draw a big rounded triangle on a clean part of your paper for the strawberry body.
Step 9
Draw a cute face with two round eyes and a smiling mouth near the top of the strawberry.
Step 10
Draw a tall pointy witch hat on top of the strawberry with a brim.
Step 11
Draw lots of small seed dots all over the strawberry body.
Step 12
Place your finished star straw beside your drawing where the wand should be.
Step 13
Draw one arm reaching to hold the star straw wand so it looks like the Strawberry Witch is holding it.
Step 14
Colour your Strawberry Witch and the background using any colours you like.
Step 15
Take a photo or scan your finished Strawberry Witch with her star straw and share your creation on DIY.org.
Help!?
What can we use if we don't have a drinking straw or craft glue for the star topper?
Use a paper straw, wooden skewer, popsicle stick, or pencil as the wand instead of a drinking straw, and substitute a glue stick or a small piece of clear tape for the dab of glue where the star meets the straw.
The star tore or keeps sliding when I try to slide the straw through the two tiny parallel slits—how can I fix it?
Reinforce the slit area with a small square of clear tape on the back of the 4 cm star, make each slit slightly shorter and closer together, use thicker paper for the star, and press a dab of glue or wrap tape where the star meets the straw to secure it.
How can I adapt the steps so younger children or older kids can enjoy the Drawing Hour activity?
For ages 3–5, have an adult draw and cut the star and pre-cut the two tiny parallel slits and give a thick paper straw or popsicle stick plus washable markers, while older kids (8+) can add detailed seed-dot shading, a 3D hat from folded paper, and more intricate face expressions before photographing for DIY.org.
How can we extend or personalize the Strawberry Witch drawing and star straw beyond the basic instructions?
Personalize it by adding glitter glue or sequins to the coloured star, layering paper to make a textured witch hat, threading a bendable pipe cleaner through the slits so the wand can be posed, and creating a themed background before photographing to share on DIY.org.
Watch videos on how to create a DIY star straw craft and draw a Strawberry Witch
How to make : Straw Starbursts | Recyclable Straws | Decor
4 Videos
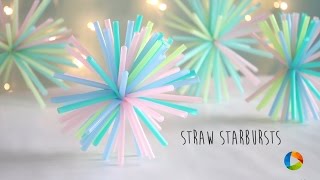
How to make : Straw Starbursts | Recyclable Straws | Decor
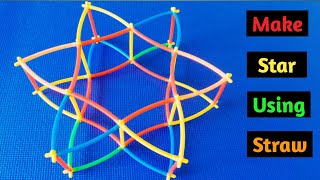
How To Make A Star Using Straws And Connectors | Straw Constructor Ideas | DIY | Straw Craft Ideas
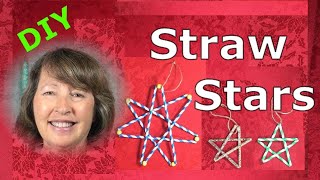
DIY Paper Straw Stars (in 3 minutes)
How to Make Star from Straw | Cara Membuat Bintang dari Sedotan Plastik
Facts about arts and crafts and guided drawing for kids
🍓 Strawberries aren't true berries botanically — the tiny 'seeds' on the outside are each a separate fruit called an achene.
🧙♀️ The popular image of a witch with a pointed hat and broomstick comes from centuries of European folklore and art.
⭐ The familiar five-point star is easy to draw by using simple guides like overlapping triangles or tracing around a hand.
🥤 The modern paper drinking straw was patented by Marvin Stone in 1888 as an improvement over rye grass straws.
🎨 Learning basic shapes (circles, ovals, triangles) helps kids build cute characters with correct proportions and fun poses.
How do I run a Drawing Hour that includes a DIY star straw craft and a guided Strawberry Witch drawing?
What materials do I need for the DIY star straw craft and Strawberry Witch drawing?
What ages is the Drawing Hour with a star straw craft and Strawberry Witch suitable for?
What are the benefits of doing a guided Strawberry Witch drawing and star straw craft?
